Make bezel settings: faceted
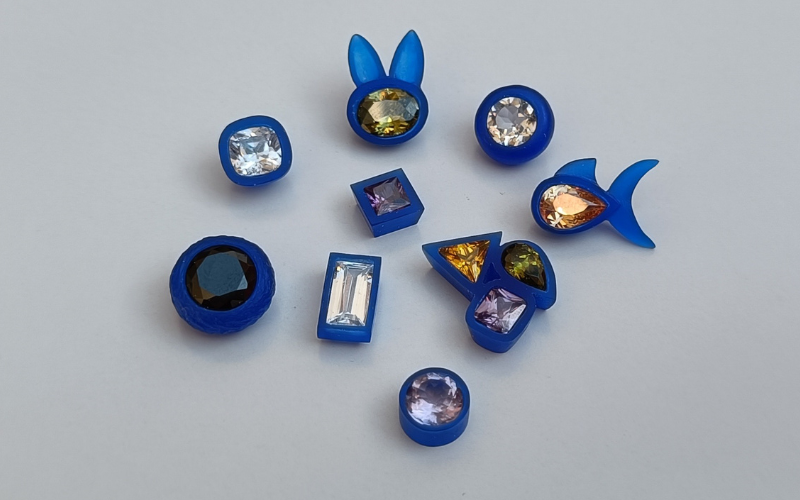
You have some carving experience and want to improve. Learning to make settings for faceted gemstones is a perfect way to expand your carving skills! You learn everything that goes into making a setting. And by using the wax to its fullest potential you can carve some fun elaborate pieces.
Don't like faceted gemstones? Then have a look at settings for rosecut and cabochon gemstones.
What are some of the techniques you learn when you carve bezel settings?
Wax thickness
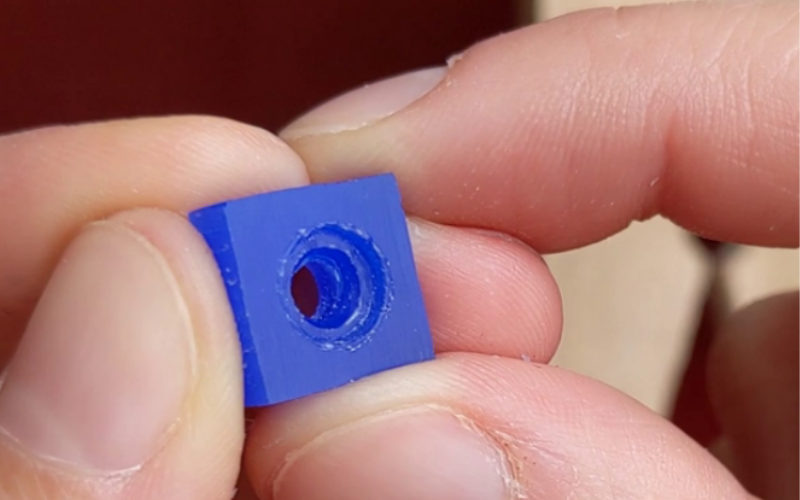
All faceted stones end in a culet (you know the pointy bit at the bottom). The most important part about deciding on wax thickness is to make sure that the culet of the stone is protected. In other words, when your wax piece is cast and the stone is set, the culet should be safely inside the setting.
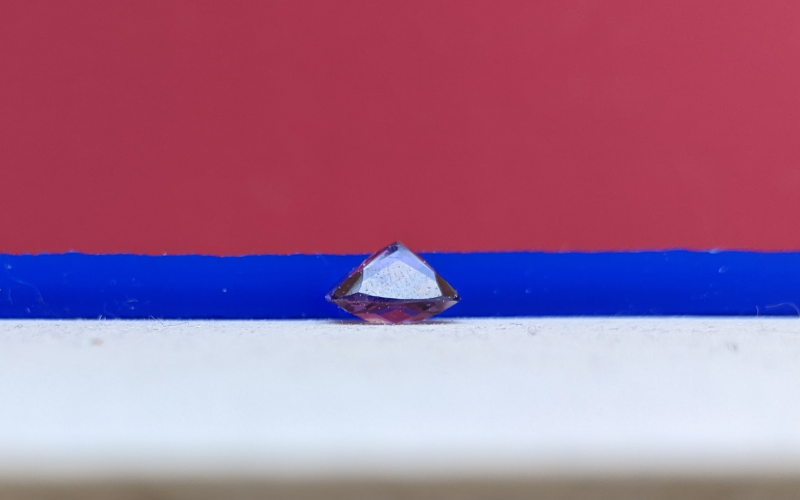
If the culet of the stone pokes out at the back, it could hurt you. Which is something you might be willing to accept if the piece was amazing. But it could also damage the stone. And that is definitely something you can’t accept!
Shaping the inside
Because of the shape of the stone, the seat inside the setting is thin. Only the girdle of a stone sits on the seat! Before you make the seat, you first want to get the shape inside the setting perfect.
The inside needs to be the correct shape, size and depth. You want to keep the inside slightly tapered, or slightly smaller than the actual size of your stone. If the inside of the setting is straight-walled at the size of the stone, the stone will just fall through!
With the inside tapered, or slightly smaller, you still have enough wax to create the seat.
There are 2 ways you can shape the inside.
Ball burr: Of course you can use ball burrs to create the inside shape.
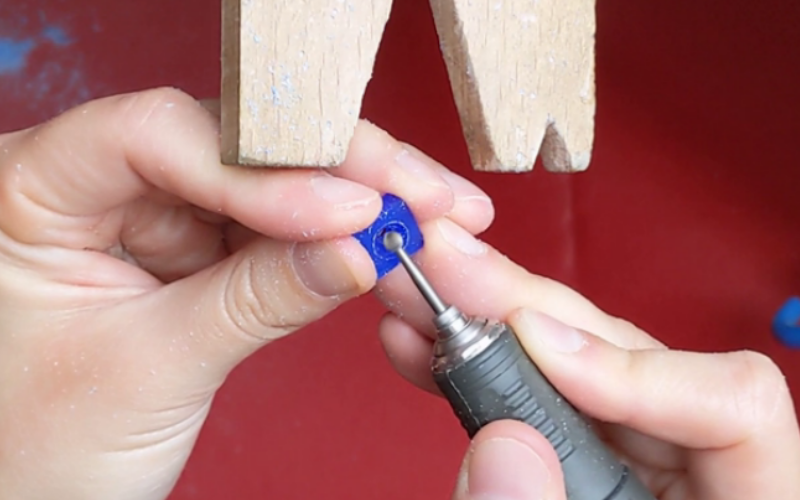
Make sure to check often with your stone how the fit is going. And sometimes you need to go deeper, before you go bigger.
Saw: You can also use a saw to get the inside shape.
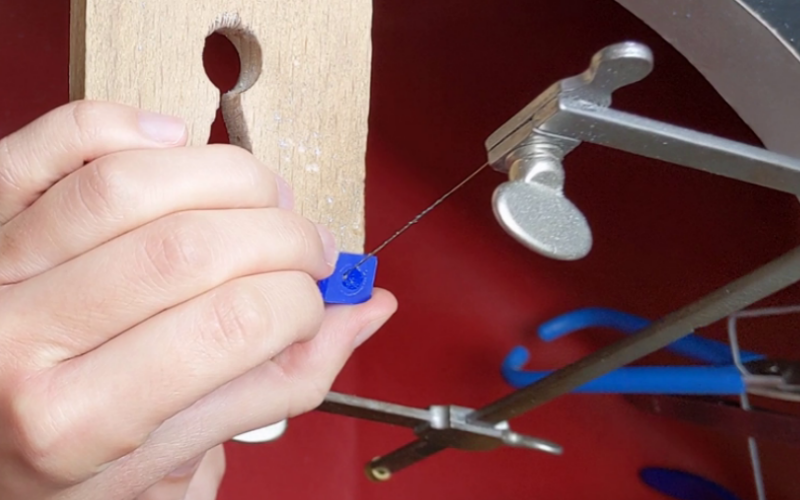
With a saw it’s easier to get the inside tapered, and you can get square corners as well! Your setting ends up with a daylight. If you want the back to be solid, ball burrs is the way to go.
Both methods of creating the inside shape are covered in this class. So what are you waiting for? Learn it now!
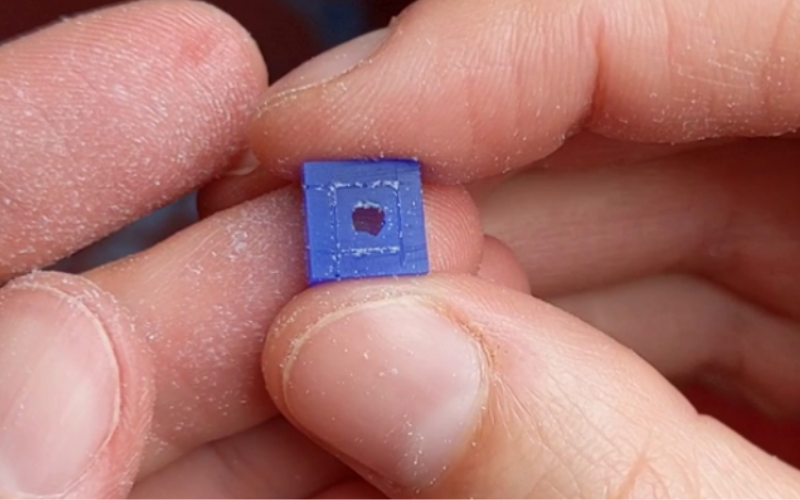
The seat
Once the inside shape is done, you still need to create the actual seat!
This is precision work on a small scale. If you don’t feel confident yet, you can wait to do this part in metal. You won't remove metal as quickly as you remove wax, so there can be a bit more control to do it in metal.
BUT it’s definitely something you should try. Keep practicing burring the seat in wax and it’ll become easier and easier.
Shaping the outside
Carve away wax from the outside to create the setting wall. You want to leave the wall thick enough that you have material to play with in case of shrinkage!
When you have the setting wall covered, the choices of how to finish the outside of your setting are endless in wax! Straight walled? Tapered? Rounded? A mix? Something else completely?
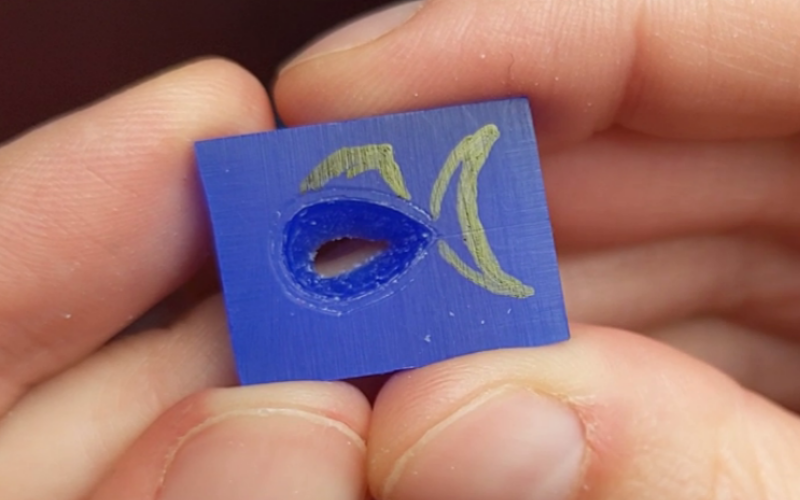
The wax is there for you to create with. So create! Make it fun. Carve a setting from wax that would be difficult to make from metal. That's what it's there for!
Not sure yet how you want to finish the outside of your setting? No problem, you'll learn all these outside finishes in this class!
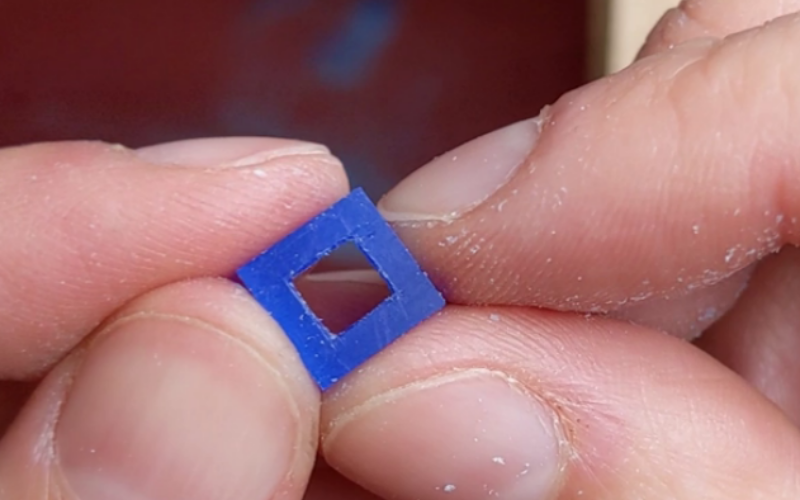
Daylight
Most settings have a daylight at the back. While you were busy trying to get the stone to fit perfectly inside the setting, you probably didn’t worry about what it looked like from the back too much.
And the daylight ends up looking like this.
Don’t worry. Terrible daylights can be fixed into perfect daylights. And you can learn how to do that now.
In Short
You learn how to make a prefect inside for your stone and how to make a variety of outside shapes for you settings. Have fun and play with the wax. Who knows what you can come up with!
Feel inspired to learn all this? You can buy the faceted bezel setting class now!