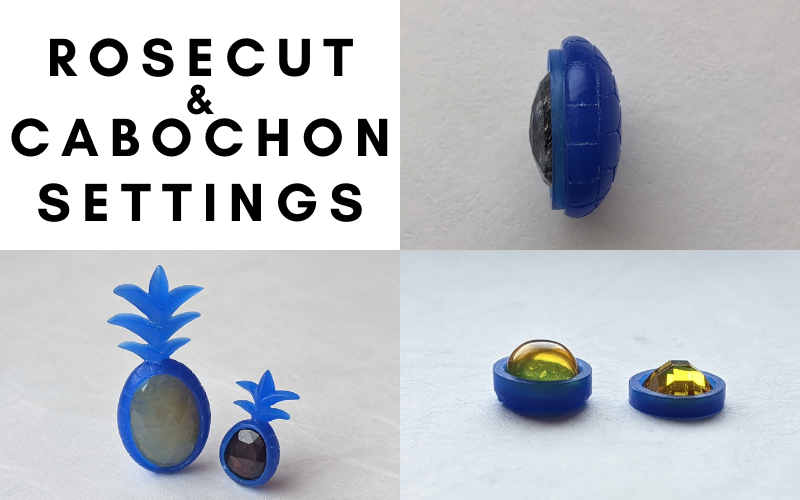
Settings play a supporting role to let the gemstone be the centre of attention, but that doesn’t mean they have to be purely functional! Wax makes it easy to embellish your settings for that little bit extra. This class is perfect if you want to incorporate stones in 3D shapes. You learn how to carve a seat for flat backed stones, give your settings curved backs, remove wax to reduce the extra weight that brings, and how to design around your stone. Plain straight walled settings are also covered in the class. This class doesn’t cover how to set stones, only how to make the settings. A basic knowledge of stone setting is helpful to make the most out of this class.
Techniques covered
- Decide on wax thickness based on your stone
- Different ways to stick your gemstone to the wax
- Draw the outline of the stone on the wax
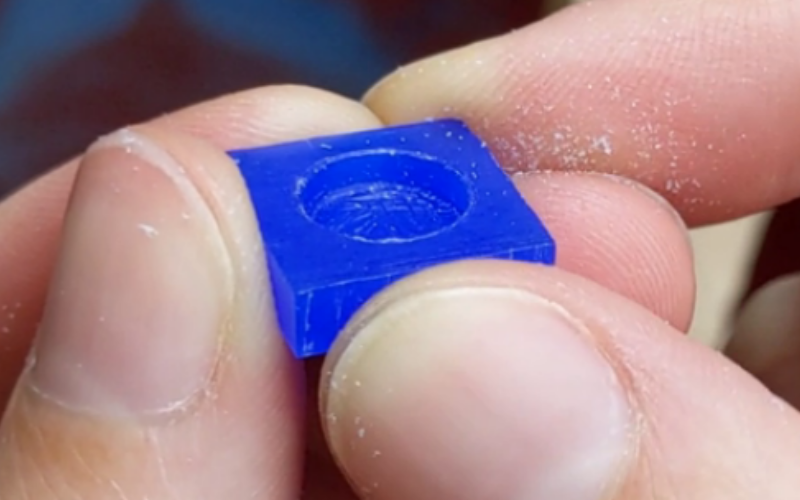
- Cut a seat for the stone
- Clean up the inside walls of the setting
- Finish your setting flat back, or rounded
- Remove wax to reduce weight and cost
- Cut a seat for the corners of stones
- Incorporate stone in a 3D shape: pineapple, heart and candy
-3bcfb75cd540645289ea47b8e2a987a9.png)
Tools and materials
- Wax slices/wax block
- Rose cut/cabochon gemstone
- Saw + sawblades
- Hand files + needle files
- Callipers
- Dividers + ruler + scribe + permanent marker
- Super glue/beeswax
- Micro motor/foredom and ball burrs (different sizes)
- Carving tools
- Stanley knife
-08a314060d1f6f76b9f3df6816eb5ee3.png)
What’s included
- 54 page PDF with photos and written instructions. You can download the PDF for easier access.
- 9 instructional videos, around 3.5 hours total
- Opportunity to ask questions
- Lifetime access to all the material
Sound good? Then don't wait and
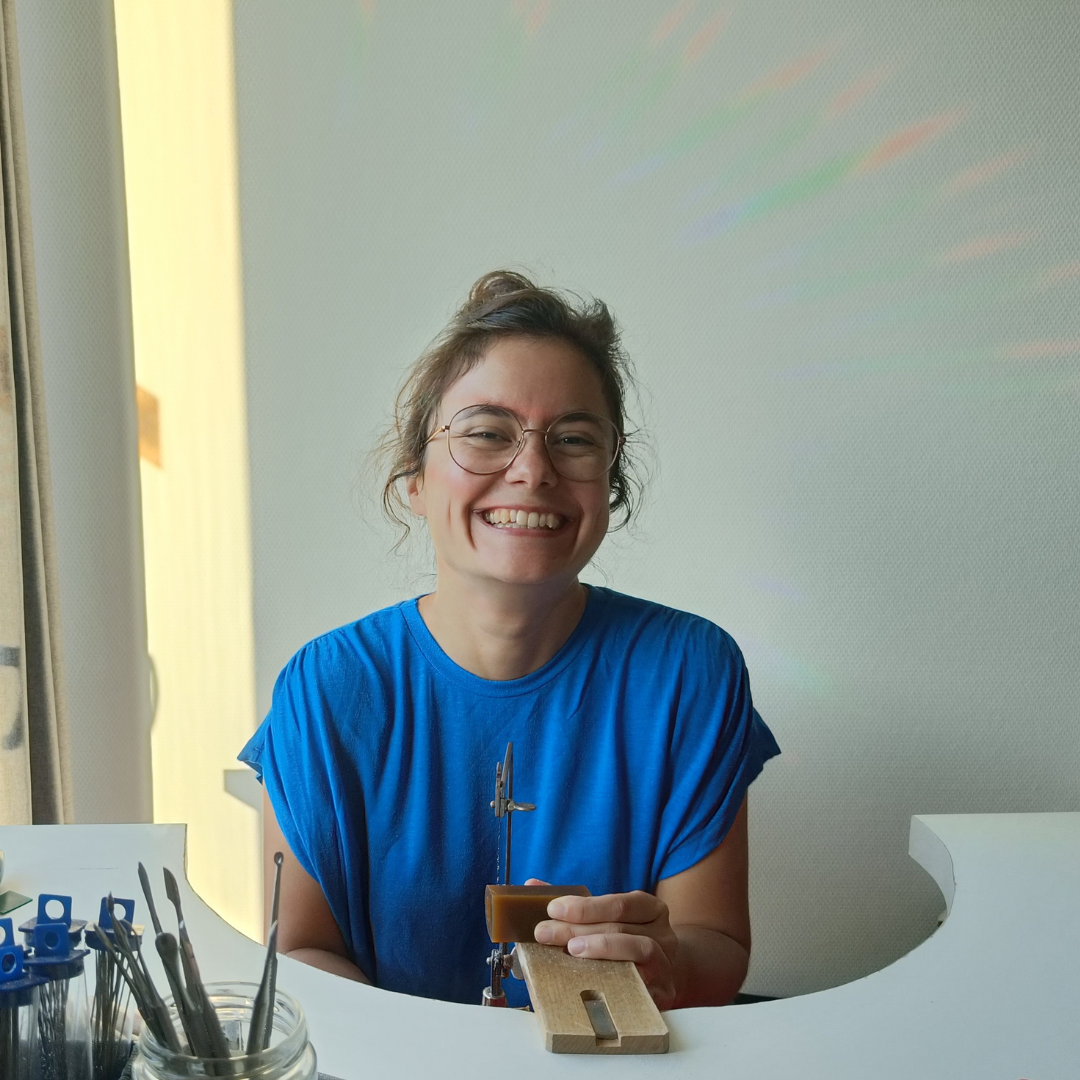
Tutor
Hi I’m Sandy. I learned jewellery making, including wax carving, at the School of Jewellery in Dublin. After finishing my course, I taught at the school for a year and I also taught a wax carving workshop at Lucy Walker Jewellery in Kuala Lumpur. After learning all the basics of wax carving, I practiced and experimented A LOT. Something didn’t work out the first time I tried it? No problem, just try again (and again and again…) until it does work! Practice really is the only way to get better at something :) I love wax carving and I’m excited to teach you!