Using a set square on wax
Measure flatness
The first thing you want to use a set square for is to check if something is flat. A set square has a thick and a thin arm. The thick arm is a bit more forgiving in your measurement, but it’s easier to see gaps from the thin arm. That's why I always use the thin arm for measuring.
It’s pretty easy, you just put your wax against the arm and check if there are any gaps.
Make sure you’re looking at it straight on. If you angle the set square, anything can look flat!
That's the same piece seen from a lower angle. It looks flat now, but it still has the same amount of gaps!
It’s easy enough to see the big gaps. But smaller gaps can be more difficult to spot.

I like to hold the set square to my window when I’m checking the flatness. With plenty of light, you can see the smallest of gaps.
As long as you can see gaps, your piece is not flat yet. You have to keep filing and checking until the entire length of your piece is touching the arm of the set square.
And when it’s touching completely, you know it’s perfectly flat!
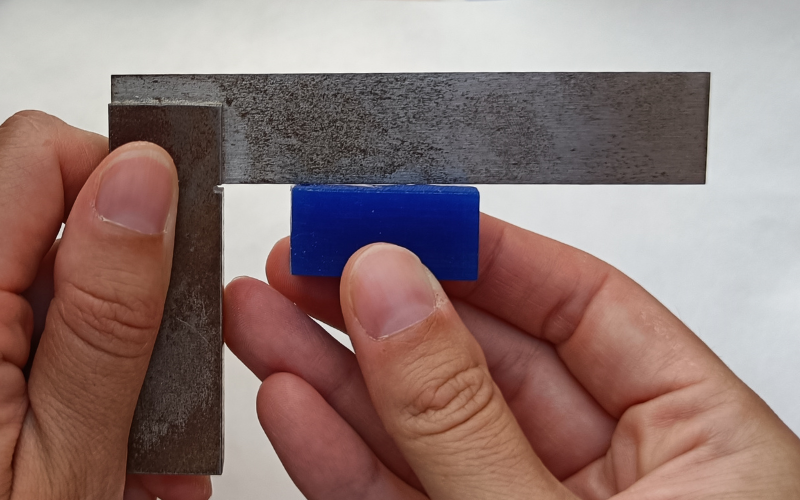
Measure 90° corner
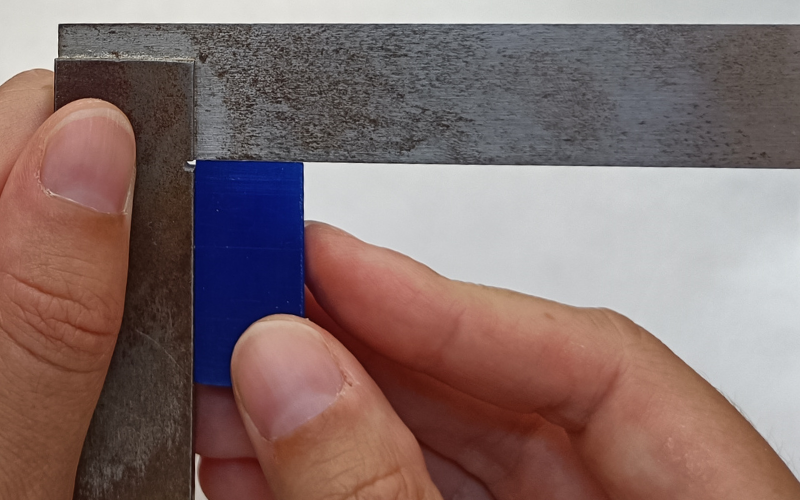
Once you have a flat side, you can use the set square to make 90° corners.
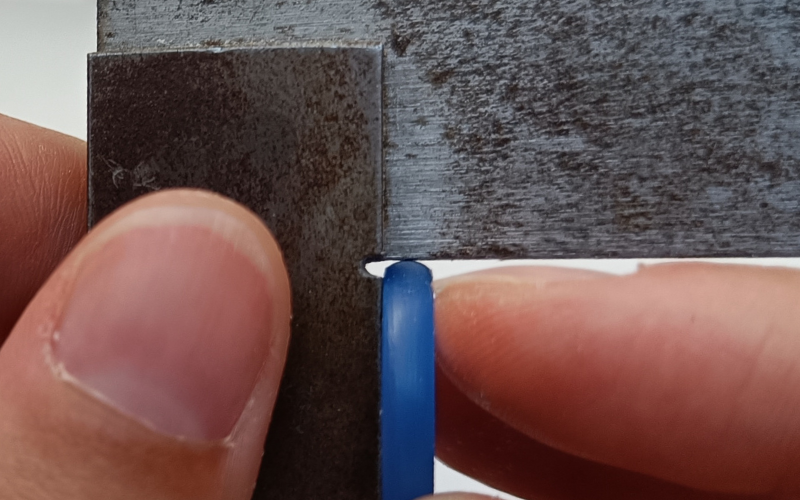
Use the fat arm of your set square as the guide and place the side of the wax you know is flat against it.
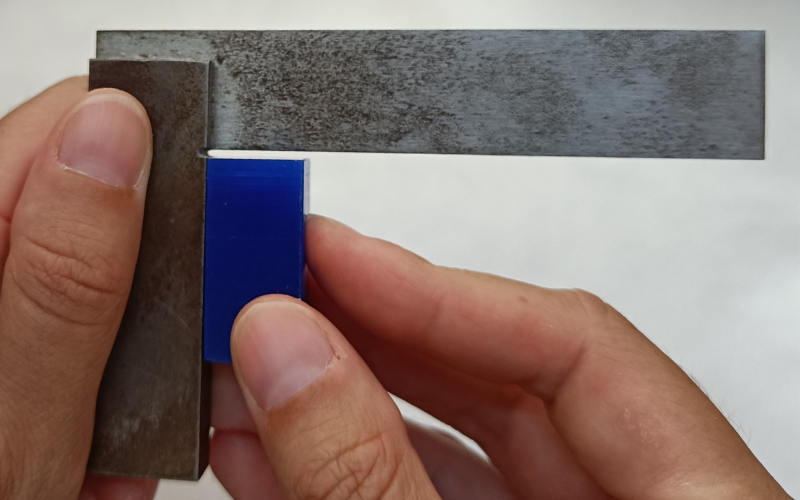
Then push it all the way up to the thin arm.
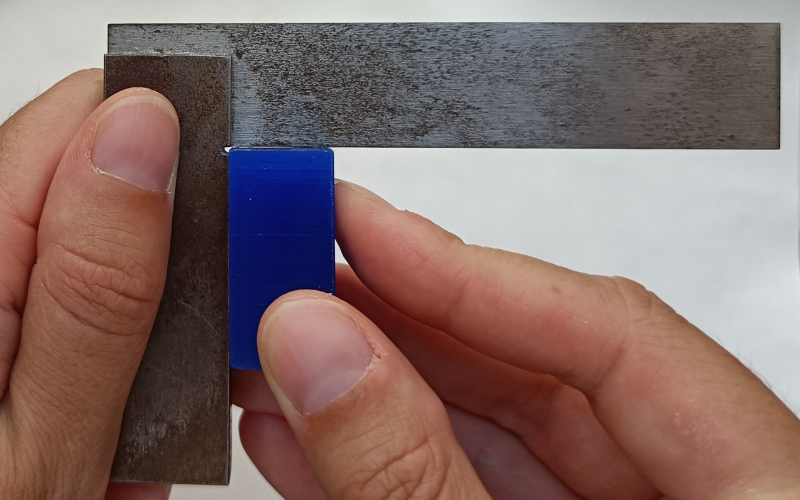
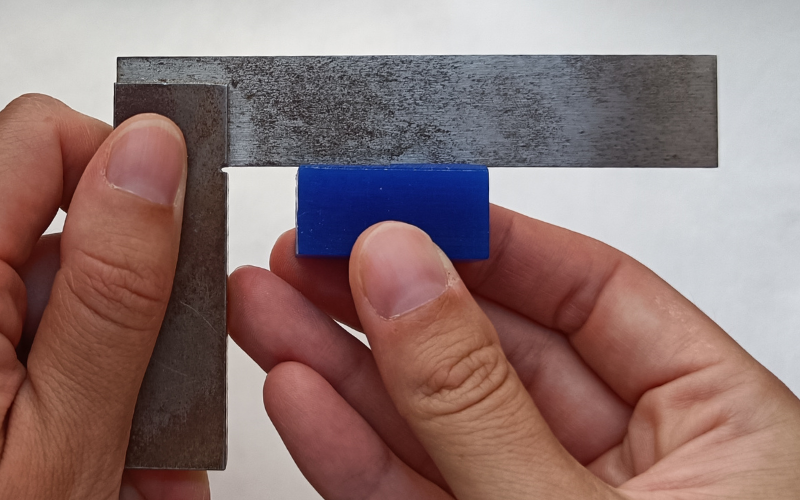
To measure accurately you have to make sure you hold your flat side firmly against the arm of the set square.
If you angle it away from the set square you won’t get an accurate measurement.
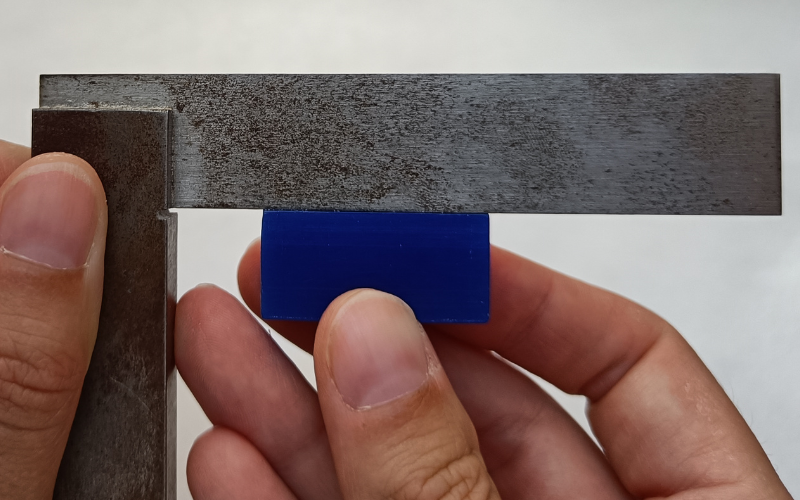
As long as there is a gap you don’t have a 90° corner yet. You have to keep filing and checking until both sides touch the arm of the set square perfectly.
Congratulations! Making a 90° corner is hard work!
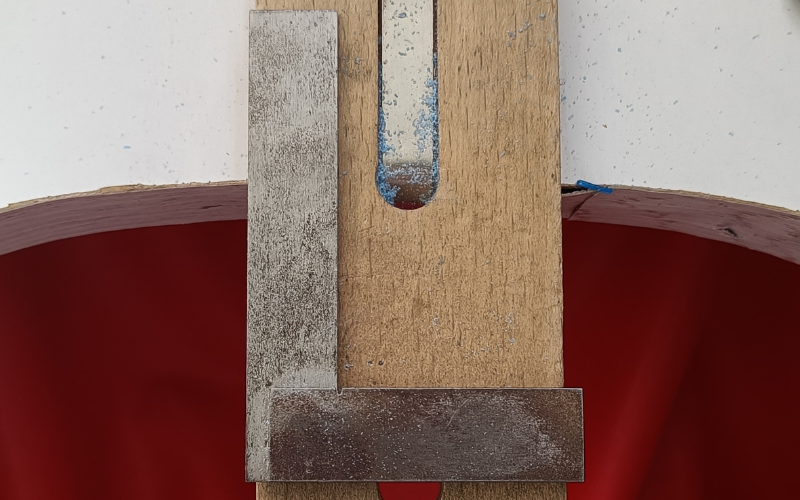
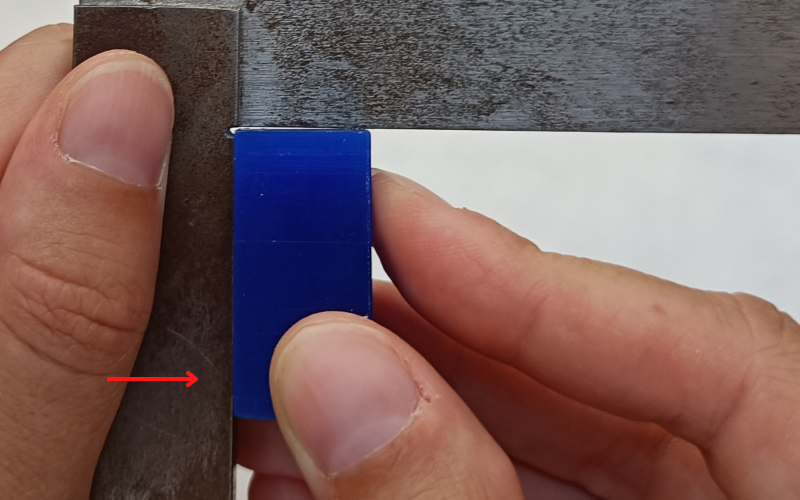
Measure your whole piece
You’ve filed and measured, measured and filed, and you finally have your 90° corner...in one place. When you’re working with a thicker piece of wax, you have to make sure that you measure the entire surface and not just one point!
You can have a perfect 90° in one place of a piece
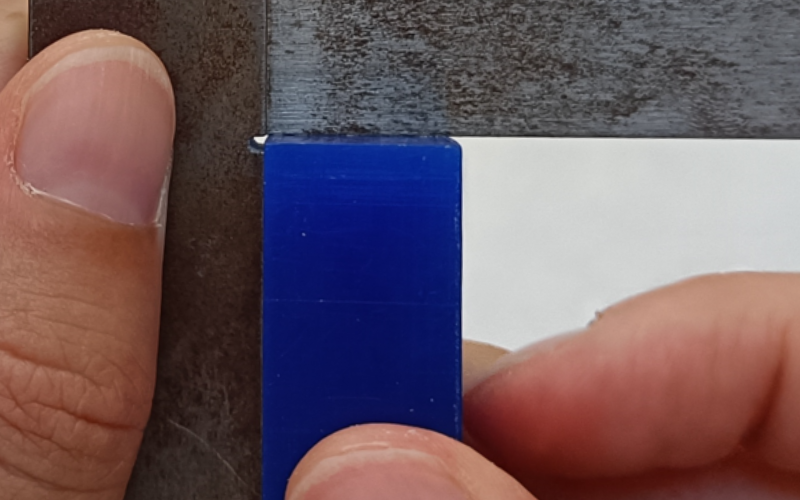
but in another place, there can still be gaps!

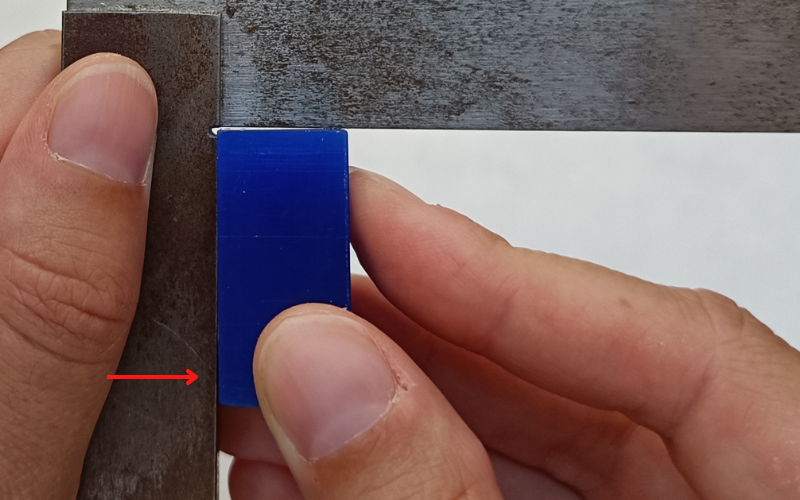
If the piece you’re measuring is thicker than the arm of the set square, you have to move your piece on the set square in order to measure the whole surface. You want the entire piece to be 90° and not just the first few milimeters.
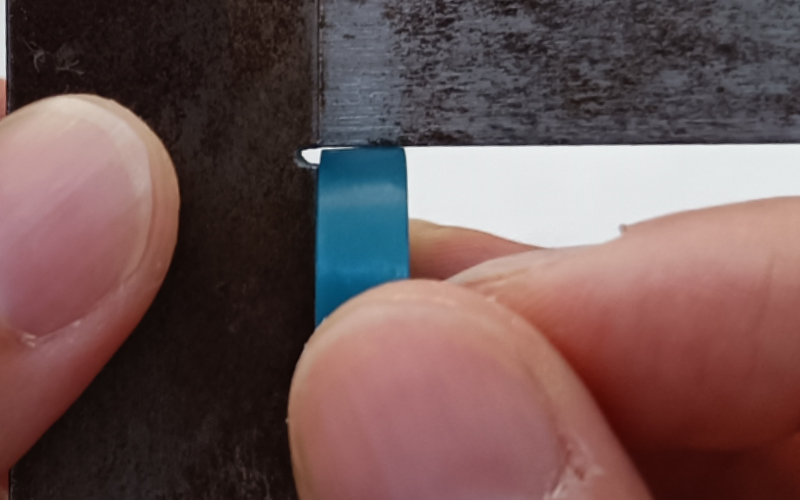
If you’re finding this bit hard to understand, just measure a ring! Your ring can have a perfectly flat profile in one place.
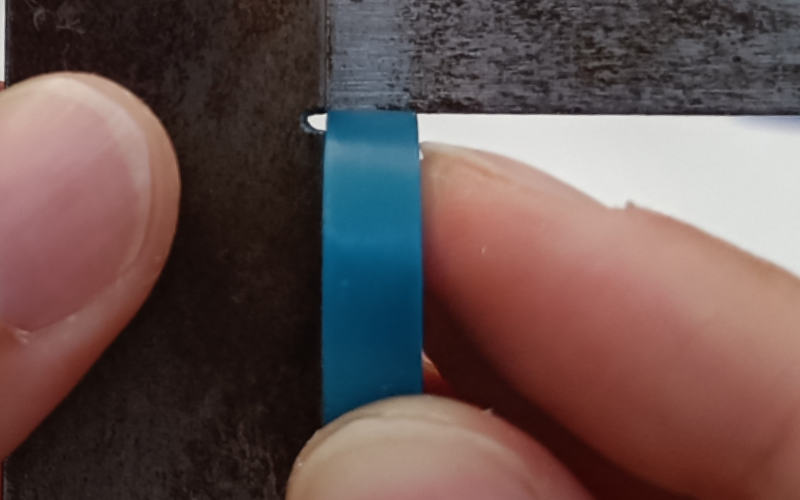
And it can be completely off in the next place.
Other corners
A set square is made to measure 90°, but you can use it to check other angles as well. As long as your piece has one flat side you can place on the fat arm, you can use the set square to check the evenness of any corner, angle or curve.
Just pay attention to the shape of the gap in the corner.

When you move your piece on the set square, you want the shape of the gap to stay the same. If the shape of the gap changes, I know there is an unevenness in my curve!
Ruler
After all the precision work, you’ll be happy to read you can use the set square for simple things as well. Like marking straight lines!
Just place the wax that you want to mark against the thin arm and use a scribe to mark a line.

See! Easy!
Comment below and let me know if these tips were helpful!