Using pens on wax
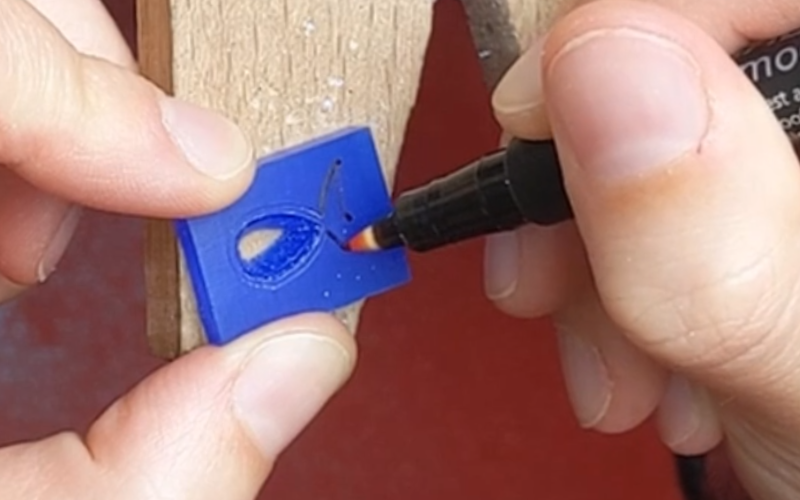
Draw your design
The most straightforward way of using a pen is by drawing your design straight on the wax. Rollerball pens, permanent markers, and even regular ballpoint pens draw great on wax. Especially if the surface is filed.
If you’re sure you can go straight to permanent marker. But if you’re indecisive like me, you can first use a rollerball pen. If you don’t like what you’ve drawn, you can easily wipe it away with your fingers and try again.
Guidelines
Time to add some height differences but can’t visualise it clearly? Draw in some guidelines.
Marked everything with dividers, but the lines don’t meet? Draw in some guidelines.
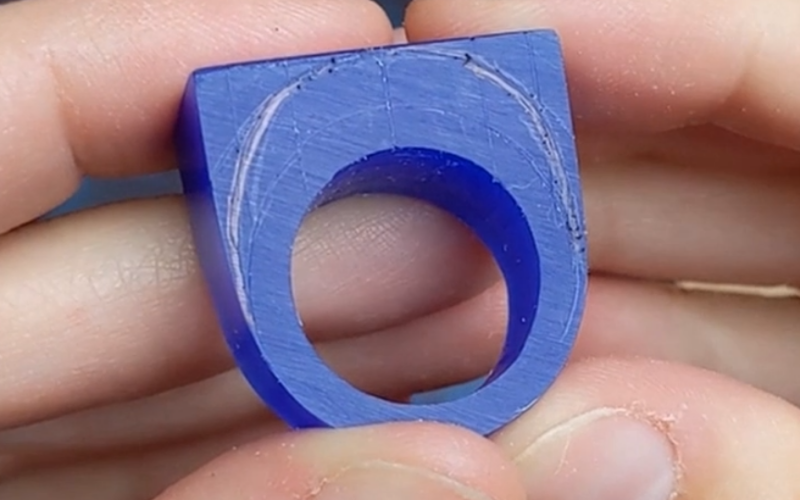
Can’t mark the corners of a stone setting? Draw in some guidelines.
It’s so quick and easy to draw in a little guideline. You don’t even have to be very precise with them. It’s there as a reminder. To keep the shape you’re going for clear in your mind.
Wax looks terrible for the longest time before it starts to look good. Having the guidelines helps you keep the end goal in mind.
Do not touch
Whenever I have something that I don’t want to file/pierce/shape, I color it completely with permanent marker. It’s my DO NOT TOUCH THIS PART sign.
When I file the second side of a ring parallel to the first side, I color the lowest part completely.
This makes it easier for me to file all the higher parts down to the same measurement as the lowest part. File everything but the pen!
I file, I measure, and I increase the colored part until the whole ring is the same measurement.
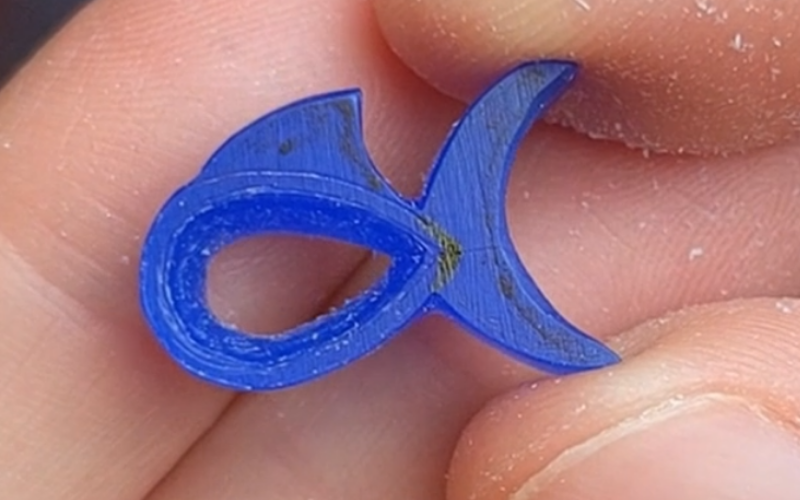
When a marked design has a lot of lines and I could easily get confused which line I’m following again. I color in the whole part I’m keeping.
This way it’s much harder to pierce to the wrong line. Learned this one the hard way!
These are just two examples, but it works for everything you don’t want to touch. You move your piece around so much when working on it. It’s easy to get confused about what part is done and what isn’t. A quick permanent marker on your done side, and you won't get confused again.
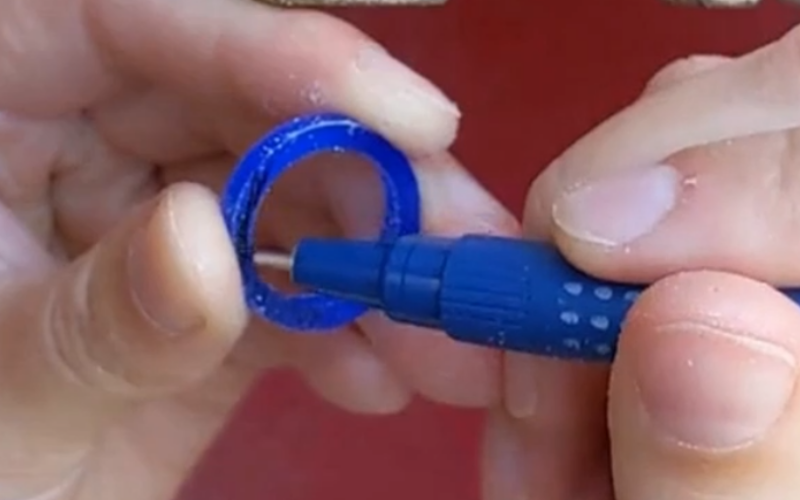
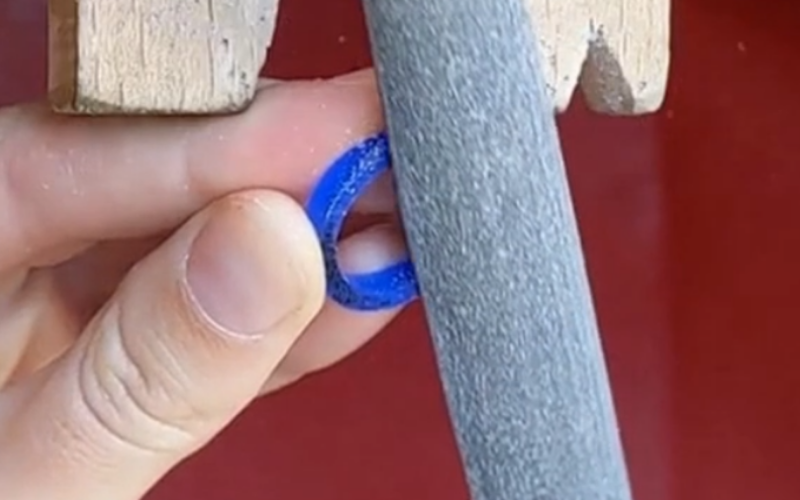
Perfect fit
When you make two separate pieces that need to fit together, it’s difficult to get the fit perfect. Enter the rollerball pen.
I’ll use a fitted ring as an example here, but you can use this technique for any two parts that need to fit together perfectly.
You first make one piece completely (in this case the solitaire ring) and then make the second piece to fit. I have the basic shape for the fitted ring and the cutout is almost the correct size.
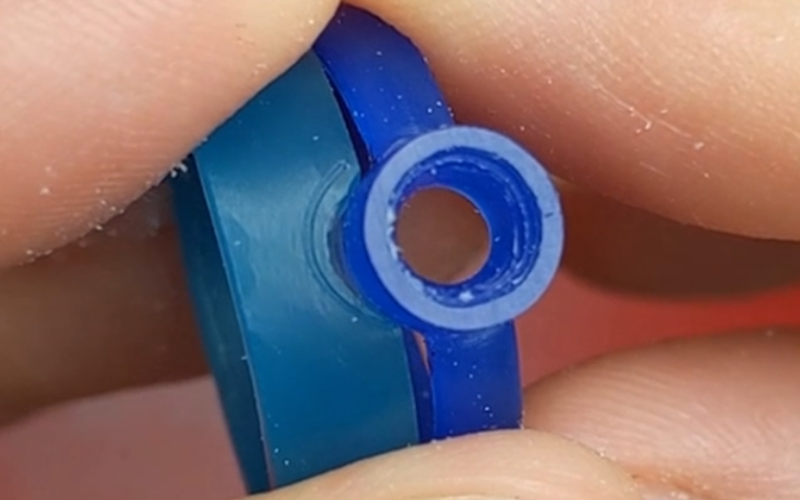
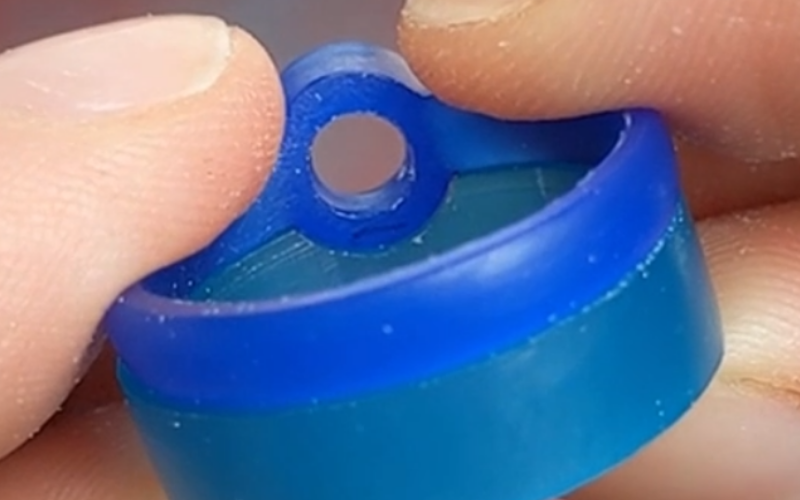
To get the fit perfect, I use a rollerball pen and color the side of the solitaire completely.
Then I push the solitaire and fitted ring together.
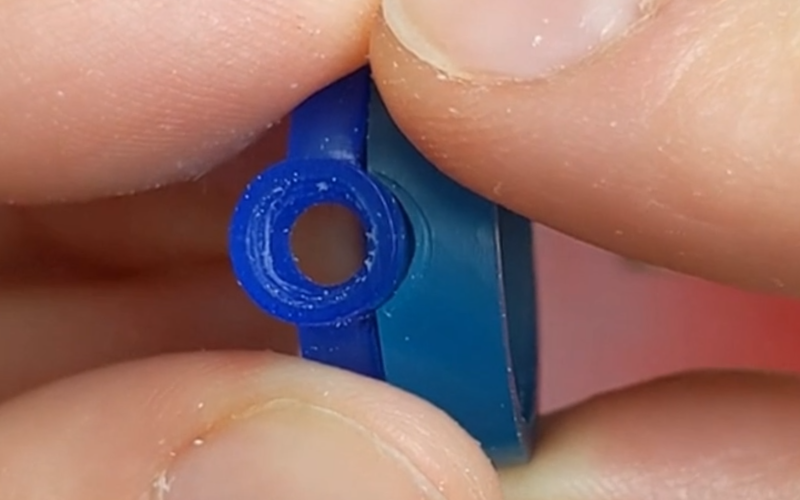
The pen will transfer from solitaire ring to fitted ring in all the places the two rings touched.

Now I know EXACTLY where I need to remove wax to get the fit better. All the places that have pen need to be removed. That's the wax that’s preventing the two rings from sitting perfectly together.
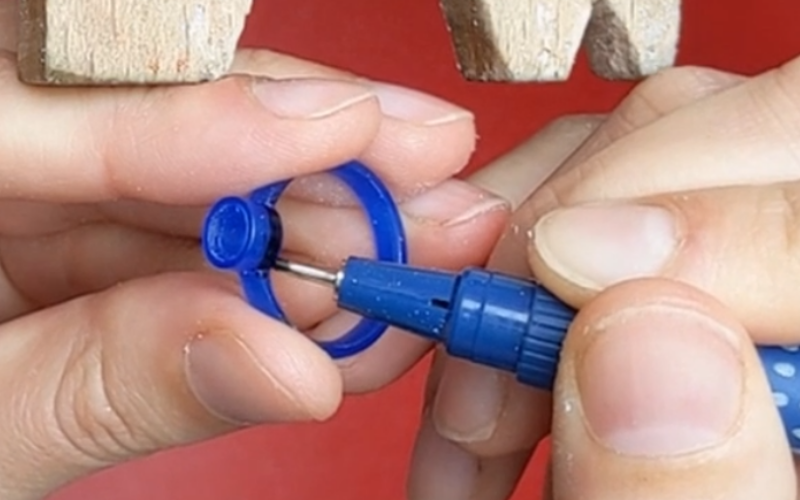
This is a long process that you have to do over and over again. Apply pen, place two pieces together, remove wax where the pen transferred and do it again.
Until you have a perfect fit.
Permanent marker?
They might be called permanent markers, but they’re not really permanent on wax. When you’re constantly touching your drawing, it’s going to wear off quickly. You can just reapply marker as you go, I do this especially with the do not touch application, or if it’s just a guideline I’m not strictly following.
If the drawing is something you have to follow exactly, you can go over it with something sharp and get it in the wax. Anything sharp will do: scribe, carving tool, push pin. With your drawing marked in the wax it’s not the end of the world if your marking on top of the wax fades and disappears.
Comment below and let me know if these tips were helpful!