Texturing sheet wax
Prepare
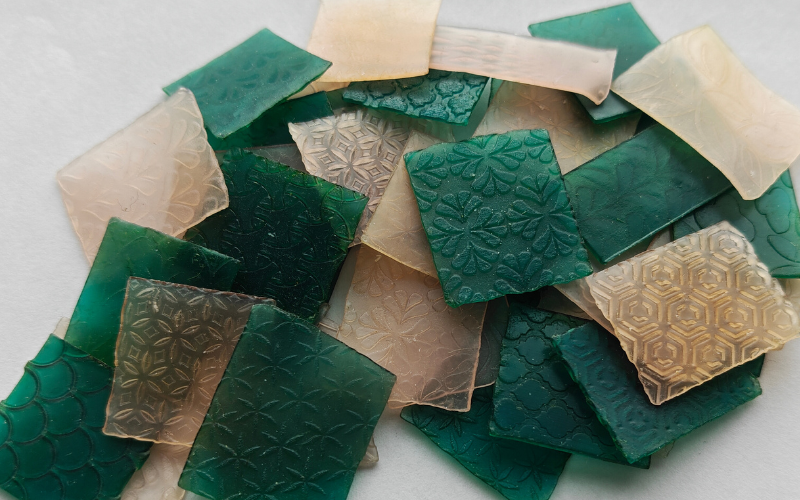
Sheet wax is soft and pliable by design. You take a sheet from the box and you can immediately move and shape it with just your hands. No tools required! This softness makes it so easy to texture as well. Pretty much any surface can be used as a texture to transform your flat sheet into a uniquely textured sheet.
Some things to keep in mind before you start.
Sheet wax attracts dust and loose bits. Make sure your texture surface is clean or you’ll be trying to remove little bits of debris from your piece.
When you texture, the sheet expands. Texture first, then make it the shape and size you want.
Lubricate
A little lubrication can prevent a lot of problems. I like badger balm for this.
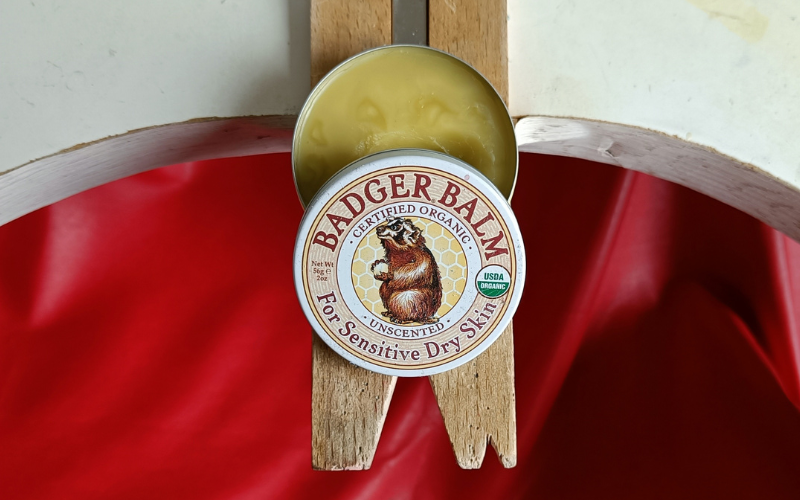
Oil works for most things, but it can damage paper based texture material. Because badger balm is a bit thicker, it doesn’t damage paper and other delicate texturing surfaces. Apply a thin layer of badger balm on your sheet, texture it, and wipe away the excess balm from your sheet and texture surface.
Without lubrication your sheet sticks to the texturing surface.
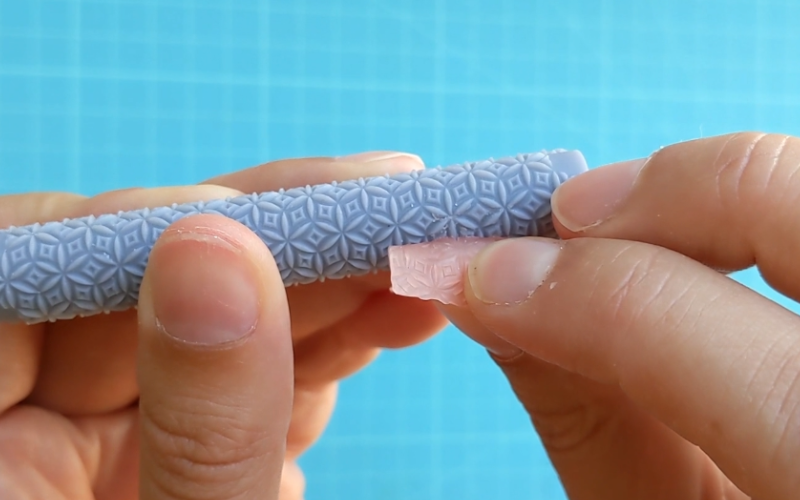
If you catch it quickly enough you can save your sheet and the texturing surface. But if you notice too late both can get ruined. Look closely and you can see that bits of wax stayed stuck in the texture roller.
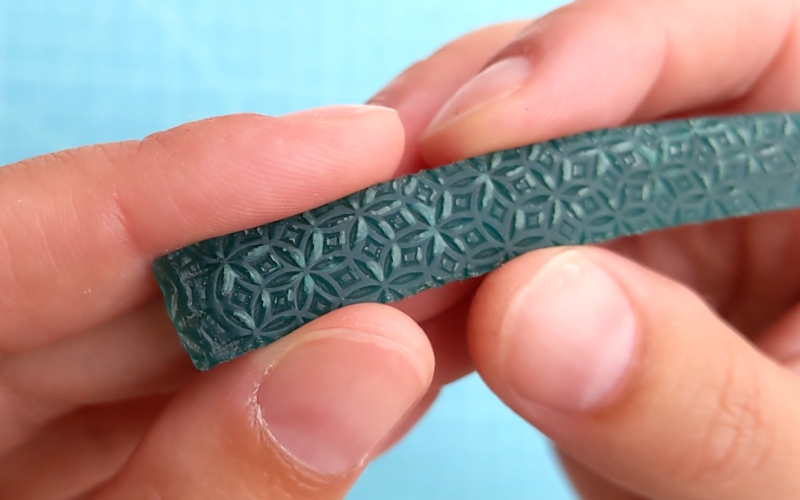
Even with lubrication sheet can stick to the texturing surface. With lubrication it's only superficially stuck, and you can easily remove the wax sheet without damaging it or the texturing tool.
Preheating
There’s lots of opinions about preheating sheet wax before you use it. If you have something that works for you, use it!
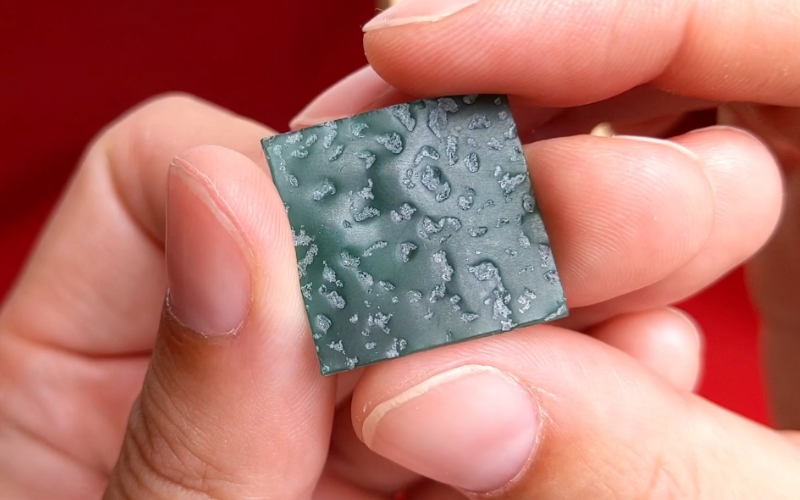
In general I don’t preheat sheet wax and use it as is. I only preheat when it’s very cold in winter. When it’s cold the top layer of the sheet can separate creating blisterlike surface imperfections.
It’s possible to remove these loose bits of wax without damaging the texture. And it’s worth it if you only have one or two bits. But it’s better to prevent it from happening in the first place!
I preheat by holding the sheet between my hands and letting my body heat warm it up. It’s enough!
How to texture
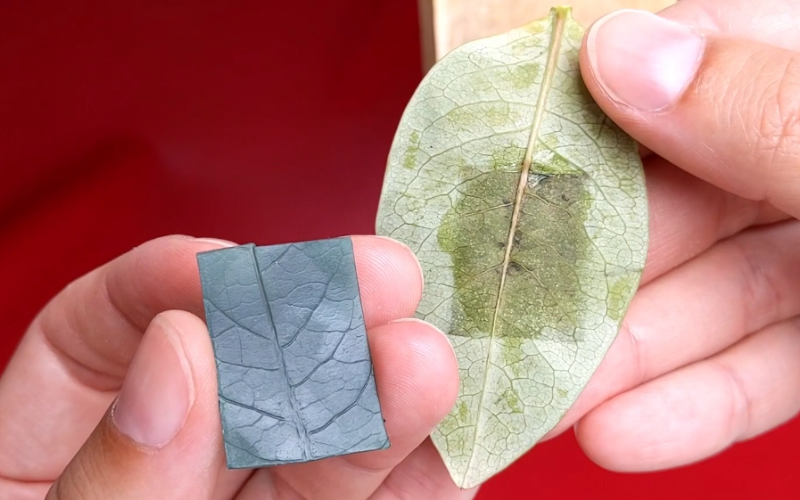
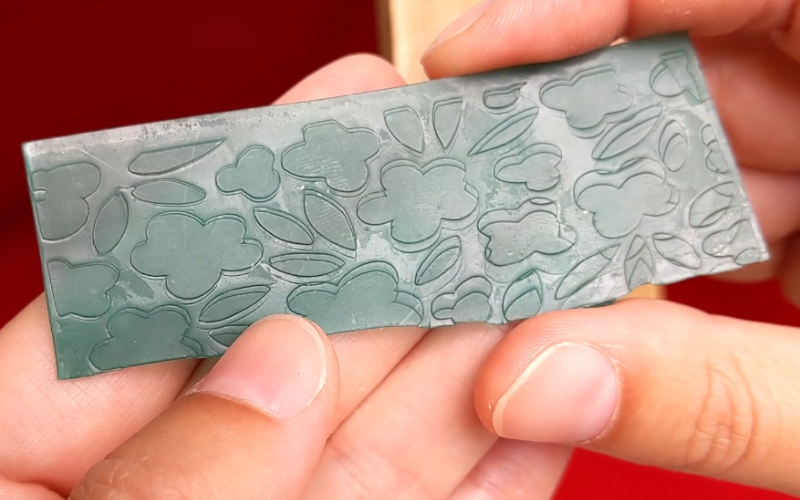
Texturing sheet wax can be as simple as taking your sheet and pushing it against a textured surface.
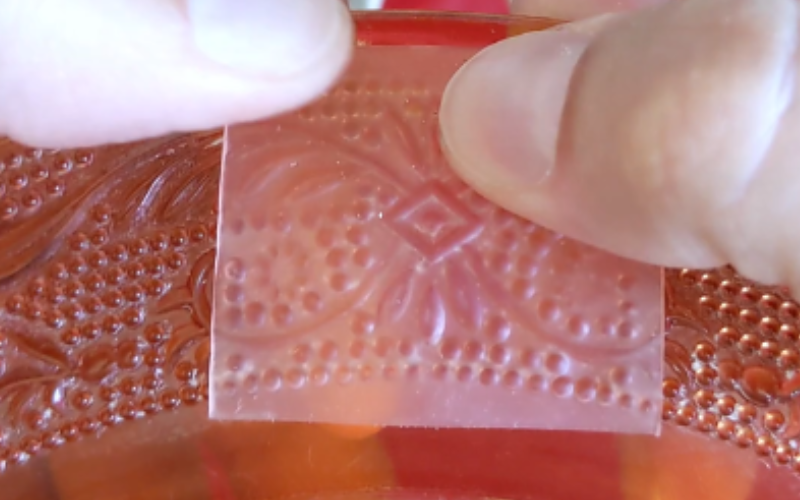
This method only works for hard surfaces. And a raised texture is easier to imprint than a recessed texture this way. Both work. It’s just slightly more difficult to push your sheet wax completely into recesses to imprint the texture completely.
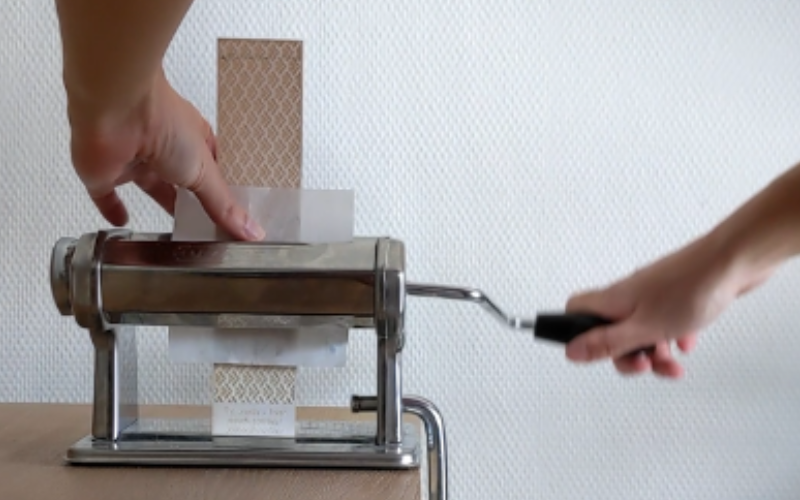
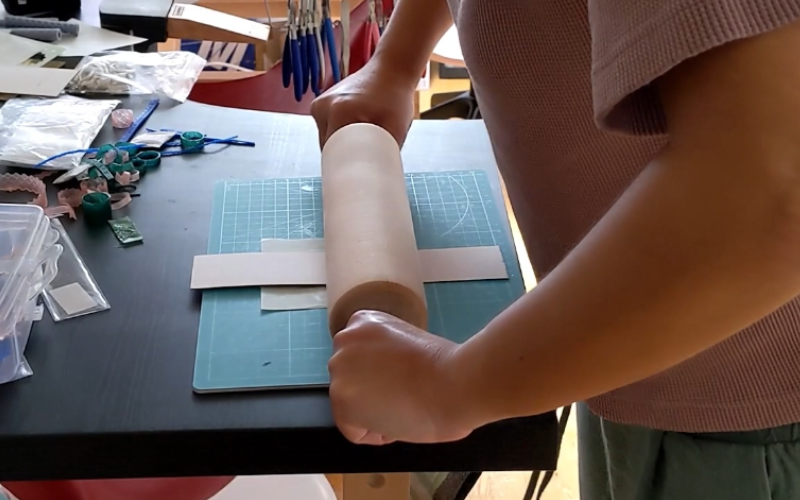
Soft surfaces need extra pressure to imprint. Rolling the sheet and texture through your rolling mill works great. If a rolling mill is out of budget at the moment a pasta roller is strong enough to texture sheet wax.
And even a rolling pin works!
Any texturing tools you already have for metal work on sheet wax too. But you can buy texturing tools for other crafts as well like polymer clay texture rollers and paper embossing folders. Sheet wax is so much easier to texture than metal, have fun with it!
And have a look around your studio as well. You have loads of potential texturing tools and surfaces already!
One chance
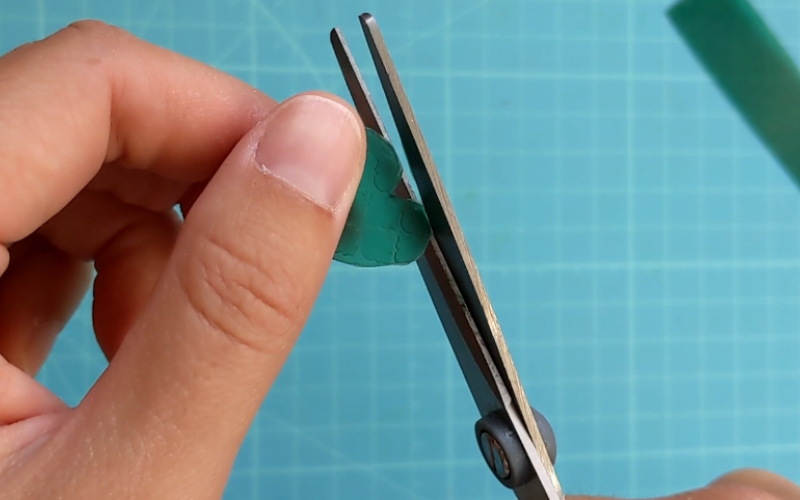
You only have one chance to texture your sheet. Repeatedly going over the same area leads to the sheet and texture surface getting misaligned.
Before you texture an entire sheet try it out on a small sample piece first. Different surfaces and tools need different amounts of pressure. Different sheet and texture thicknesses need a different setting on your rolling mill. Always try a new surface texture with a bit of scrap first, before you commit.