Make bezel settings from soft waxes
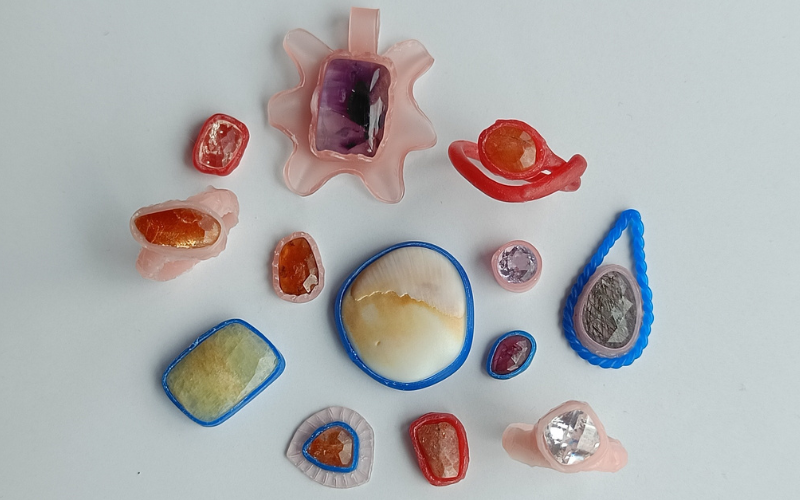
You have some carving experience and want to improve. Learning to make bezels from soft waxes is a perfect way to expand your skills. You learn all about shaping the different waxes around your stones and how to melt the soft wax bezels closed without melting your entire piece into a puddle.
So, what are some of the skills you learn in this class?
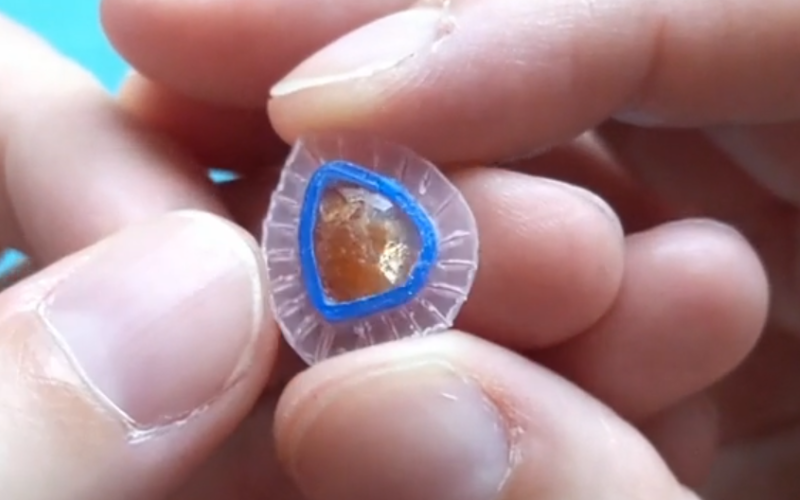
Shape wax around the stone
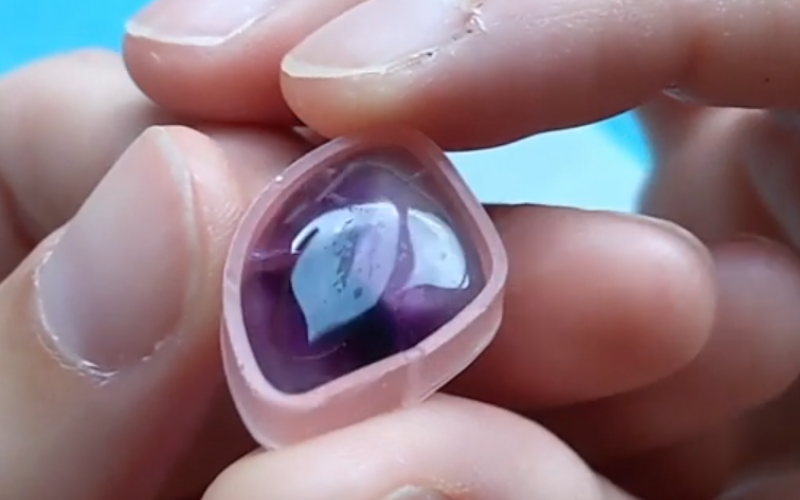
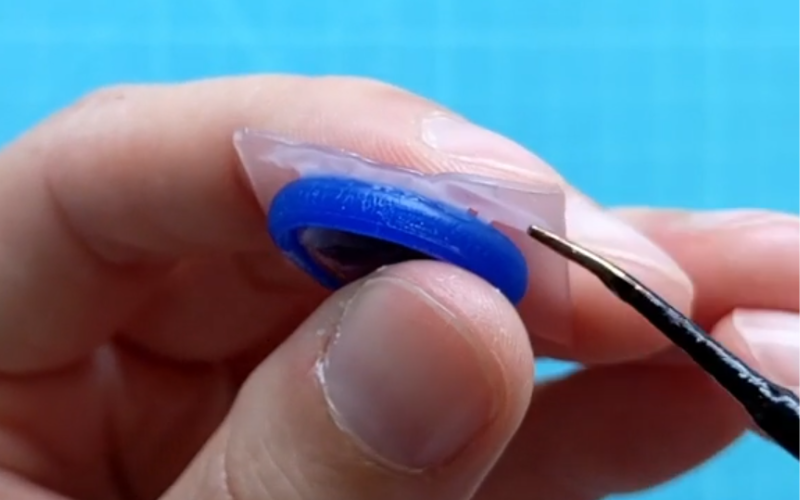
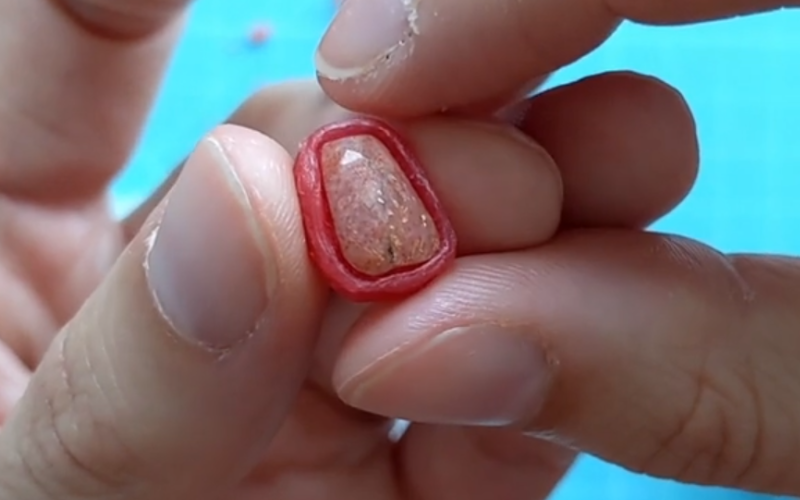
The beauty of soft wax is that you can shape it with just your hands straight out of the box! Take a length of wax wire, wrap it around your stone and you’re on your way making your first bezel in less than a minute.
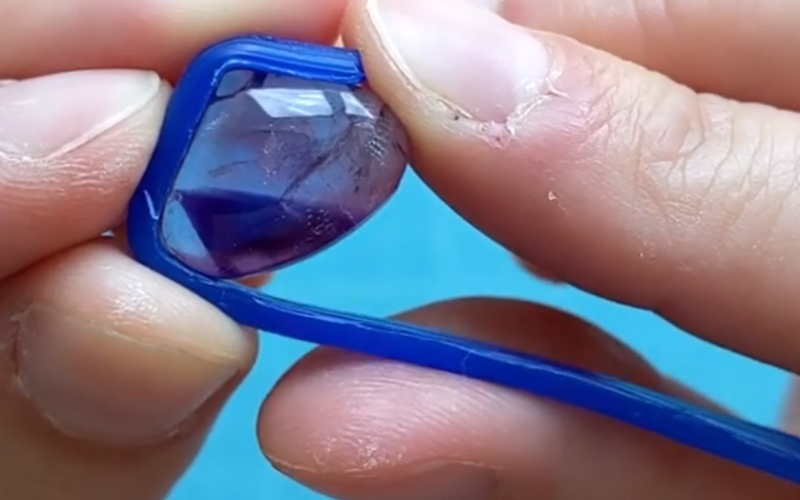
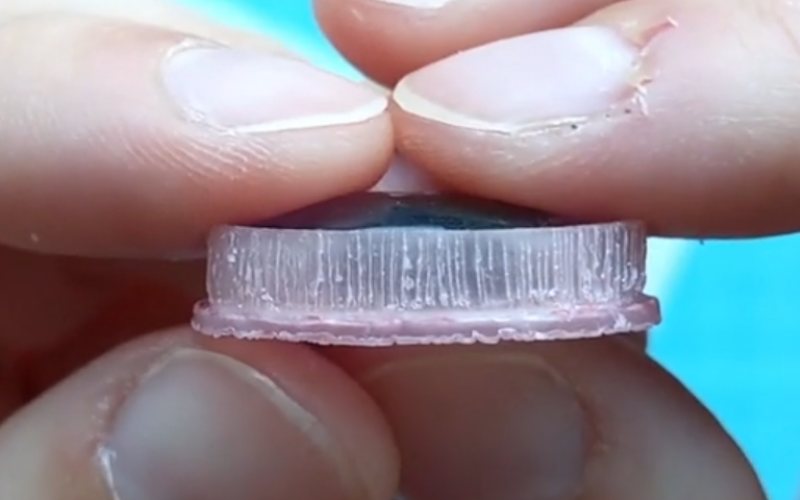
But first check that the wire is the correct height for your stone. If you have a box with assorted wire thicknesses you can hopefully find one that suits your stone.
If there isn’t a suitable one it’s easier to cut your wire to the correct height before shaping. It’s more difficult to make the setting wall lower after the bezel is completely made.
Actually you should first decide what shape wire you want to use. How do you want the setting wall to look from the outside? The round outside you get from half round or half pear wire? Or do you prefer a straight wall you get from rectangular wire?
If you like a flat wall, it’s actually easier to make the entire setting from sheet wax. You can cut a strip of bezel wall from your larger sheet with just a set of dividers! This way you can make each bezel wall the perfect height for the individual stone you’re making a setting for.
Learn to shape different wires and sheet around flat backed, and faceted stones to create perfect sized bezels here.
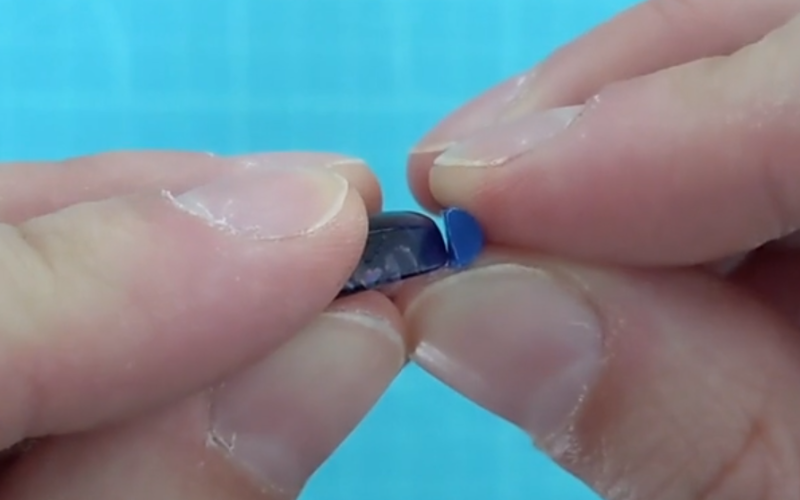
Melting soft wax closed
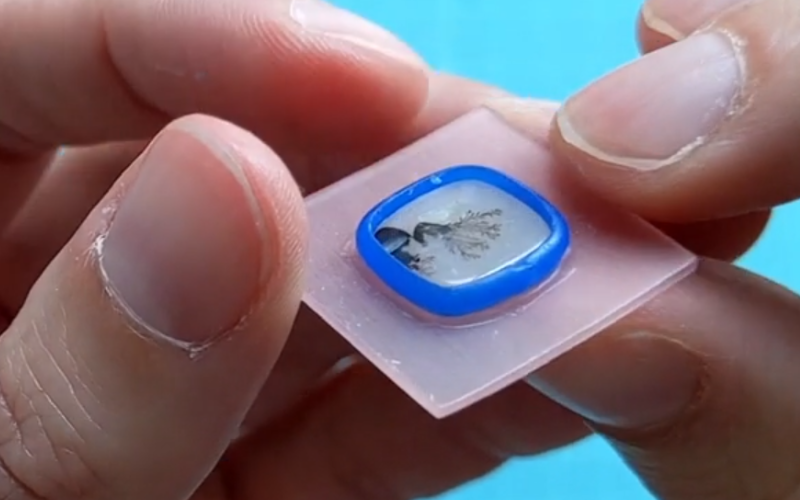
Once the bezel is formed you just need to melt the ends together, and then melt the entire thing to a backplate. If you only have experience melting hard wax, turn your heat settings lower now!
You need to be quick and confident when melting soft wax. If you linger in one place with your heating pen you either melt a hole through the piece, or watch the wax melt into a puddle. It’s better to go back for a second round of melting when you notice a gap, than risk overheating the piece trying to fix it immediately.
You definitely want to practice on some scraps first.
Practicing also allows you to try different ways of melting the bezel to a backplate. Do you want to melt the 2 together straight away or add melted wax on the join? Melt them together from the outside, inside or bottom? Each method looks different and gives you different options for finishing the overall piece.
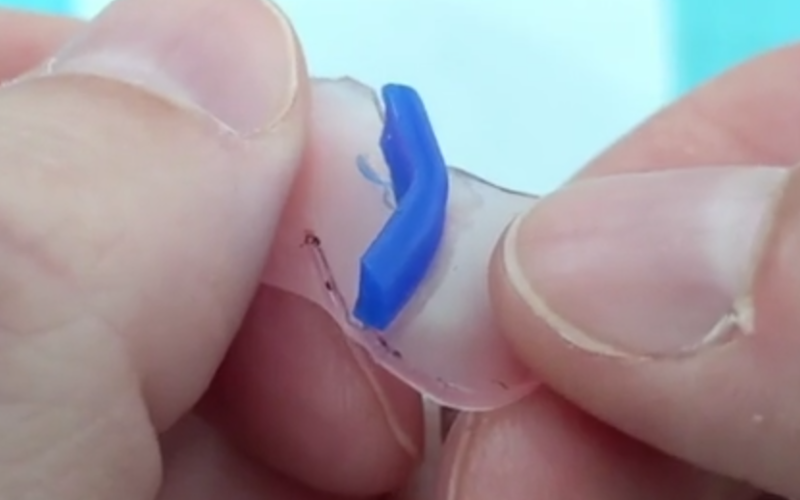
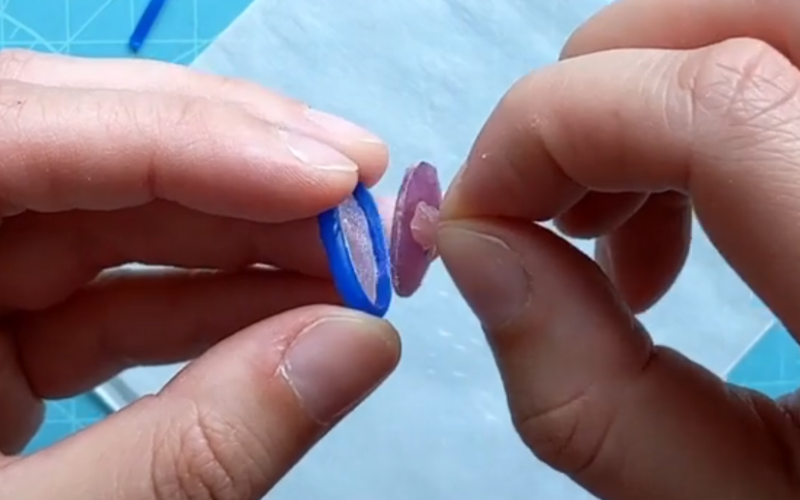
And if you don’t like all this melting different parts closed and together? You can use red mold-a-wax. If you work carefully it’s possible to form the entire bezel without using any heat!
You can learn all about melting soft waxes in this class.
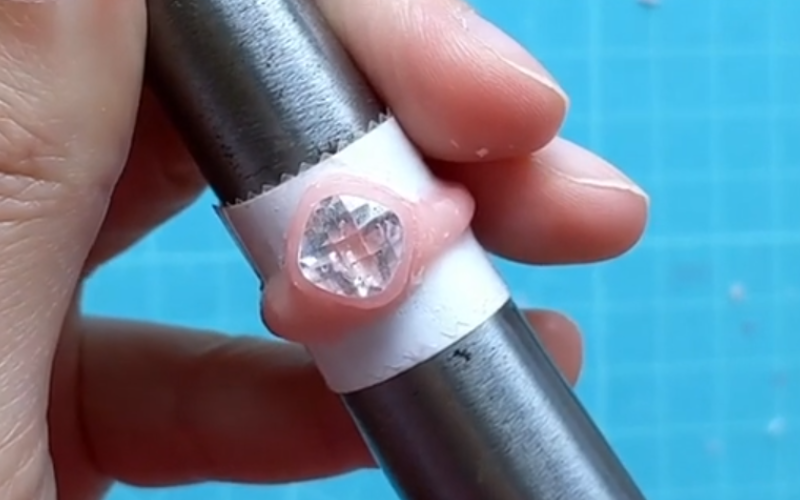
Fit check
The bezel is formed, it’s melted closed, but now the stone won’t come out. Before you use force to get the stone out, ruining your bezel in the process, let your piece rest for 10 minutes and work on something else.
Shaping the wax and melting it makes an already soft wax even softer and slightly sticky. Trying to remove a stone at the moment the wax is at its softest, stickiest, and most fragile is asking for trouble. Pull too hard to remove the stone and your bezel gets misshapen or tears on the part you just melted closed.
Put the piece to the side and let it rest. While it cools down it regains its strength and goes back to its original hardness and flexibility. Once rested you can remove the stone easily.
What if the stone still won’t come out after waiting? There are tips scattered throughout the class on what you can do to improve the fit of your bezel!
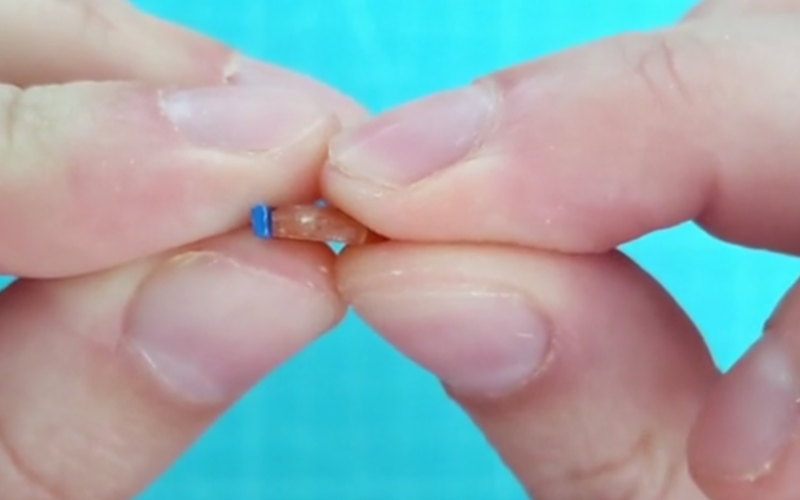
Building up bezels
And what do you do with all the little scrap pieces of wire and sheet you can’t use for other pieces anymore? You melt those bits and build up bezels!
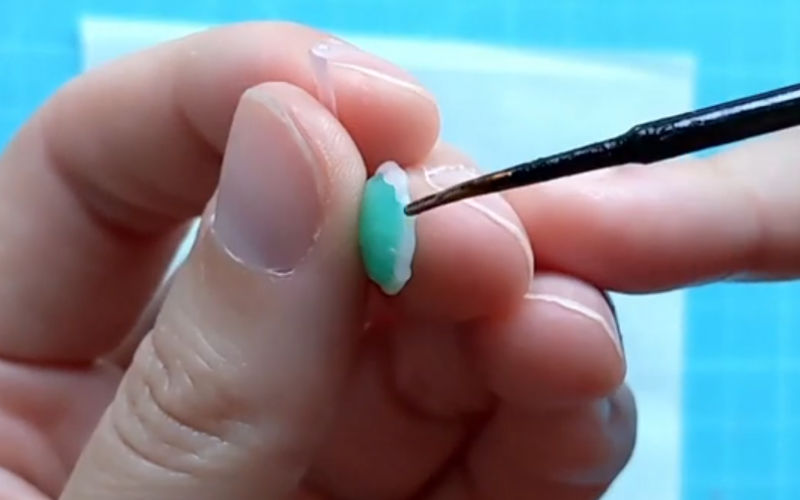
Melt wax, add it to the piece, and build up an entire bezel from scraps and offcuts!

If you have a lot of offcuts you can even build up a ring with a bezel setting in one!
Have fun with it!
You can make plain and simple bezels, sure. But you can also have some fun with it and add a little extra.
Texture your backplate
the outside of your setting wall
create decorative edges on your bezel
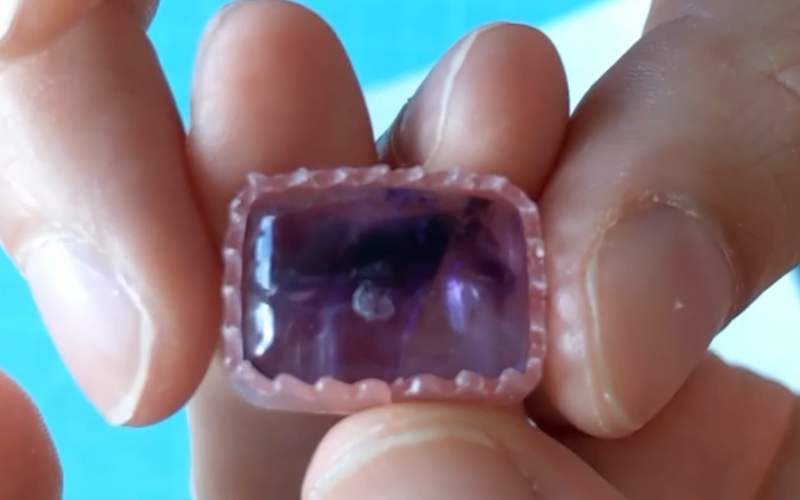
leave a large backplate and add volume to your piece.
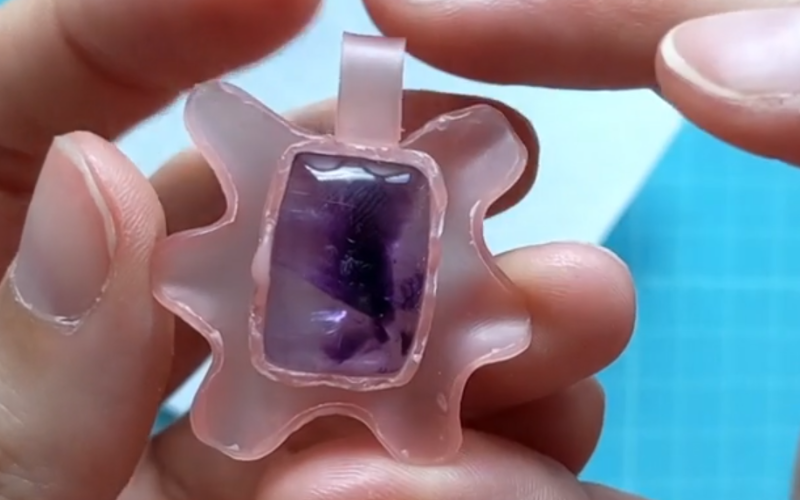
It’s quick and easy to texture and shape soft wax. Take advantage of that and use it to its full potential. Create the kinds of settings that would be difficult to make from hard wax, or metal. Anything is possible. Try out different things and just have fun with it!
In short
You learn loads of different ways to make settings from soft waxes and how to have fun with it and make it your own in the process.
Feel inspired to learn all this? You can buy the soft wax bezel setting class now!