Make a robot
You have carving experience and want to improve. Learning to carve a robot is a perfect way to expand your skills. You learn all about carving different shapes and how to carve hinges to make your robot move.
Well, what are some of the skills you learn in this class?
Shapes
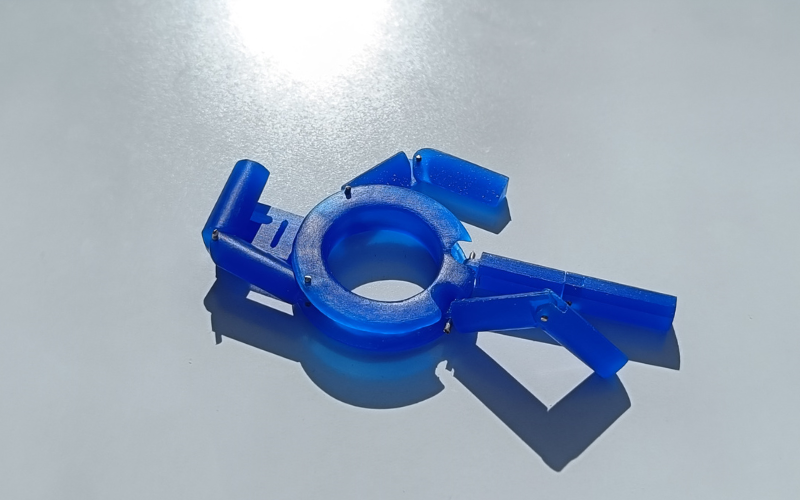
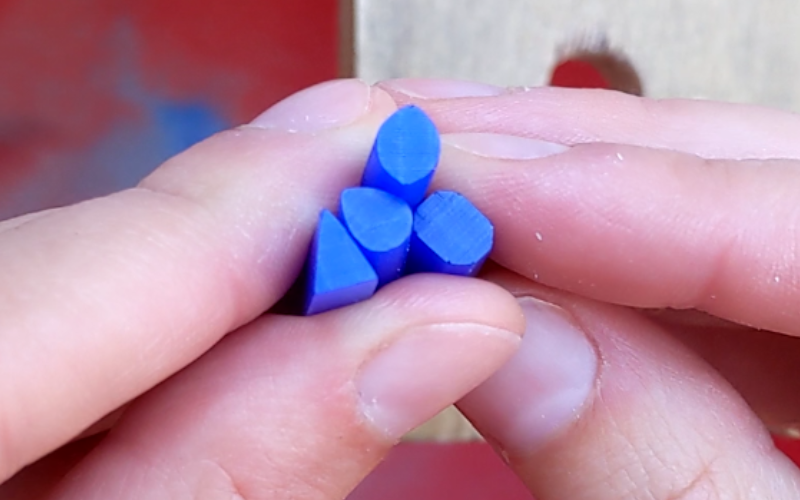
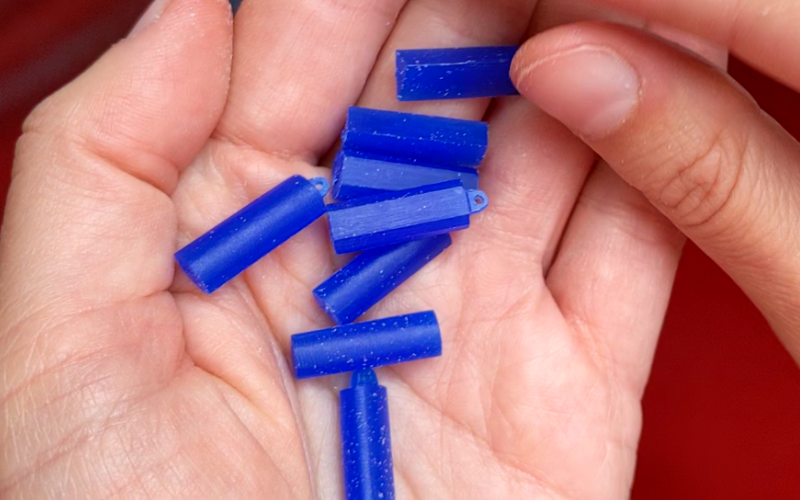
A moving robot needs a lot of different body parts. To keep carving interesting, why not make each body part a different shape? The head and torso are clearly different shapes. And when you look closely at the limbs, you’ll notice they are all different shapes as well! They all started as the same long rectangles, but then evolved into their own unique shapes.
You have to keep in mind that all the parts need to be attached somehow. Carve each body part into the basic shape you want first, leaving yourself enough wax to carve your hinges. After your hinges are sorted you can shape the body parts some more.
You can learn all about making different shapes here.
How will it move?
With all the limbs done, it’s time to decide how everything is going to move. Up and down? Sideways? Full circle? Choices choices. And it’s not just about the movement. You also need to consider how you don’t want the pieces to move! Maybe up, but not down. Forward but not backward.
All the different movements need a different kind of hinge. And all the movements need wax at different places to stop a movement and no wax at other places to make a movement possible. The better you think it through at this point, the easier the actual carving is going to be!
And if you’re not sure if something is going to work or not, practice on some scraps first! Make sure the mechanics work like you think they will, before you start carving the actual parts.
Hinges
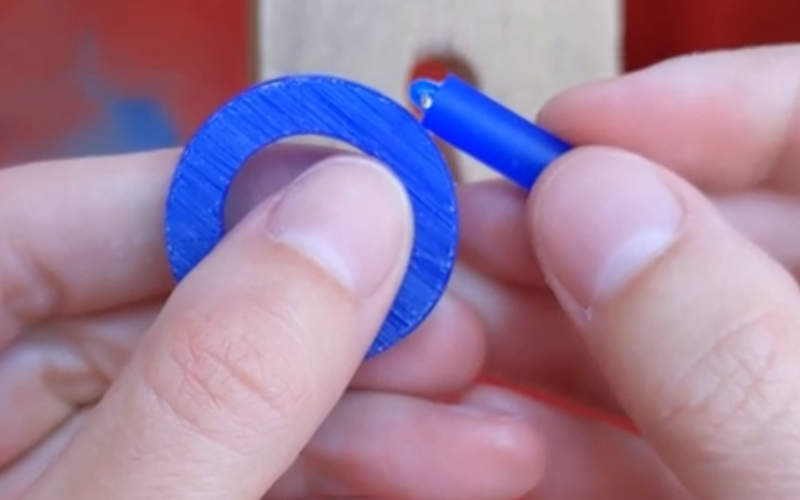
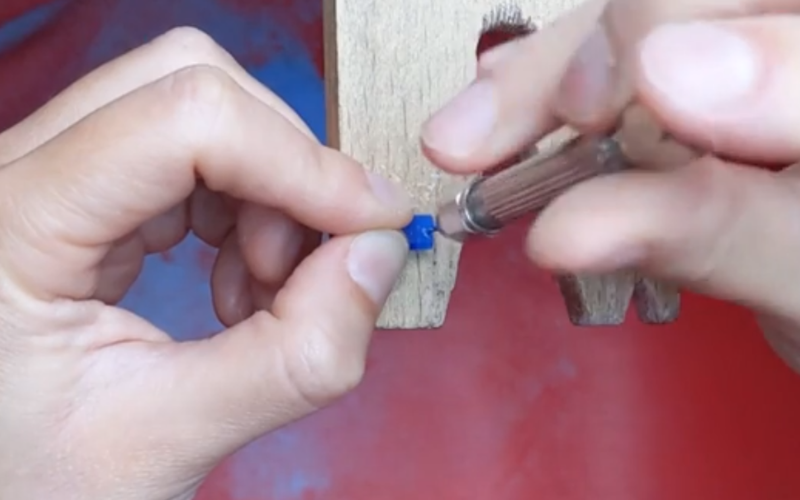
Now the fun and scary part starts: carving the hinges. You want to do this part slowly and methodically, while checking how the fit is going often. It’s so easy to get confused which part is which. Especially when both parts look pretty much the same, like the limbs when you carve the elbow and knee hinges.
Carve the wrong part and your pieces won’t fit together.
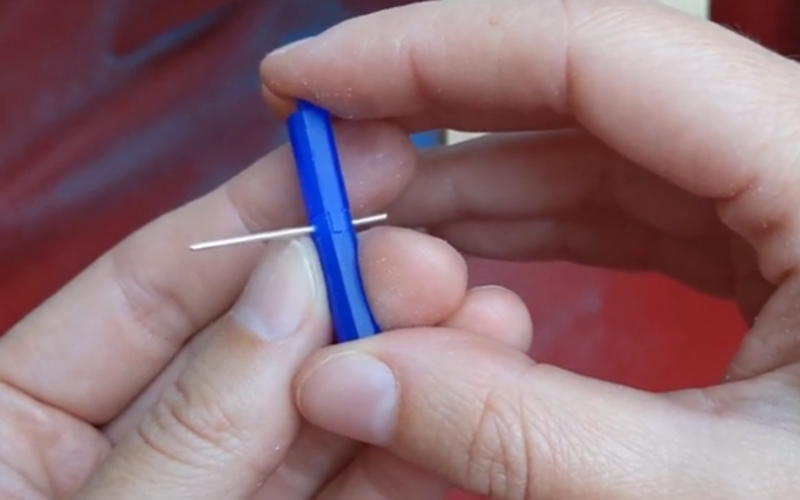
When the 2 parts fit together you can drill a hole for the rivet. I recommend drilling through by hand. Your hinge is so small. One slip and you’ve drilled through crooked. When you drill through manually you have much more control and can go slow and straight.
Learn about making hinges in this class.
Why is it not moving?
The hinge is carved and it’s absolutely perfect looking! Except it doesn’t move that well...
If it’s not moving like you want, there’s wax obstructing the movement somewhere. Look at the 2 parts from every angle while you try to move them, to see where the wax is causing problems. The problem might not be in an obvious place! Maybe your hinge is carved juuust a little bit too snug.
When you find the problem area, carve more wax away. Again you want to do this slowly. You want the hinge to move perfectly, but you also want the hinge to look good. If you just carve wax away from everywhere around the hinge, it might move good but it won’t look good!
Patience
Carving a hinge isn’t something you can do quickly. The constant fitting of the hinges alone will slow you down a lot. But that’s ok. When you go slow you can be more precise. And that’s exactly what hinges need! Precision.
Take your time to get the fit and movement just perfect. Your robot will thank you for it!
But a robot?
Sure, a robot is a fun object but not exactly a piece of jewellery... You're right. But you can use what you learn in this class for jewellery pieces!
The limbs can be reworked into links for chains, toggle clasps or just as they are as a bar pendant or earrings. And hinges can be used for any kind of kinetic jewellery. You might not use these techniques for a robot, but you can use them for another piece of jewellery you're carving!
In Short
You learn how to carve all the body parts separately and how to carve hinges to put them all together so your robot can move!
Feel inspired to learn all this? You can buy the robot class now!