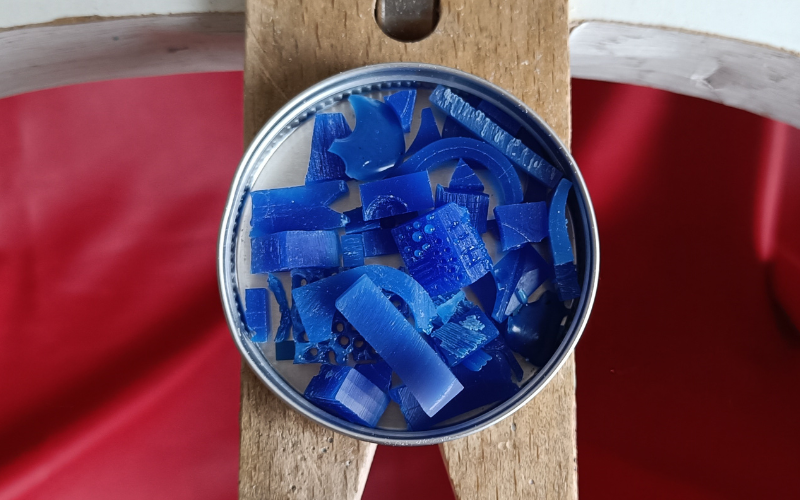
Remelting wax
Tea light
The easiest way to remelt wax is by using stuff you probably already have at home.
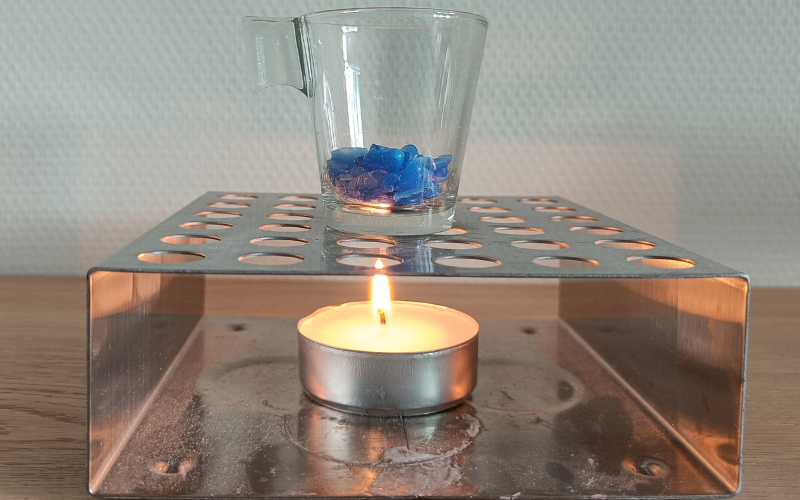
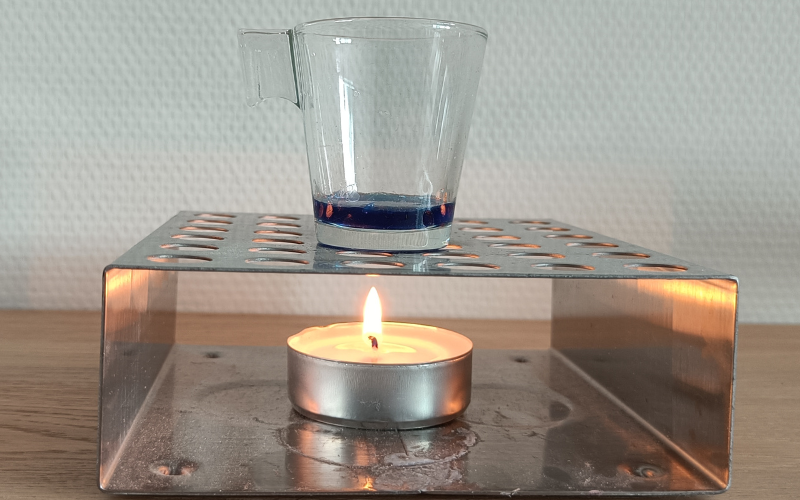
A tealight and glass are perfect to melt down small amounts of wax. Place your scraps in a glass, put it on top of a flame and let it slowly melt over the next 10-15 minutes.
This method only works with small amounts of wax (unless you use a candle that can produce more heat). If you overfill your glass with scraps, the bottom will melt and the top scraps remain as they are. Start with a small amount, and when it’s completely melted you can always add a few more scraps to it.

The best part of this method, is that you can let the wax cool and solidify in the glass. Simply remove your glass from the flame and leave it to cool.
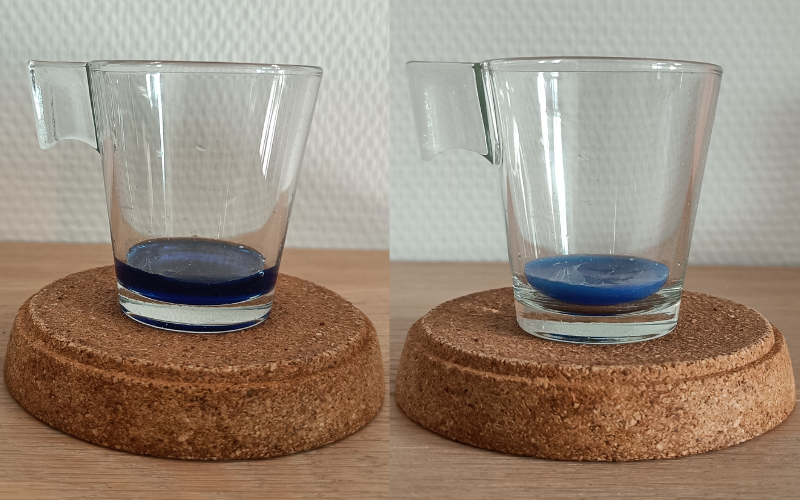
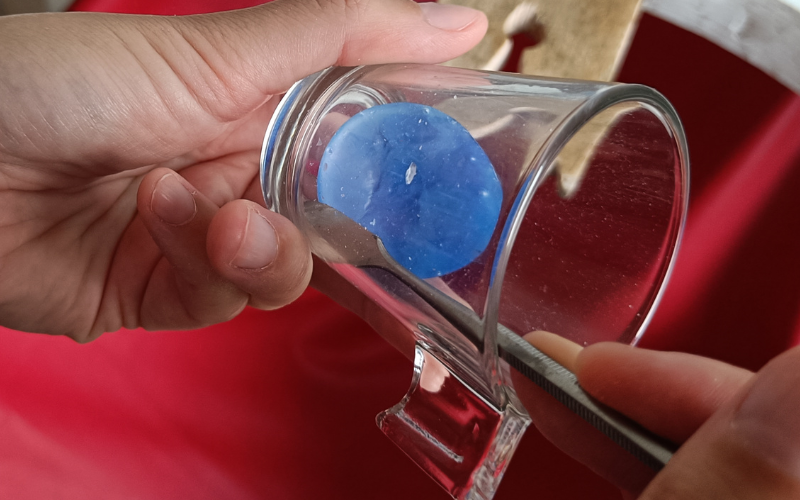
Once the wax is solidified use something thin and sharp to push between wax and glass and the wax will come out.
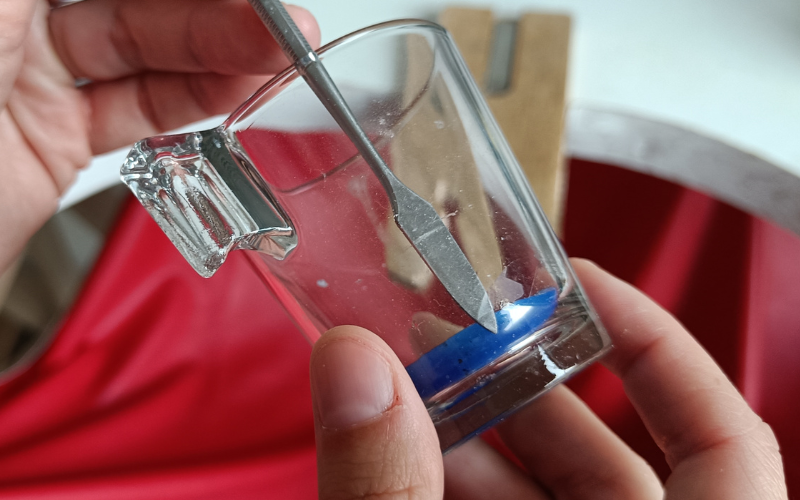
If you’re scratching the wax and it doesn’t come loose, let it cool a bit longer. When it’s completely cooled, removing it is easy.
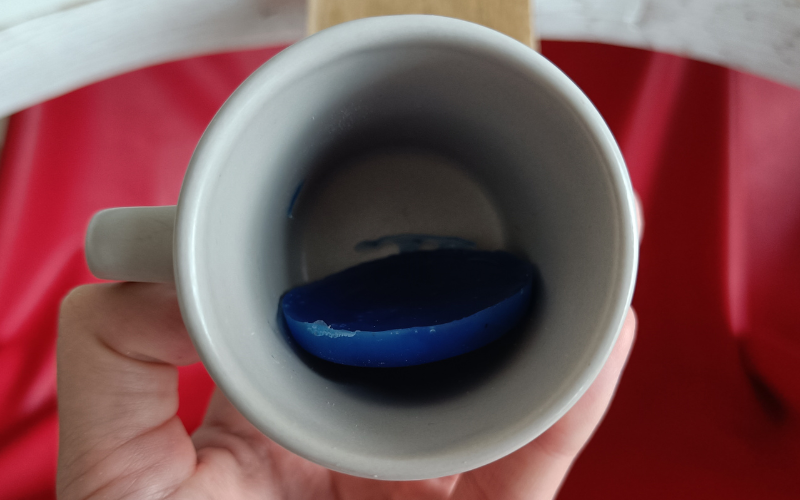
A stoneware mug works even better than glass for this! When the wax cools it doesn’t stick to the mug. A small push along the edge and the wax comes loose.
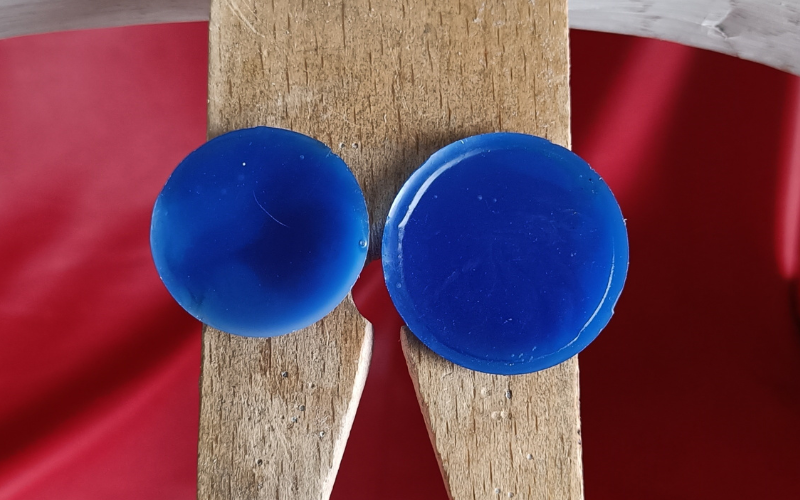
Now you have a clean piece of wax ready for new pieces. Because you can only melt a small amount of wax this way, your new wax slices are nice and thin. Easy to use without too much work piercing it to the correct dimensions first!
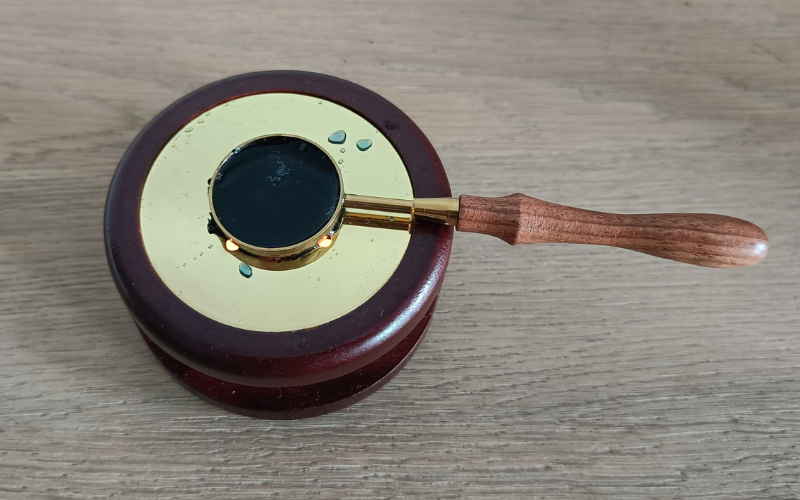
Wax seal melter
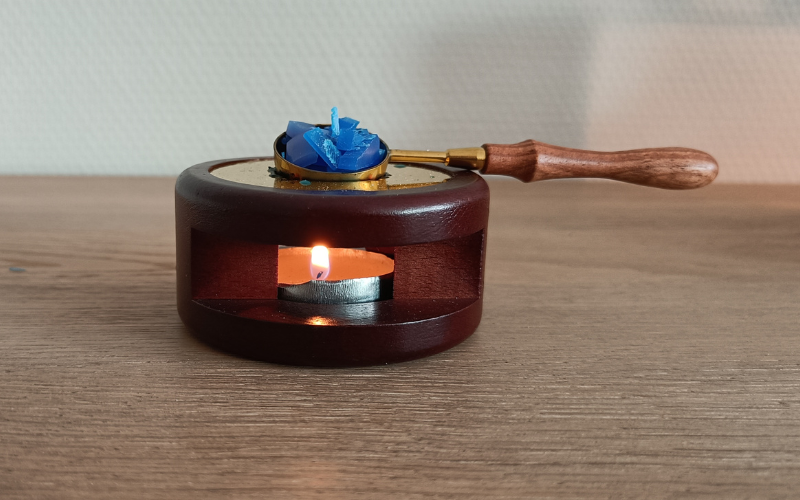
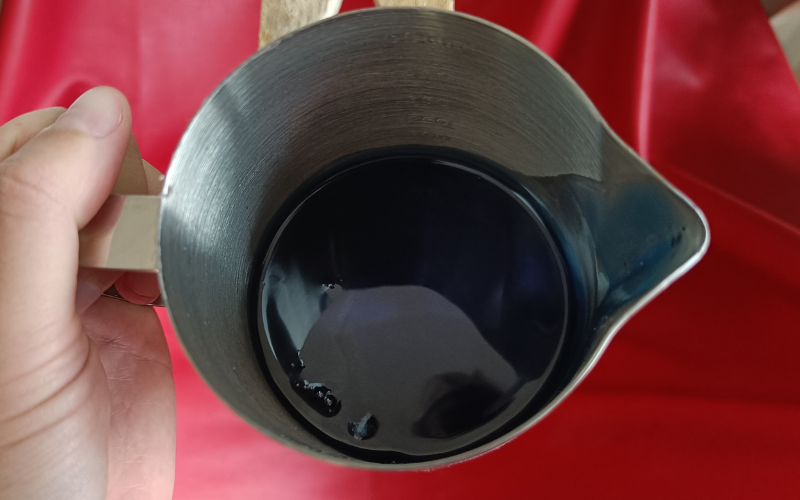
Another way to melt small amounts of wax is a wax seal melter. Fill the spoon with scraps, let it melt over the flame and you can pour the liquid wax in a mould of your choice. I don’t recommend letting the wax solidify in the melting spoon, it’s very difficult to remove once it’s hard again!
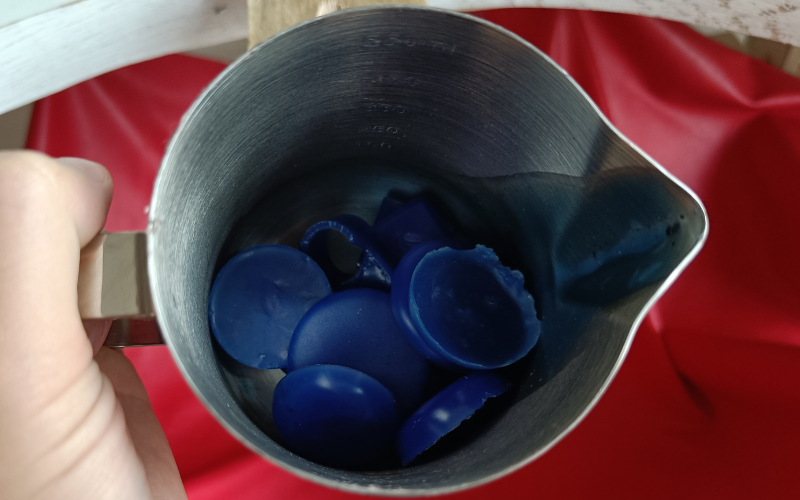
Candle wax melter
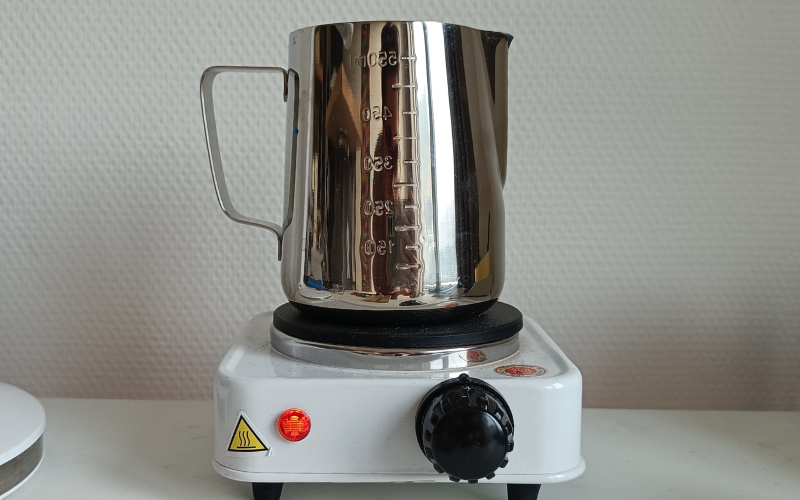
To remelt a large amount of wax you need a bigger tool. Like a candle wax melter! Fill the cup with scraps, put it on the heating hotplate, turn it on and let the wax melt.
The hotplate has different heat settings so play around to find the best one. Mine works best with the setting between 3 and 4. Once it’s melted you can use the cup to pour the liquid wax in a mould.
It’s a big cup so you could melt a lot of wax in one go! I’ve never had that much scrap wax that I could fill the entire cup, so I’m not sure how easy it is to melt a cup full. I would melt a smaller amount first and keep adding scraps to the liquid wax to see how it goes!
Moulds
There are so many options of things you can use as a mould. Whatever you decide to try, make sure it can handle some heat!
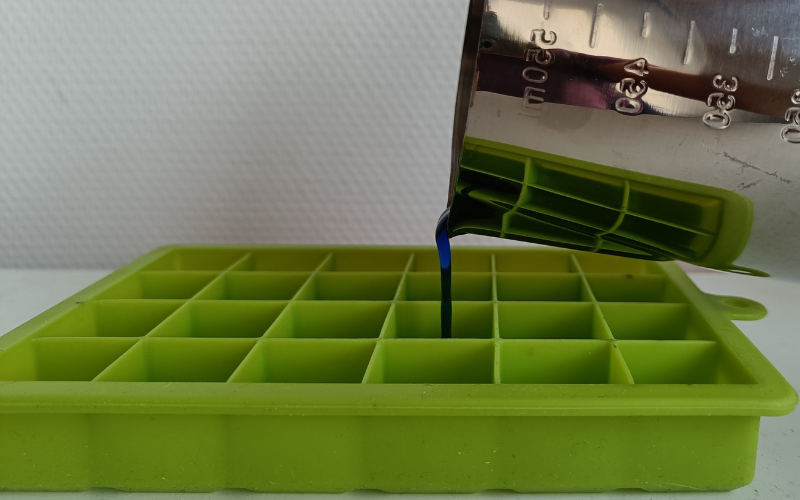
Silicone ice cube/chocolate moulds. These come in all kinds of shapes and sizes.
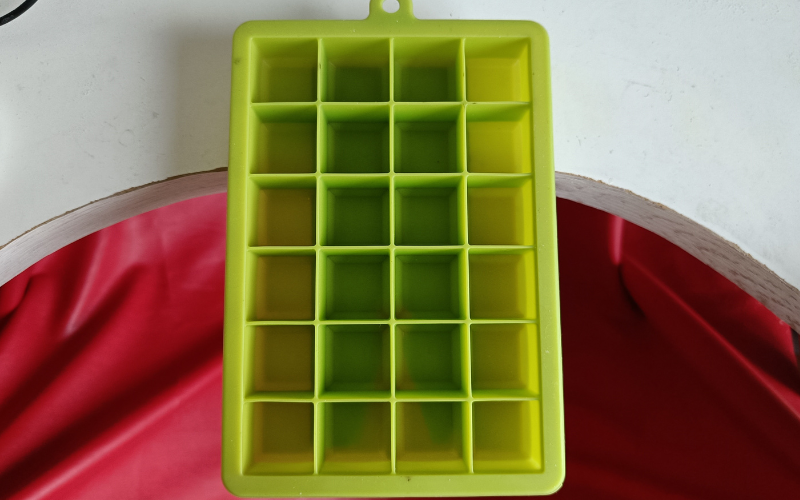
One mould has multiple impressions to fill: no need to make one big piece of wax, you can make them in small manageable sizes. And with the flexible silicone, it’s easy to push the wax out from the back if it gets stuck!
You can pour your liquid wax into the mould and let it harden and cool down.
You have to be patient here. Wax starts to solidify again as soon as you remove it from the heat source. But it takes a while for it to completely cool down and harden again. If the surface you can see is already solid, but the mould still feels warm, let it rest some more. When the surface no longer feels warm you can remove the wax.
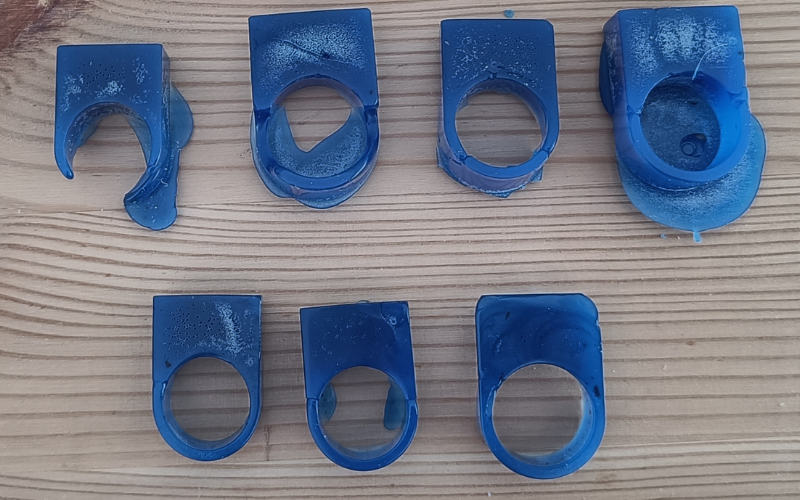
Resin ring moulds If you make more rings, it makes sense to remelt yor scraps into ring blanks!
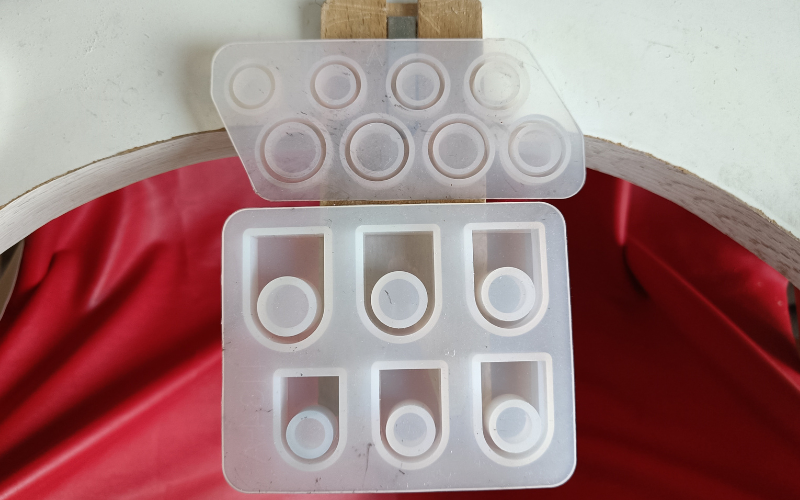
I’m not gonna lie, it’s difficult to get the thick wax into the narrow opening of the ring moulds. Making sure it goes all the way through and you get a complete ring? Even more difficult. No spilling outside of the opening? Impossible.

But after a few terrible pours you learn what works and slowly improve. Good thing you can just throw your bad pours straight back to remelt and try again!
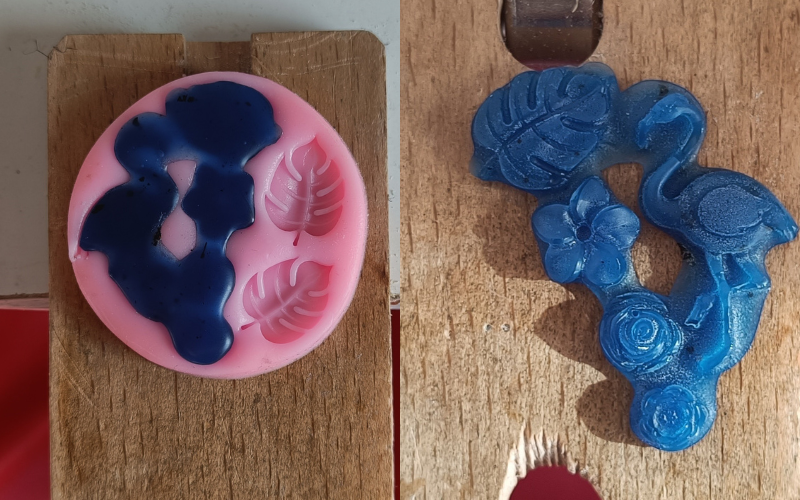
Polymer clay moulds. If you’re looking for some quick and easy ready made pieces, you can find what you’re looking for from polymer clay moulds.
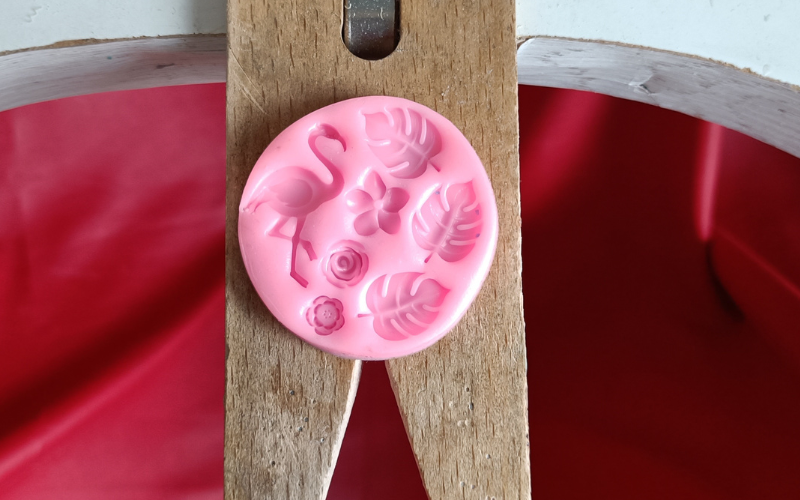
Here as well, it’s difficult to get the thick wax in all the really thin parts. It’s best to pour over the edges to make sure you get all the small details. And if it doesn’t work on the first pour, just try again!
Pouring
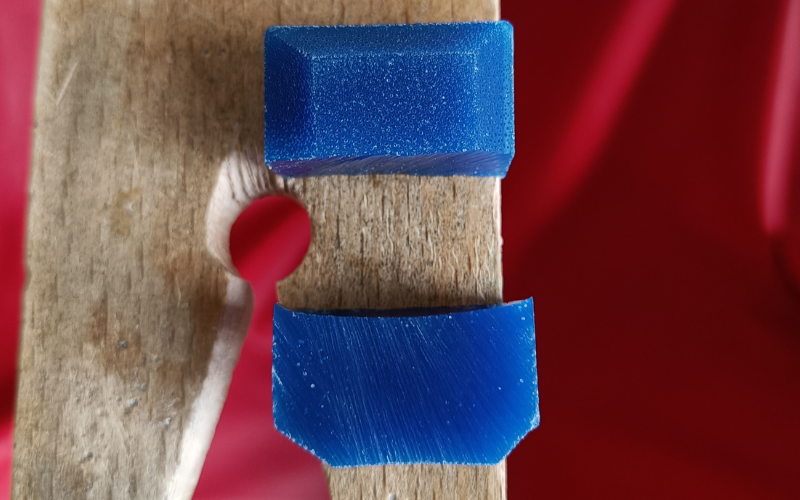
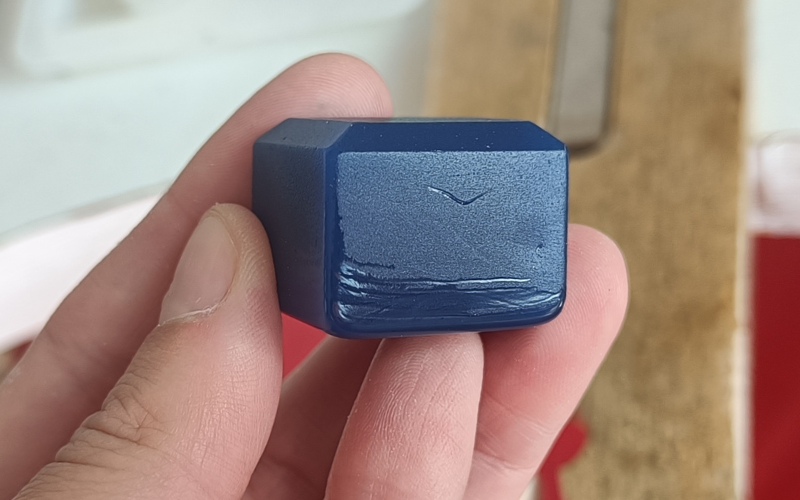
You’ve melted your scraps, poured it into a mould, let it cool, take it out, only for your new piece of wax to look like this.
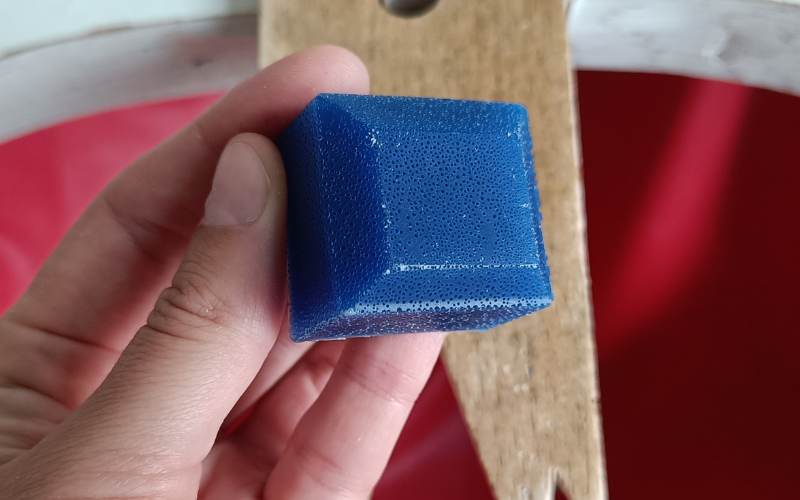
Usually the air bubbles are just on the surface. When you cut the wax open you can see that it's all solid inside. You can use the wax as normal and just remove that first layer. Or if you like the way it looks, use it as a surface texture!
To prevent the air bubbles from appearing, you have to wait a little while before you pour the liquid wax. Remove the wax from the heat source and let it start to solidify. If you swirl the wax you can see this happening. The wax moves slower and slower. When it’s barely moving anymore, you pour the wax into the mould.
It takes some practice to get this right. Wait too short and you still have air bubbles. Wait too long and the wax won’t pour. Just try pouring wax at a few different temperatures and see what happens!