Melting wax pieces together
Melt both waxes
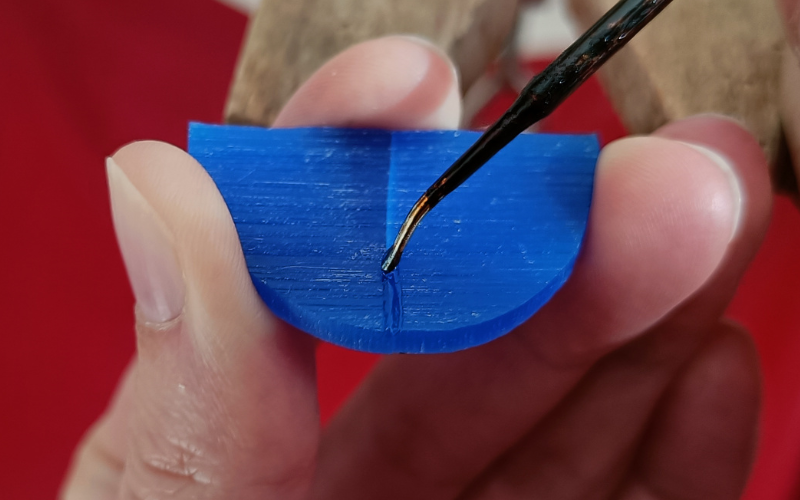
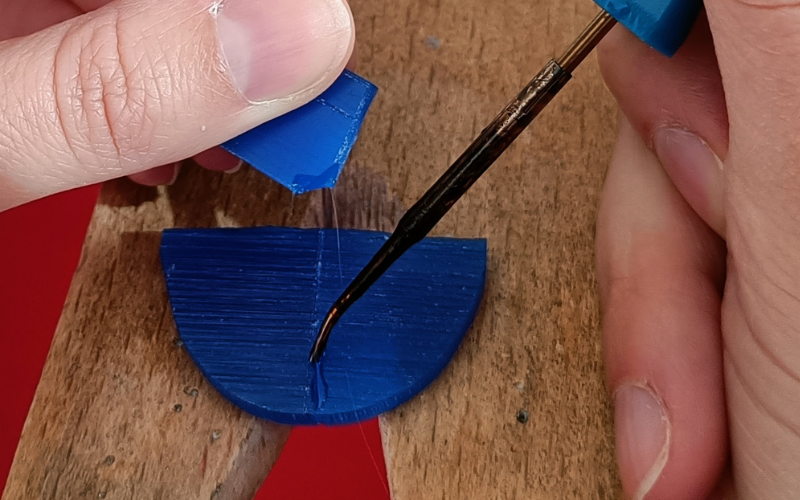
The easiest way of melting 2 pieces of wax together is by just melting them together! You place your pieces of wax next to each other. Put the point of your wax heating pen on the join, pull your heating pen along the join, and watch your pieces melt together.
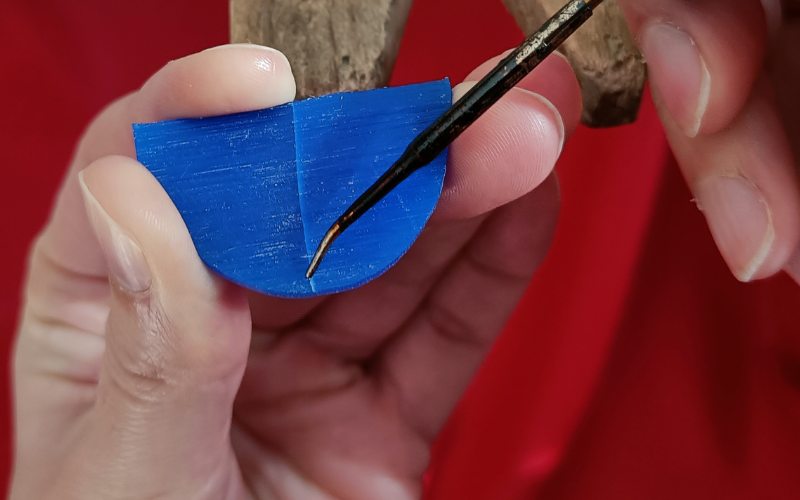
Both of the waxes melt and become liquid. They mingle together and when they solidify the 2 pieces of wax are now one.
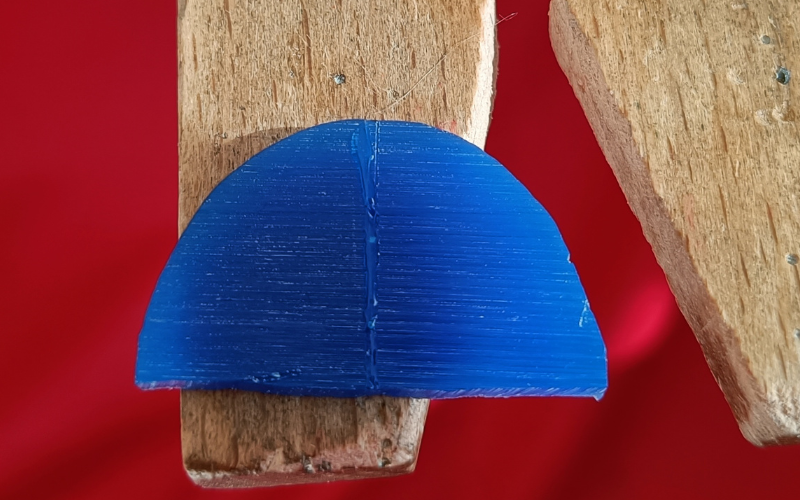
Because of this, you can see where the 2 pieces are joined. The wax is thinner at the join than the wax around it (the join usually becomes a slight dip), and it looks melty.
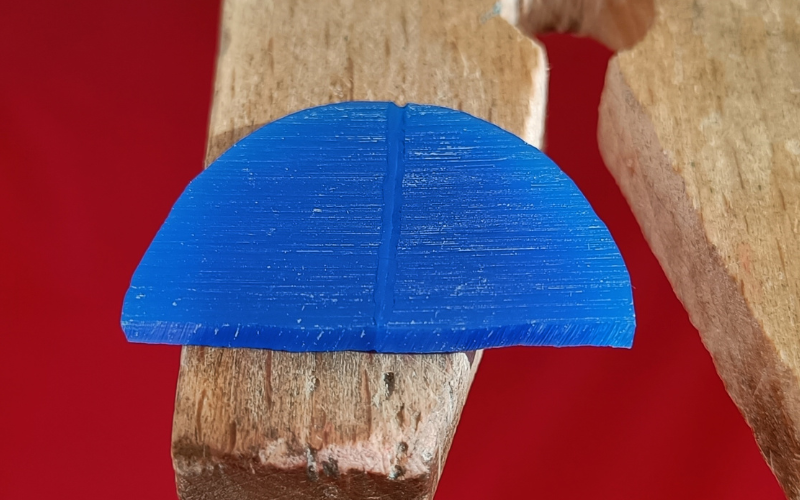
This method of melting together is best if you can hide the join in plain sight. If you’re making a textured piece you can texture the join to make it fit in. If the join is in a hard to see place and it won’t be noticeable. If you’re still doing a lot of work to your piece and it will be included that way. There, but not noticeable!
Add wax to join
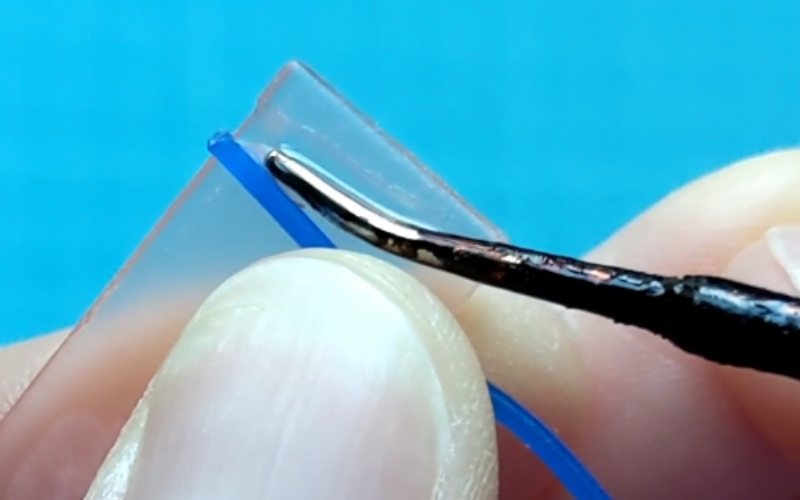
This method is most similar to working in metal. Think of melting 2 pieces of wax together as soldering!
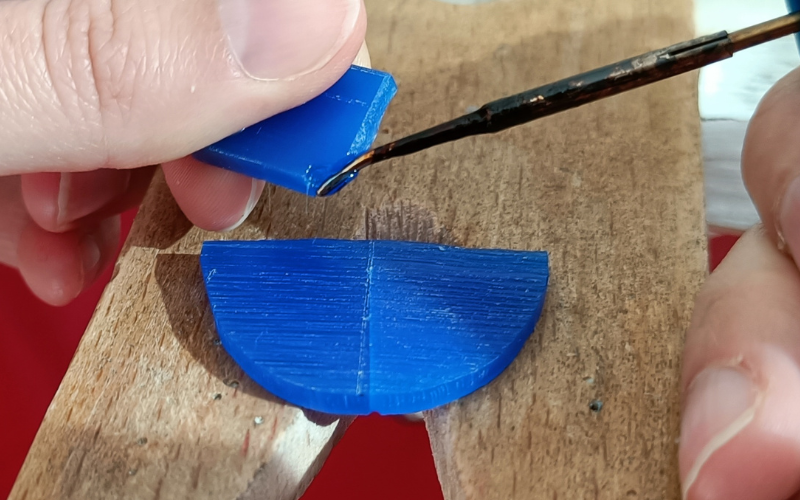
You line up the pieces you want to attach, take a piece of scrap wax (your solder) melt some with a wax heating pen and add it to the join.
You want to make sure you cover the entire join, and that the added wax is touching both pieces of wax and not just one!
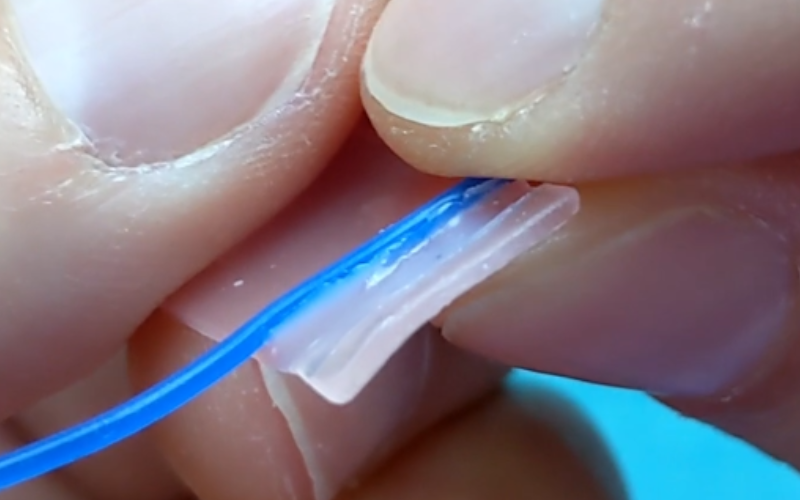
After you’ve checked that the pieces are melted together properly you can clean away some of the excess wax. You can’t remove too much or the pieces come apart again, you have to leave a thin layer behind.
Alternatively you can choose to sprue your piece on the join. You already have to clean up the sprue area in metal anyway, save yourself some time and don’t clean it up in wax form!
This method of adding wax to the join is best if you want the melted together part to be invisible in metal form without too much extra work. A few file strokes in metal and your thin layer of added wax is removed and nobody will know it was there!
Melt one wax
With this method you melt only one of the pieces of wax you want to melt together. Place your pieces of wax next to each other, melt one of the pieces right next to the join. When the wax becomes liquid, push it towards the other piece and make sure it touches it.
The wax solidifies and your 2 pieces of wax are attached.
You want to practice only pushing the liquid wax the smallest amount necessary for the waxes to melt together and not cover your second piece of wax completely in the first one.
This method is best if your join is in a difficult to reach spot, the liquid wax can easily travel to a place your heating pen can’t reach. And once you get good at using only the bare minimum, the join will be very minimal and can be easily cleaned in metal form.
Because you’re taking wax away from one piece it’s best if you’re still going to form and shape that piece. Otherwise you end up with a dip and melted looking section of wax right next to the join!
Different melting wax
If you’re working with hard wax, you always have the option to use a soft wax to melt on top of your join. Soft wax has a lower melting temperature than hard wax so the chances of you accidentally touching something you didn’t mean to and melting it become a lot smaller!

You can even buy special fixing wax like Patch Eze.
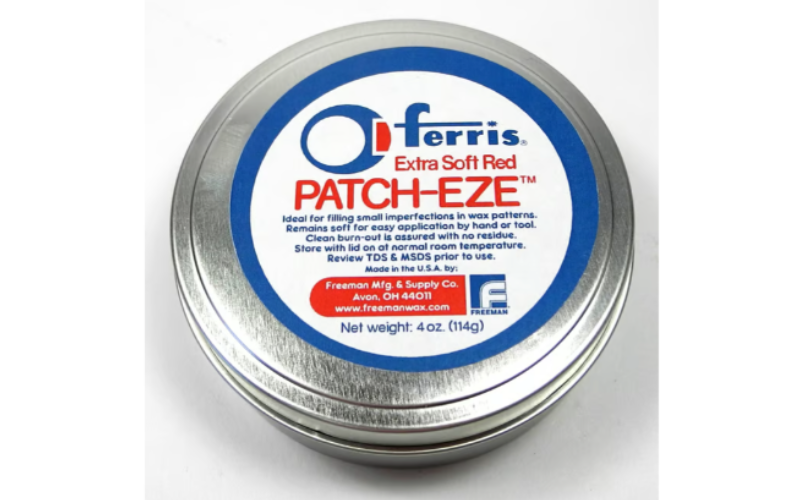
I’ve never tried it, I have enough other soft waxes I can use for this. But it’s available if you’re looking for a small amount of soft fixing wax!
Attaching different waxes
It’s completely possible to melt hard and soft waxes together, you just have to be even more careful. Because hard wax melts at a higher temperature it can easily melt through a soft wax piece if you add it.
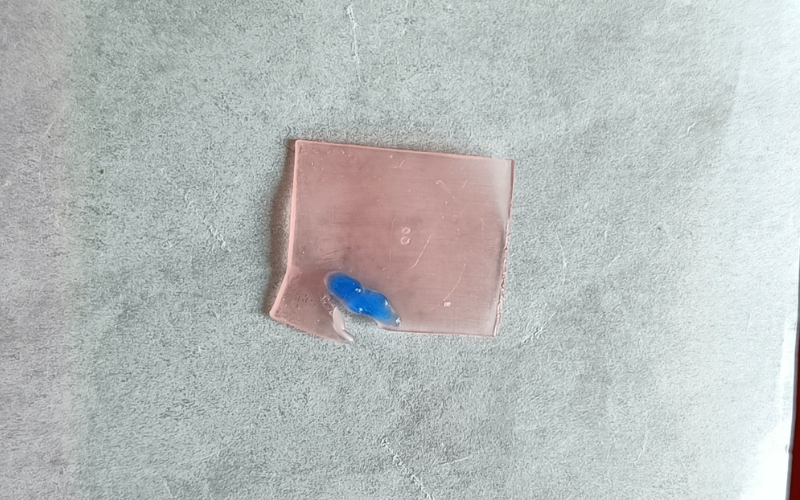
It’s much better to use the soft wax as your melt and attach wax. Melted soft wax isn’t going to damage your hard wax piece!

Comment below and let me know if these tips were helpful!