Make a ring with a rosecut stone
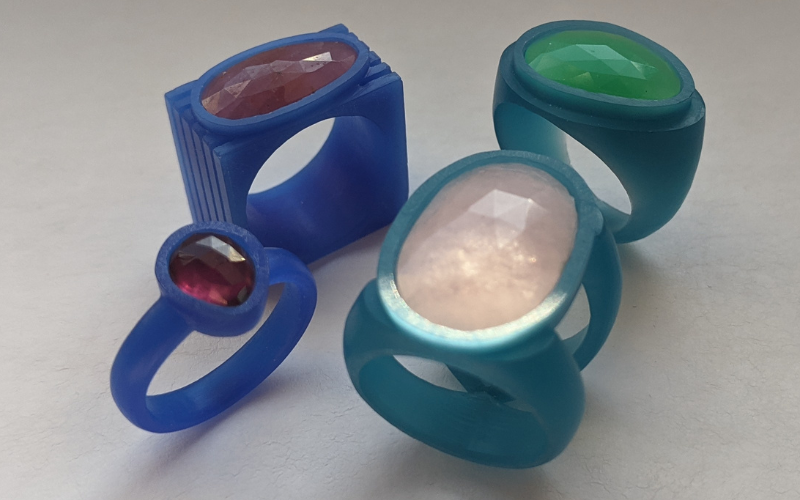
You have some carving experience and want to improve. Learning to carve a ring for a rosecut stone is a perfect way to expand your skills. You learn all about how to create a setting for a rosecut stone and how to make fun different ring shapes to go with it.
So, what are some of the skills you learn in this class?
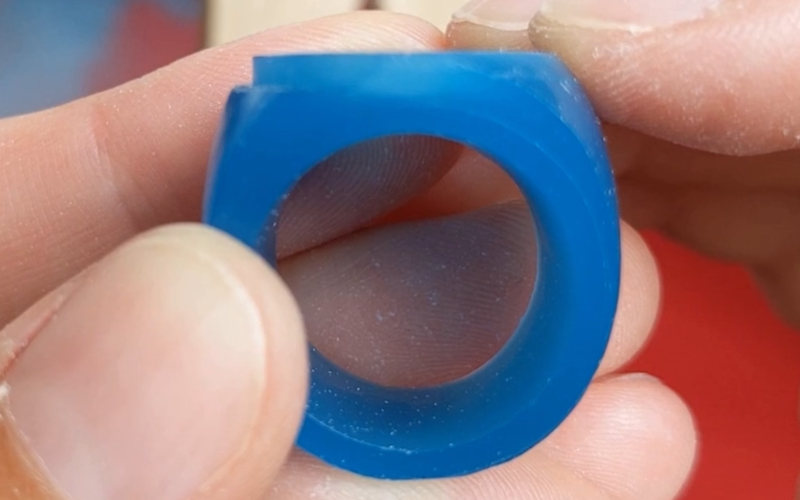
Prepare the ring blank
Before you even put saw to ring tube, you have a decision to make. In which direction is the stone going over the finger?

Horizontal or vertical makes a big difference on how wide to pierce the ring blank with some stone shapes!
Another thing to check before you start is the height of your stone and the height of your wax.
You make the setting by dropping the stone down in the wax, so you need to start with a wax thick enough for that to be possible!
The flat top ring tubes come in different sizes and the smaller ones might not have enough height for a ring like this.
When those things are checked and taken care of, you can pierce, file, and size your ring blank.
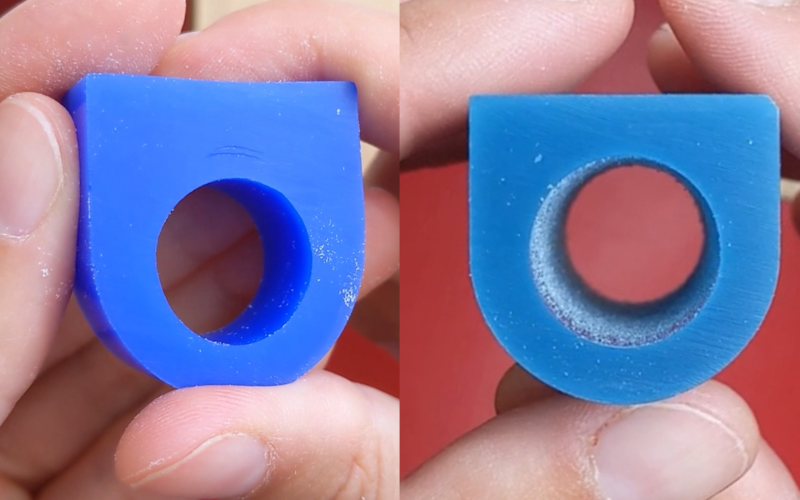
Create a seat
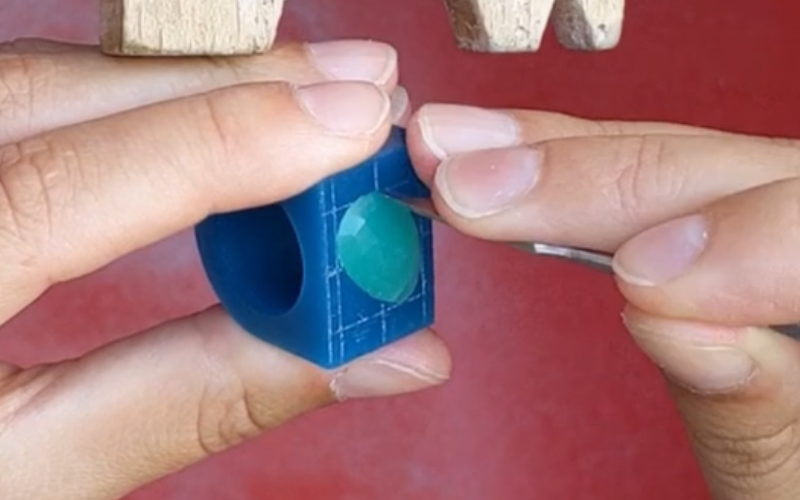
Next up, create the seat for your stone.
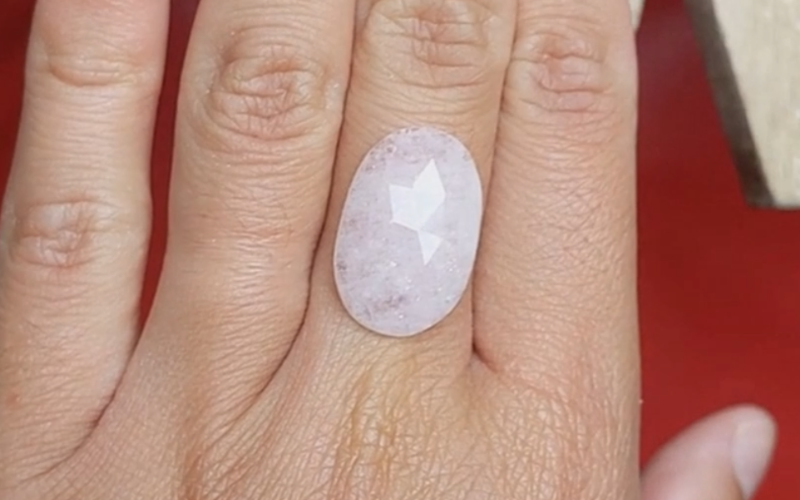
Outline: first you need to get the outline of your stone on the wax. It’s always a good idea to draw some centre lines on the wax to be able to position your stone the way you want.
Rosecuts are often irregularly shaped, so play around with the orientation. Draw attention to the irregular shape of the stone by placing it in an irregular way on the finger!
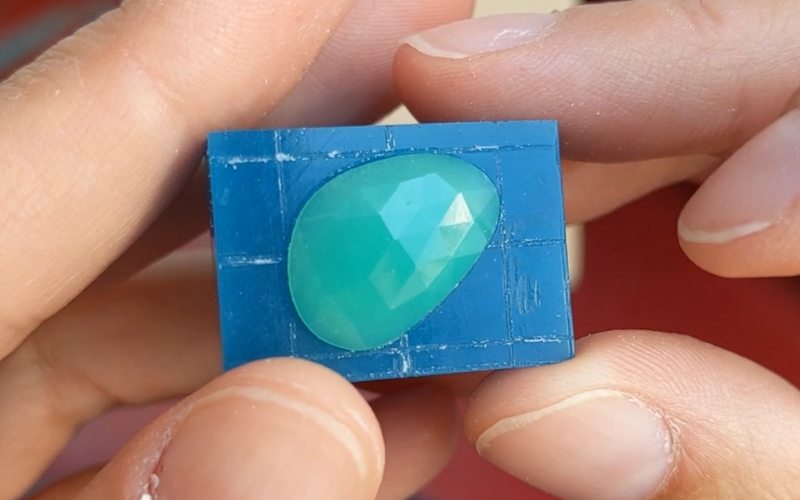
And with the help of some beeswax and a scribe you can get the exact outline of the stone marked on the wax.
Shape: the easiest way to make the seat, is by burring away all the wax inside the stone outline. To make sure you don’t overdo it, start shallow and focus on getting it the right shape first.

If the seat is not the correct shape, the stone won’t fit! Start slow and check often with your stone.
Depth: once you’re sure you have the correct shape, you can make the seat deeper. The stone needs to be deep enough inside the wax that you can see a line of wax above the stone.
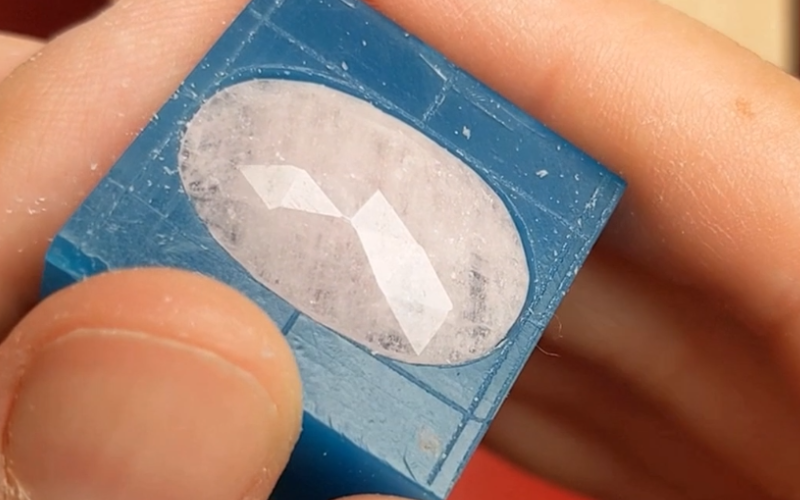
Yes, that’s the inside of your setting wall! You’re going to need it later on to set your stone.
You can learn all about carving a seat for your rosecut stone here.
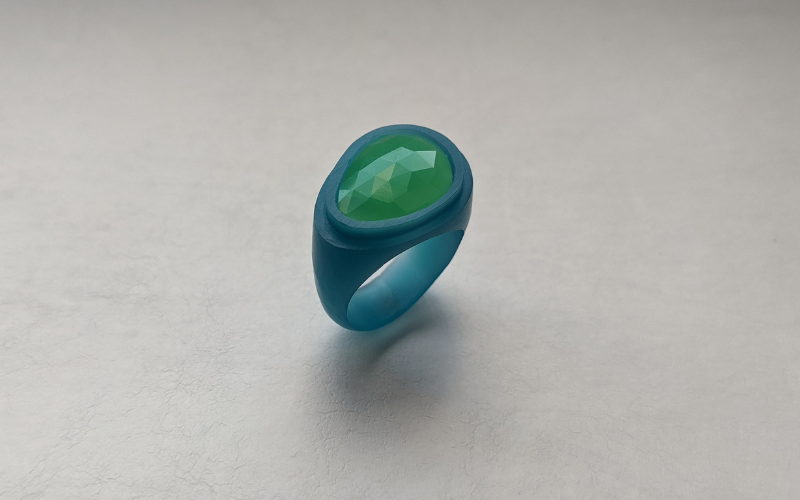
Different ring shapes
Off course a classic court ring always looks good paired with a stone.
But why not have some fun with the shape of the ring?
When you make a ring from wax, you always pierce it to the widest point. A big stone needs a lot of wax to start with. Use that extra wax and try something fun and new for your ring shank!
Like a split shank ring.

Or a diagonal shank that’s wide on one side and small on the other.
And what about a square ring?

Let the shape of the stone inspire the shape of the ring!
Learn how to make all these ring shapes in this class
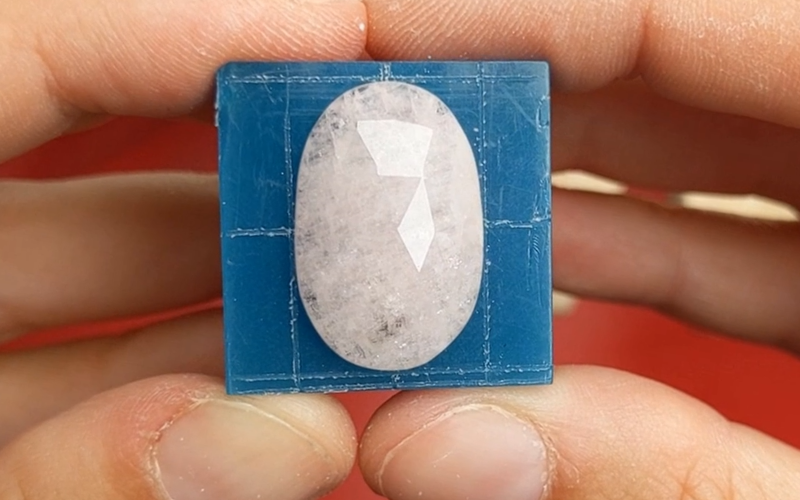
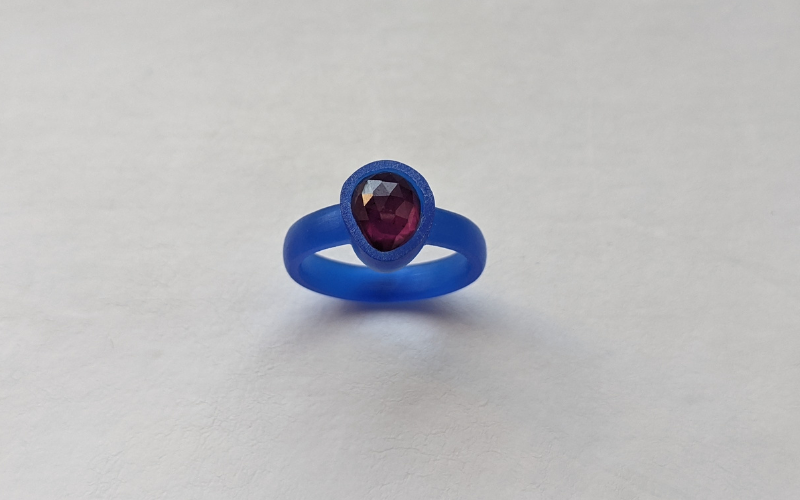
Setting wall
There’s going to be some back and forth between shaping the ring and creating the setting wall. You can’t create the setting wall until some of the wax is removed by shaping the ring. And you can’t finish shaping the ring until you have your setting wall.
Mark the dimensions of your setting wall and carefully carve and file it into existence.
I always recommend leaving your setting wall a little thicker in case of shrinkage. That way you have extra metal to play with in your casting.
Do as I say not as I do
So many ways to safely test the fit of your stone in the setting and remove it. Do I show them? No. One of my bad making habits is on full display in this class: stick something flat and sharp between stone and wax and leverage the stone out that way.
It’s a bad habit because it’s so easy to damage the wax that way.
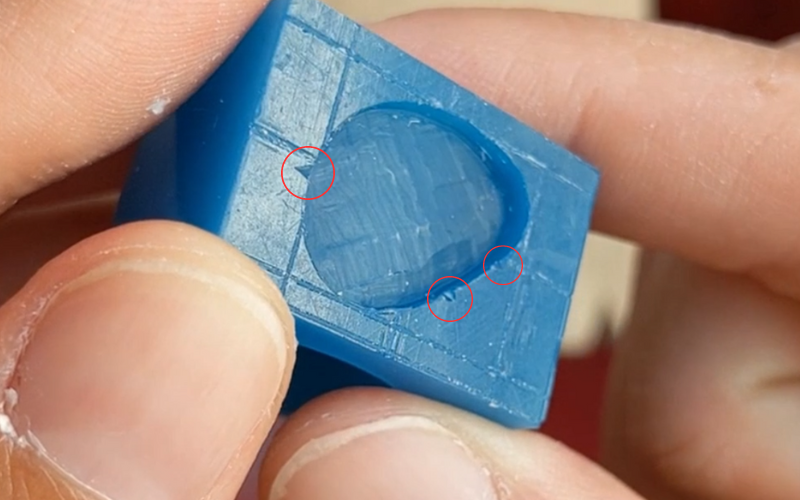
To make the most of it, my bad habit is turned into a teachable moment: how can you fix and remove accidental damage to your wax?
Of course the best thing would be to use better stone removal techniques. Like placing some dental floss underneath the stone before you try the fit, so the stone lifts out when you pull on the floss.
It’s a classic ‘do as I say not as I do’ in this class.
But if you have a similar bad habit, it’s good to know it's not the end of the world! And it’s a good idea to learn what to do when you damage your setting wall. So learn it now, from someone who’s been there.
In short
You learn how to make a setting for rosecut stones and how to make a ring band that suits the stone.
Feel inspired to learn all this? You can buy the ring for a rosecut stone class now!