Introduction to marking wax
File first
In order to get good marks on your wax, it needs to be clean. That means that before you mark, you file away the machine surface of the wax/piercing marks/surface imperfections/etc.
Marking is much easier on a clean surface and it’s also easier to see.
You also want to make sure that you have at least one straight surface to use as your guide for marking. If you want to mark a straight line, you need a straight edge to mark from.
Your dividers don’t care if the edge is mostly straight. They’re not able to magically straighten out the uneven part. They follow what is there. File one side straight first, and you have somewhere to mark from.
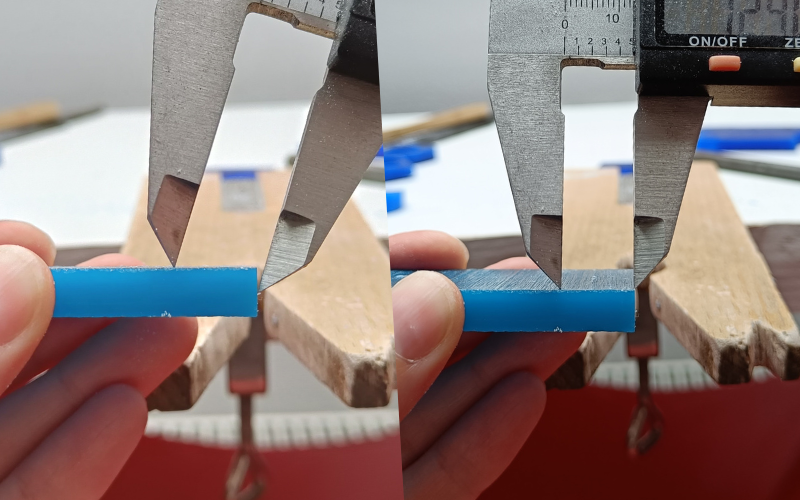
Check the angle
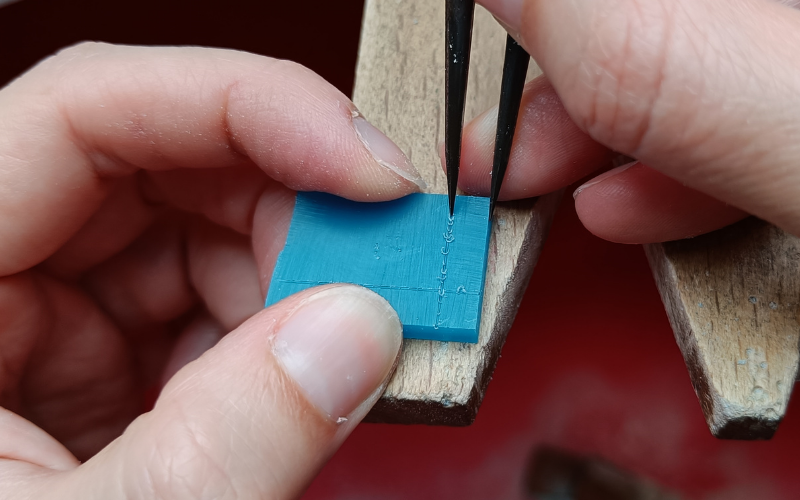
You’ve measured the distance you want on your dividers, you mark it on the wax. But when you double-check the distance, it’s off?!?!
This took me an embarrassing long time to figure out. But there is a difference between marking like this

And like this.
Before you start marking, check the angle of your dividers. Where is the guiding leg of your dividers running? When it’s running on the top, it’s much more accurate.
And yes, a wrong angle is possible with any type of marking tool. Like your callipers
Or a scribe as well
Position your dividers, check the angle and then actually mark.
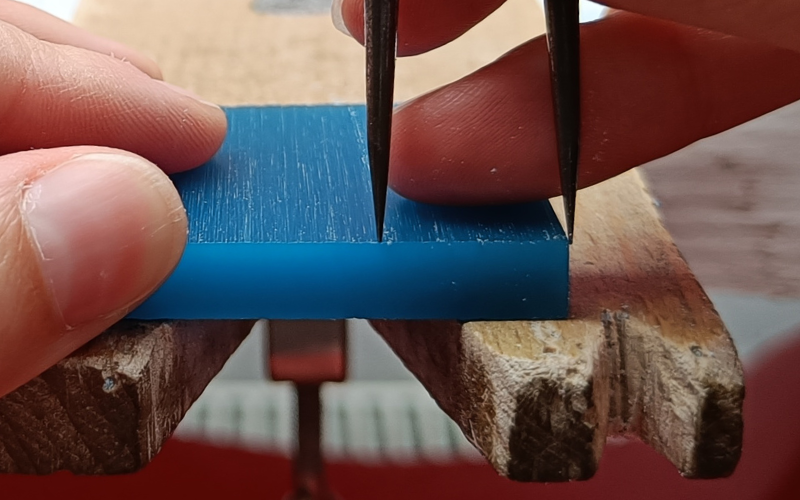
Once you have the correct angle, you want to make sure you keep it for the entire marking length. The best way to do that is to…
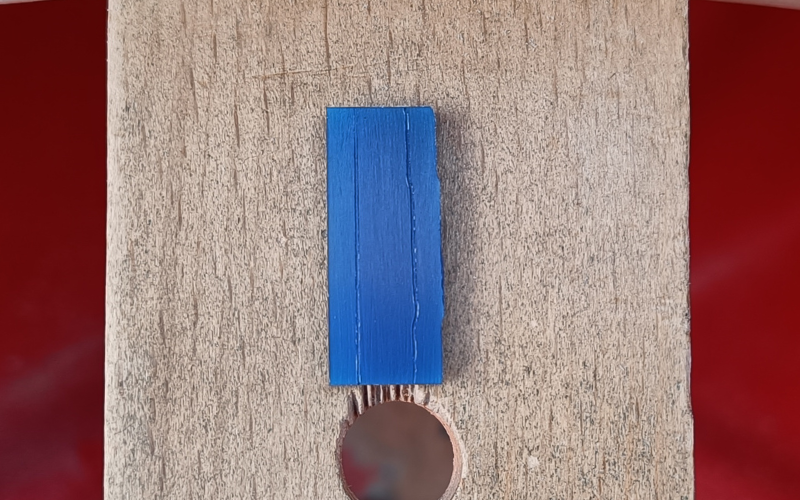
Mark in one direction
You marked one side at the correct angle, time to figure out how you get the correct angle on the other side.
No need for that. Just turn your piece and mark your second side from the same direction. You know how to hold the dividers at the correct angle from this side already. Why make things hard?
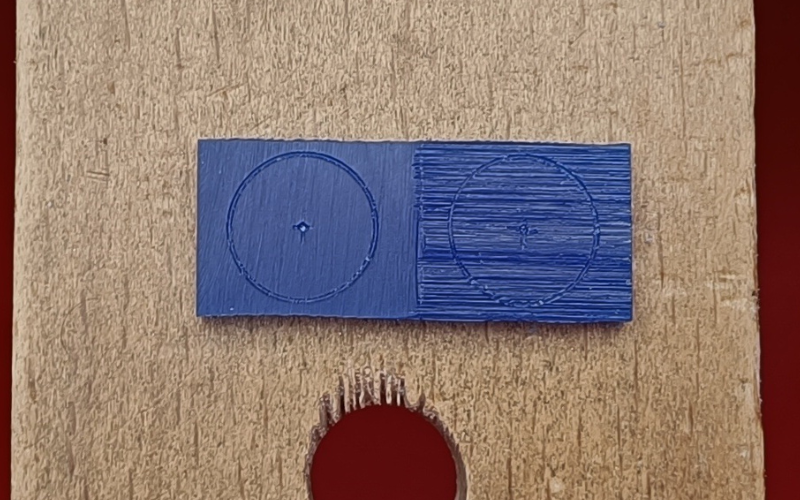
This is not just for straight lines. It’s easier to mark circles in halves or even quarters as well.
Turn the wax so your marking hand is always making the same motion.
This way you distribute even pressure while marking the entire circle. And there’s less chance of the dividers slipping as well!

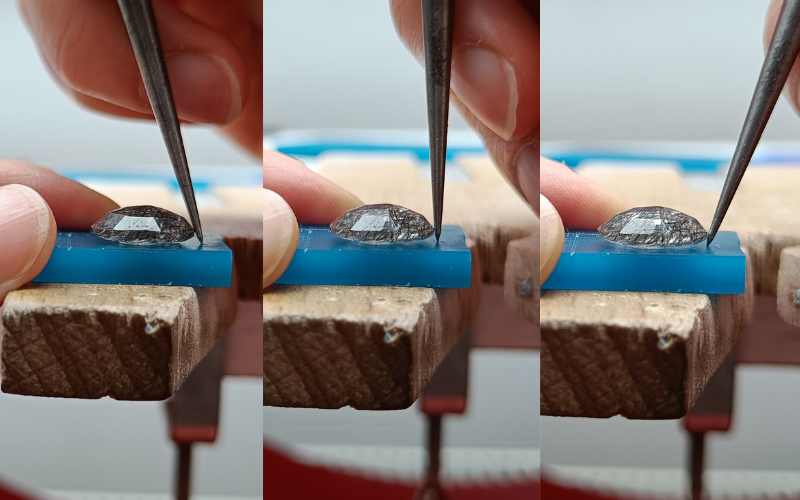
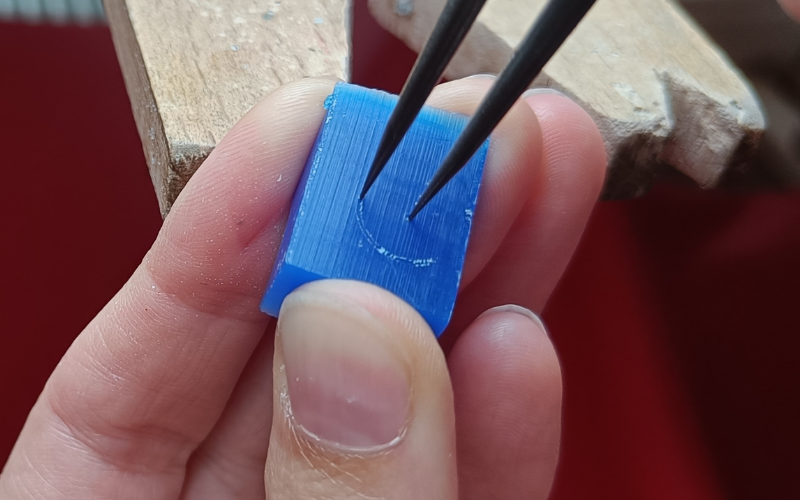
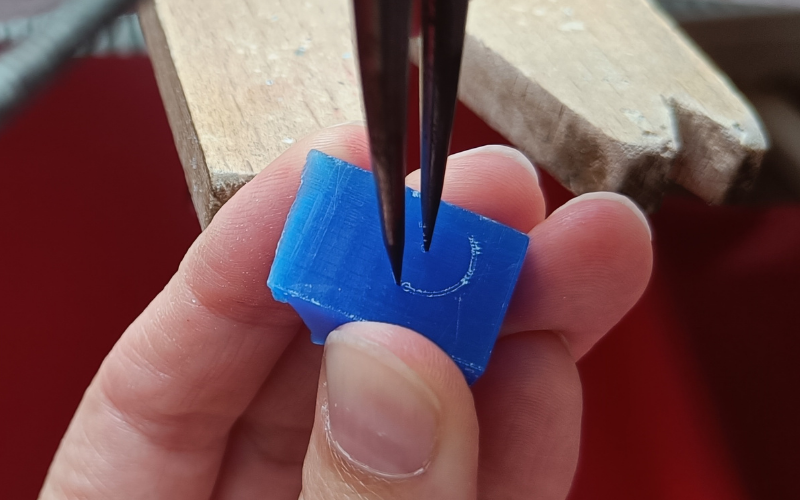
And definitely mark in one direction when you mark the outline of a stone. There is no way you can keep the same angle all the way around. Mark one section, turn and mark the next section the same way.
Now that you are marking at the right angle and from one direction, you want to make sure you…
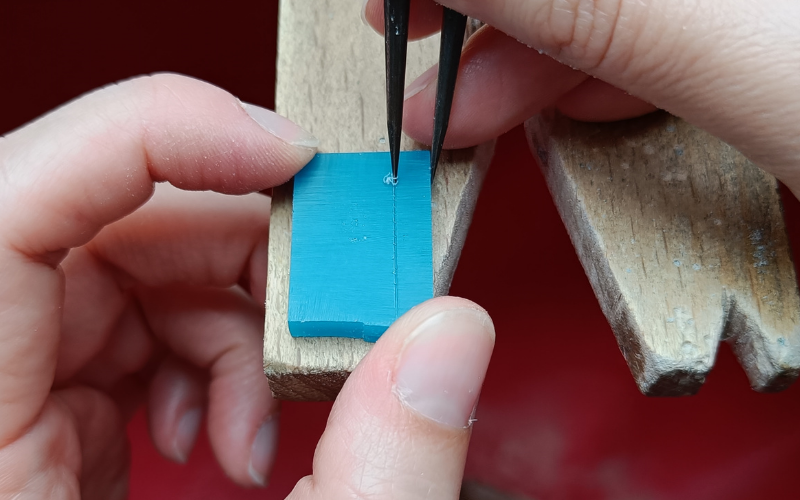
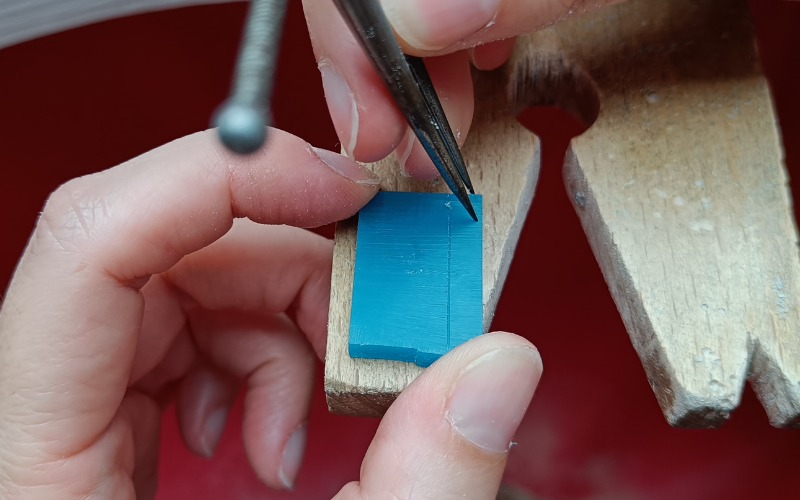
Mark where you can see
You need to see what you are marking so you can make adjustments as you go. Line to faint? More pressure on your dividers. Angle wrong? Change the angle.
The only way you can do this, is by marking a place where you can see what is happening.
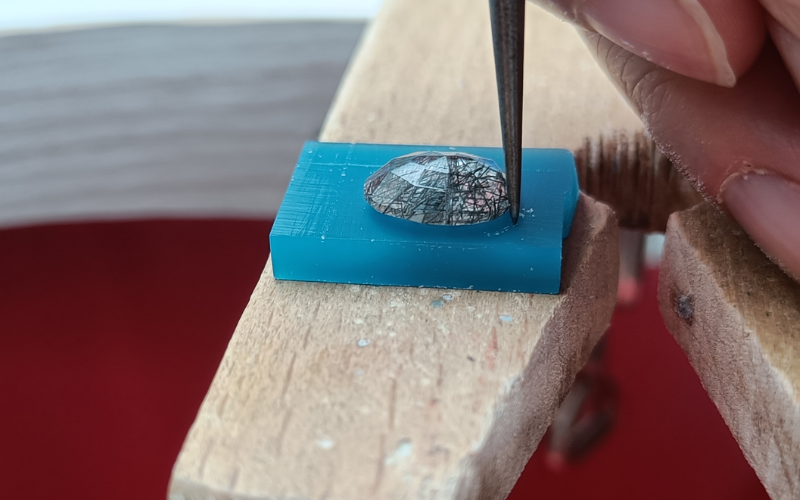
I have no idea what my scribe is doing now because the stone blocks my view.
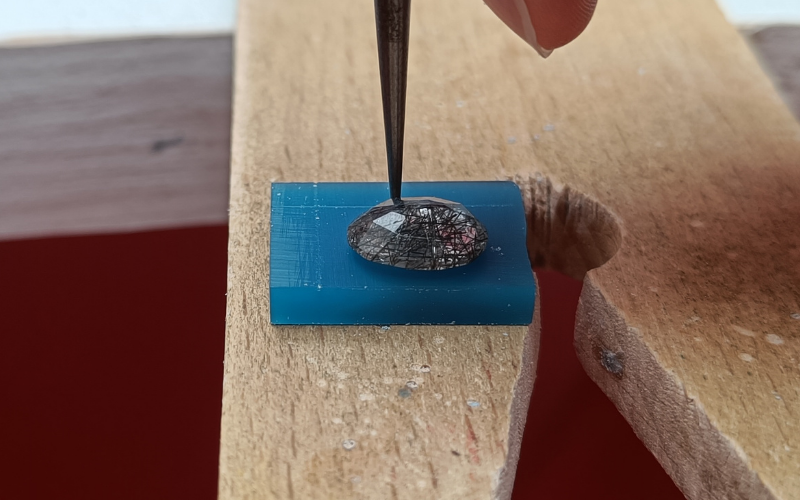
That’s why I only mark around stones in the bottom right corner because I can see what is happening.
Everything you mark will have a different area where you can see best.
For me that means I only mark my stones in the bottom right corner, circles on the left side and straight lines on the right side.
But for you it can be totally different! Take some time and find your areas where you can see best what you are marking.
Comment below and let me know if these tips were helpful!