Come carve a ring with me at Kreadoe!Come carve a ring with me at Kreadoe!
Green wax
Green is one of the more easily available wax colors. It comes in all the different shapes and sizes. So what’s it like to work with green wax?
For the wax color comparison series, I make some pieces with each wax color. I use all the common tools and techniques and describe how easy/difficult they were. Keep reading along and find the wax that best suits your making style.
Curious about the other colors? Read about purple wax, turquoise wax, gold wax, Wolf gold wax, blue wax and orange wax.
Piercing
I used a regular saw blade for this. With a wax blade, all colors would end up with the same verdict: quick and easy. Besides, you want to use a regular blade for precision work.
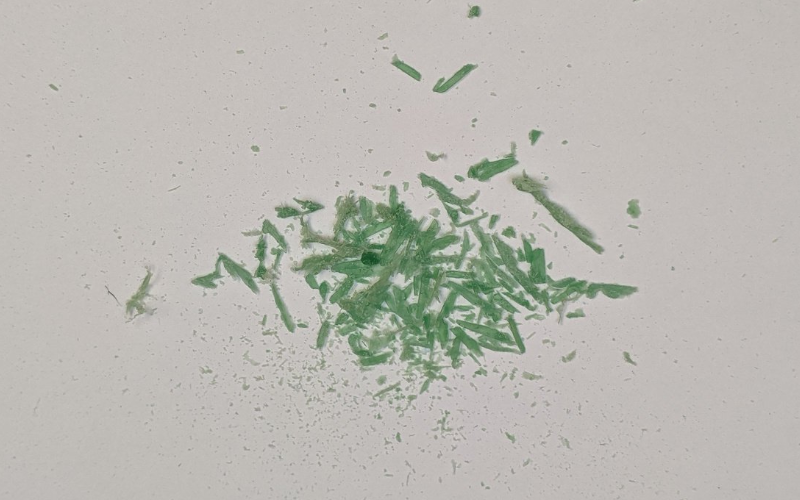
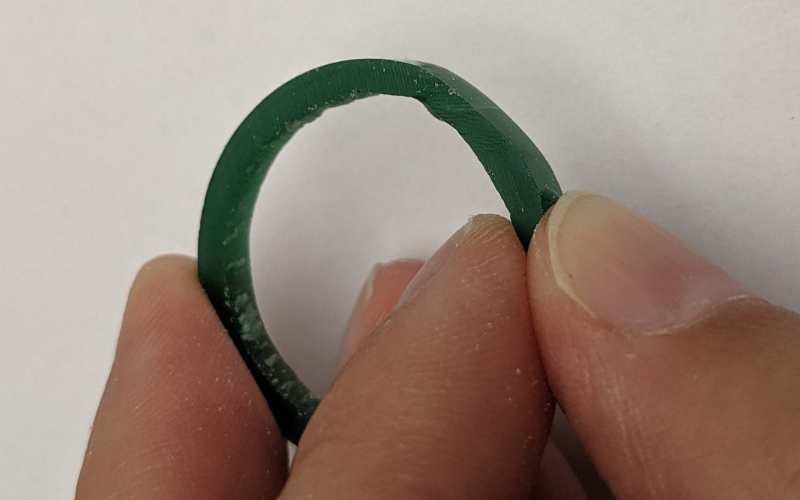
Thick pieces (ring tube etc): piercing thick pieces is difficult. You can feel that the wax is hard and there is resistance with every piercing stroke. Progress is SLOW. The wax dust comes out in these long pieces. You won’t pierce through quickly, but you’ll pierce through pretty cleanly eventually.
Thin pieces: piercing thinner pieces is easier, but you can still feel the hardness in the wax a little bit. Because of the way the wax comes out in long pieces, your line quickly gets obscured. Piercing accurately to the line takes a little longer.
Hand files
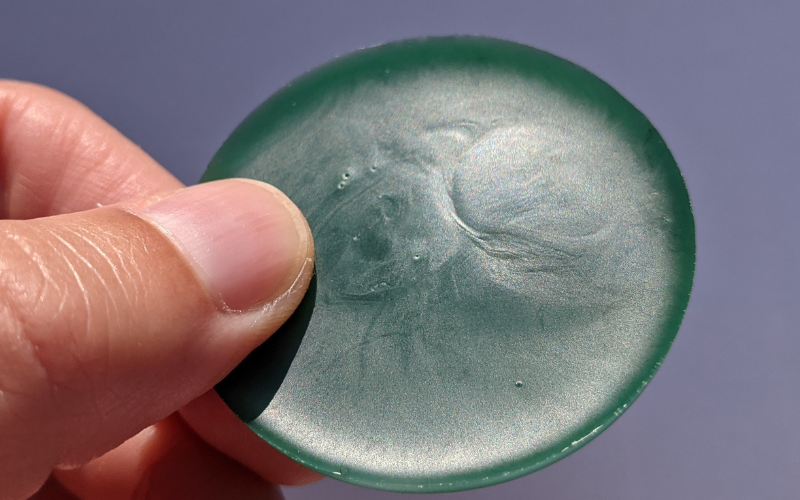
Big sections (side of a ring etc): filing big sections is difficult. Again you can feel that the wax is hard and progress is slow. It takes some time to get a flat smooth surface.
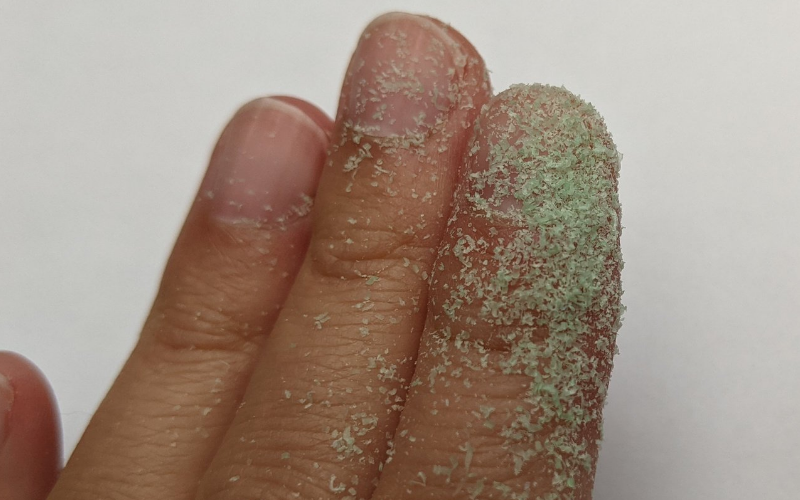
The slow progress shows in the wax dust. There isn’t a lot of it, and it’s almost powder-like in texture.
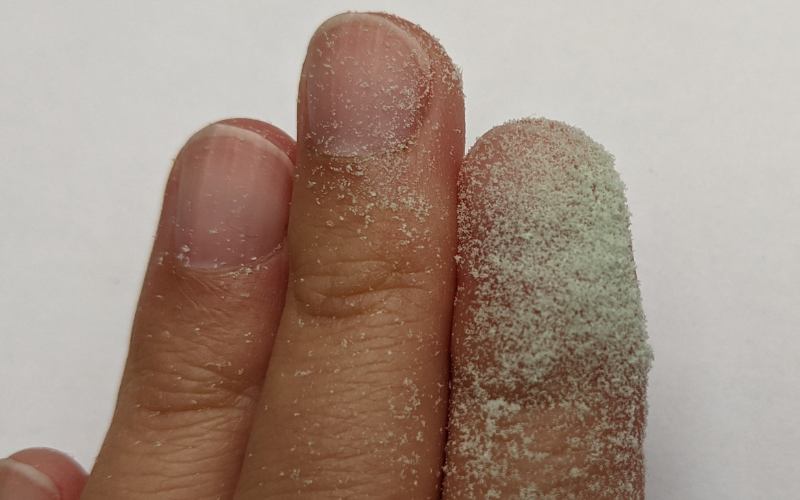
The upside to this? The powdery dust doesn’t clog your file at all!
Small sections: filing smaller sections is easier. You don’t really feel the hardness anymore, and you can actually see the results of each file stroke.
The difference is visible in the wax dust as well. It’s bigger, and it does clog your file eventually.
Yes, filing is hard. But that makes over filing a piece nearly impossible. You won’t accidentally file away too much with one file stroke! Because of that, you can file very precisely in green wax.
You can also get a very clean surface finish with just filing alone. The wax doesn’t show the filing marks quickly.
Needle files
Using needle files is a little difficult again. You can feel the wax hardness and need to do more filing to see results.
There’s no accidental over filing here either. And if you ever slip with your file, it won’t dig into the wax and leave a mark. You can get a super clean finish with needle files alone.
The wax does clog your files, but it’s only loosely attached to the file. You can easily remove it with a toothbrush or something similar. Same goes for your hand files.
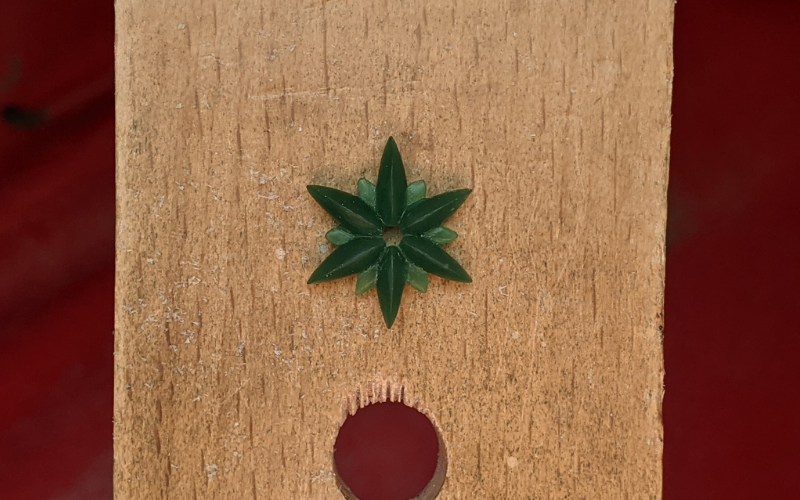
Carving tools
You can feel the hardness of the wax working with your carving tools as well. They work OK on green wax. It kinda depends on how you use them.
If you use your carving tools for the final detailing, it works great. They work well on removing the last little bits of wax from the hard-to-reach places. You can make a sharp corner or a smooth curve. Create a final texture or perfectly flat surface.
If you use your carving tools to carve a shape from the beginning, you’re going to have a hard time. They only remove a small amount of wax at a time. So you’ll be doing a lot of carving.
Melting
Repairing: you can fix breakages well with green wax. The wax melts quickly and blobs nicely on the break.
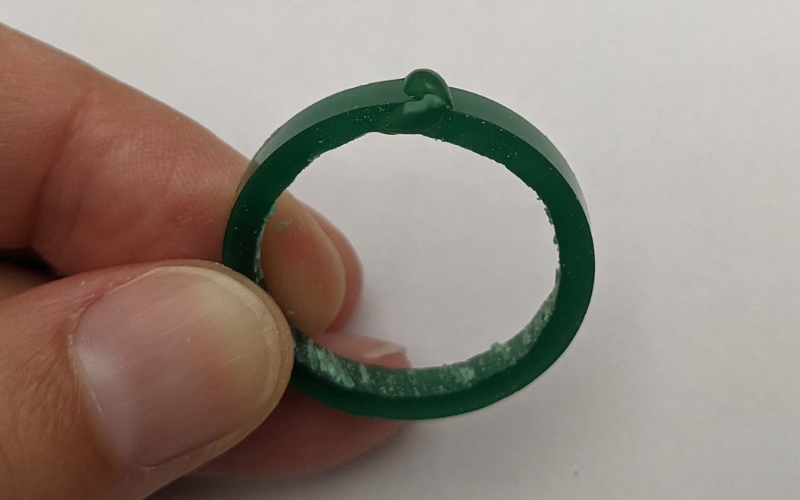
It’s easy enough to file the blob down. It’s attached well to the main piece. No need to be scared you will pull the blob out with filing. You can file it down as close as you like to the main piece.
Remelting scraps: wax melts quickly and evenly. You end up with a good clean piece you can work with again.
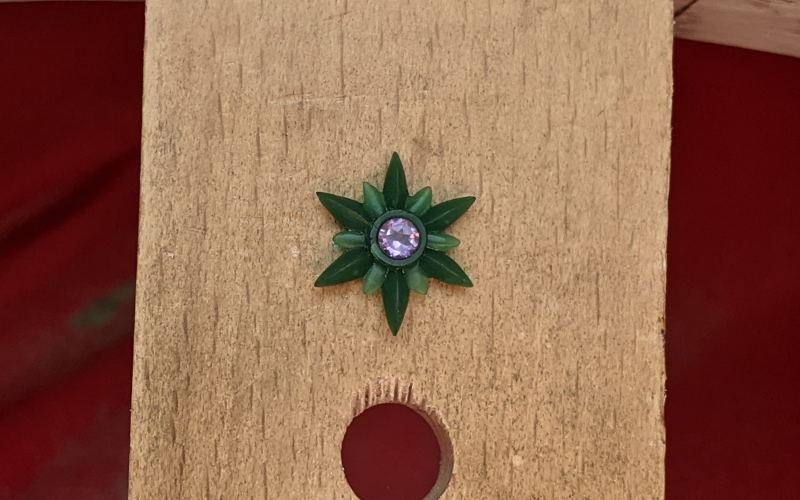
Burring
You don’t feel the wax hardness, but you notice it in the way the burr moves over the wax. The process is very smooth. You have a lot of control over where and how much you burr away. It doesn’t dig into the wax at all.
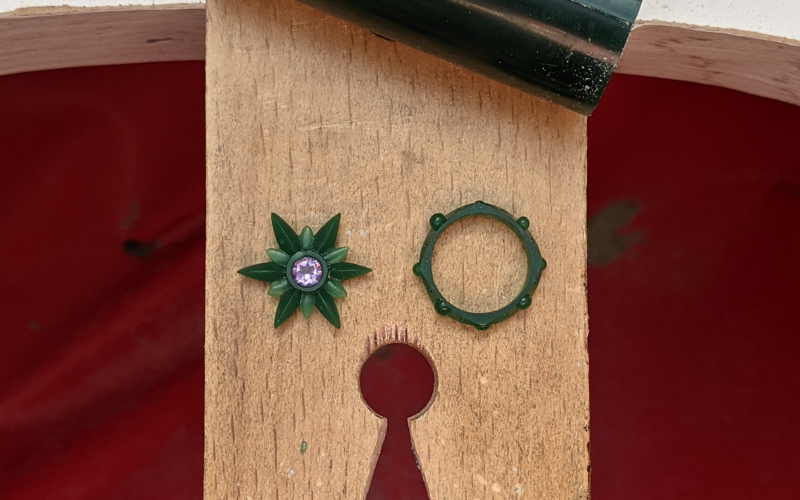
Marking
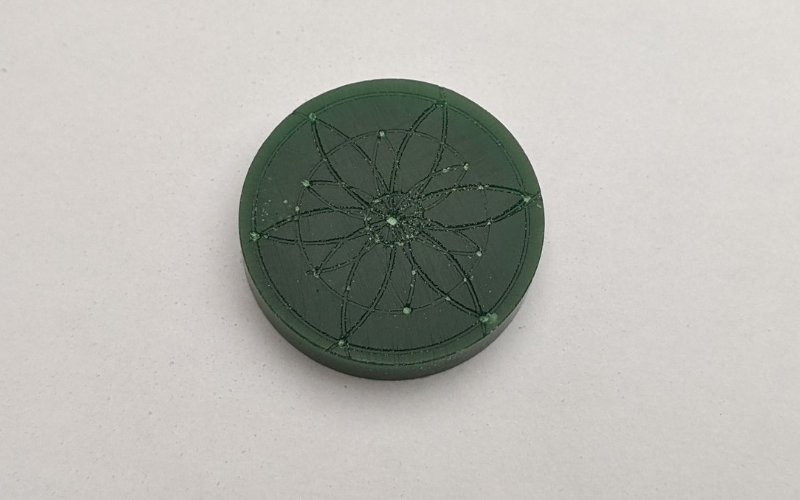
Marking the wax is a dream. You get deep clean marks. The wax doesn’t cling to your mark, so it’s clearly visible. Even the less deep marks are clear.
Stanley knife
You can use a stanley knife to remove the tiniest sliver of wax without a problem.
But don't use it to cut out small sections of wax. When you move your stanley knife into the wax, the cut continues to break away from the blade into the wax.
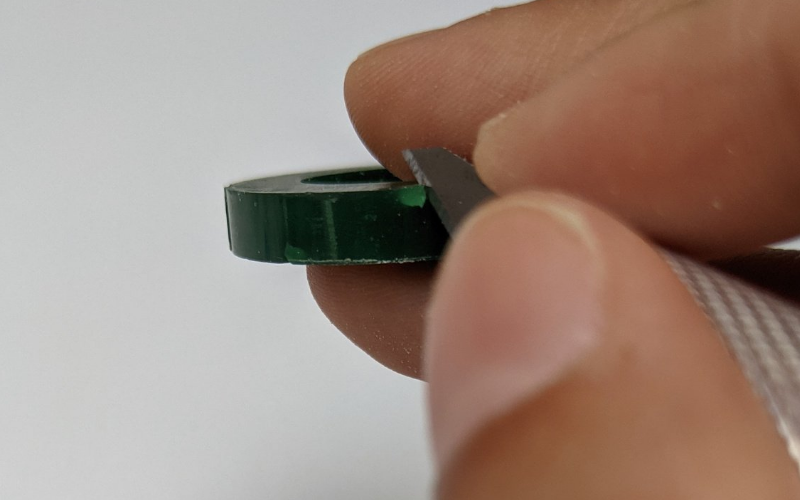
You don’t control where the break goes. So you don’t control what you’re removing from the wax.
Misc
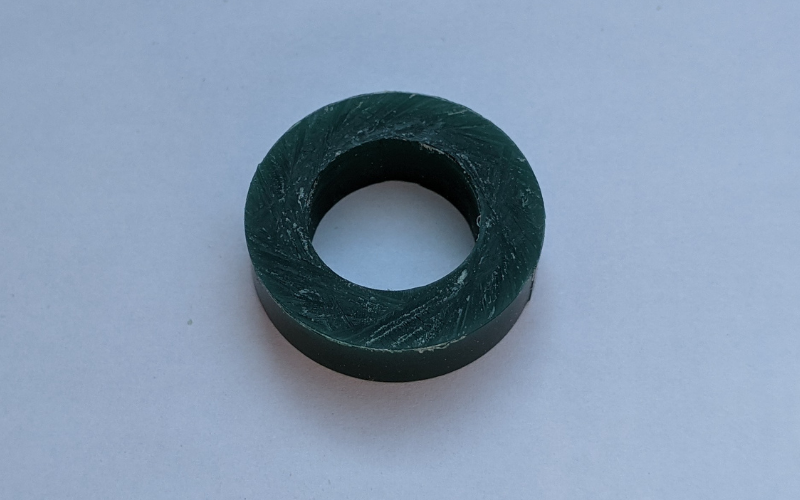
The solid tube I have is probably from a bad batch. There are loads and loads of air bubbles inside the wax. And small pieces broke off while I was working with it.

I didn’t see these imperfections in the ring tube, and my scraps melted without a problem. I’ve also never had a problem making rings from green wax before.
But I’ve never seen air bubbles this bad in any other wax either. So I just wanted to mention it as a last thing here.
Verdict
I have no strong feelings for or against green wax. I don’t like that some things take longer than I want, but the final waxes are great. So can't really complain :)
Comment below and tell me your experience working with green wax!