Burring wax
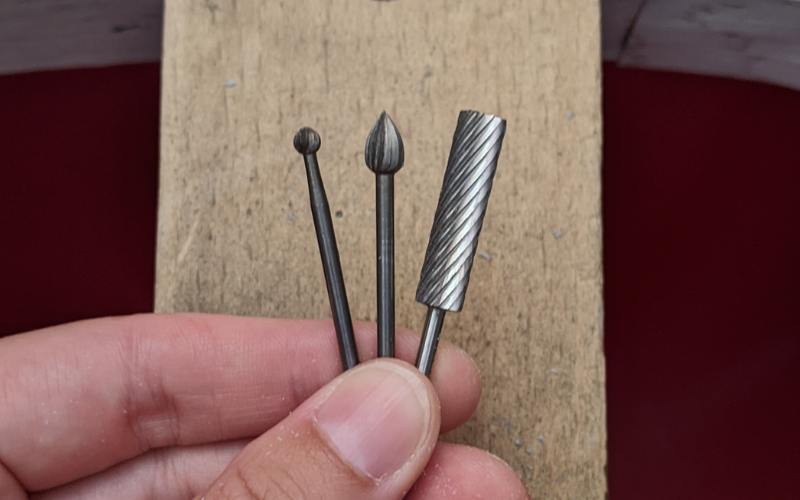
Wax burrs
You can get special burrs for wax. They usually have fewer grooves compared to metal burrs to prevent clogging. And you can get them in BIG sizes to speed up the process!
No need to worry if you don’t have any wax burrs. Regular burrs work fine on wax as well.
Size
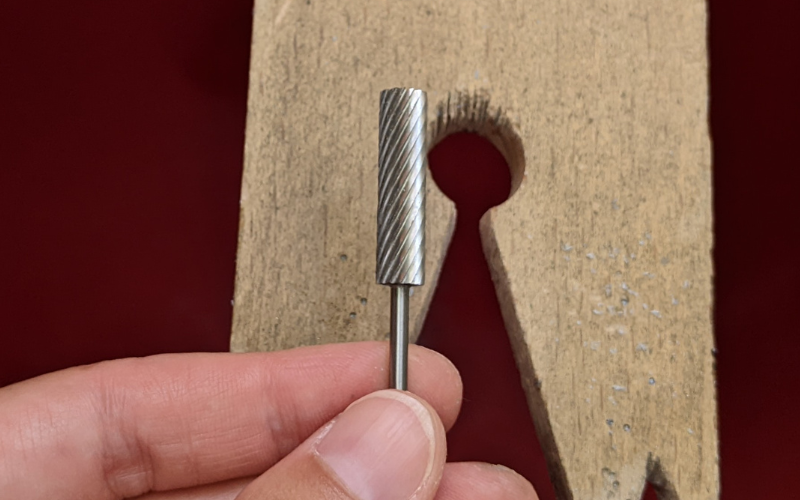
When you burr metal you start with a small burr and gradually increase to bigger burrs. In wax it’s the opposite, you start big and go small. Big burrs are great for removing a lot of wax quickly, but they’re not great at precision work. And small burrs are good for precision work, but they're not great at removing big quantities of wax.
So use the biggest burr you have that fits what you are burring. It seems a bit scary in the beginning but it’s actually easier.
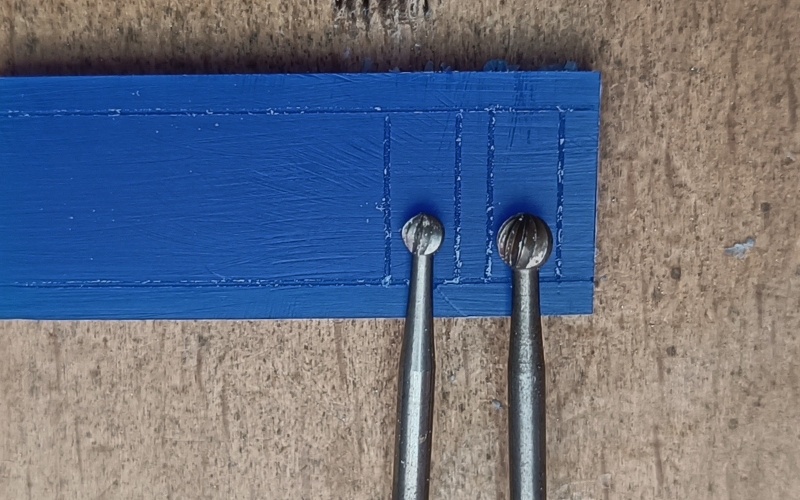
Speed: It goes faster! Less time burring is less chance of something going wrong.
Surface finish: Because they have a bigger surface area, big burrs leave a smoother surface behind compared to the smaller burrs.
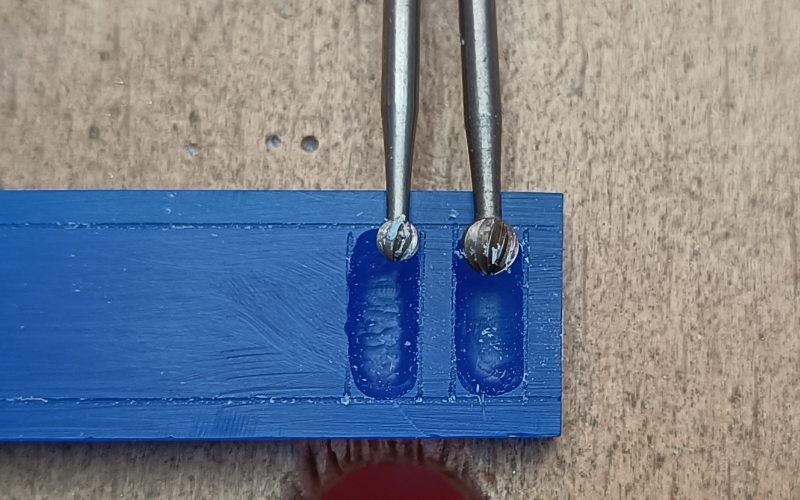
Accuracy: Because of the bigger surface area, you don’t have to move your burr as much. If you only move your burr a little bit, it’s easier to follow a line exactly. With smaller burrs you have to move more and it becomes more difficult to follow the line accurately.
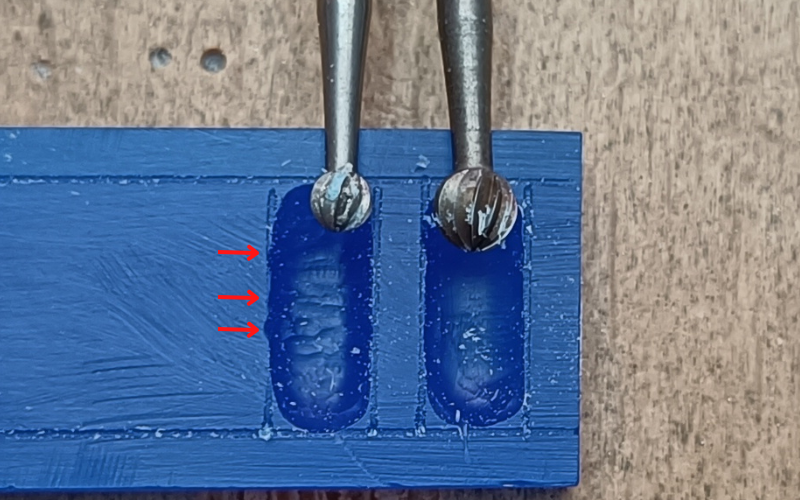
And when you’ve done all you can with the biggest burr, change to smaller burrs for all your finishing and detailing.
The set up
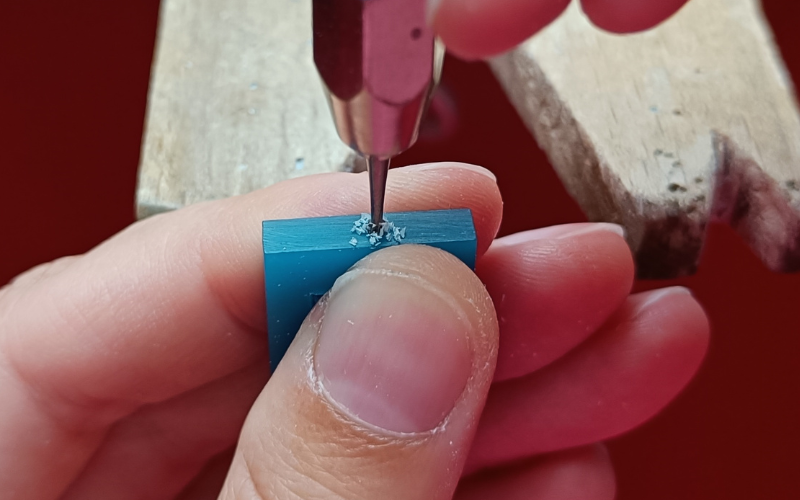
Before you actually start burring, you want to make sure that everything is supported.
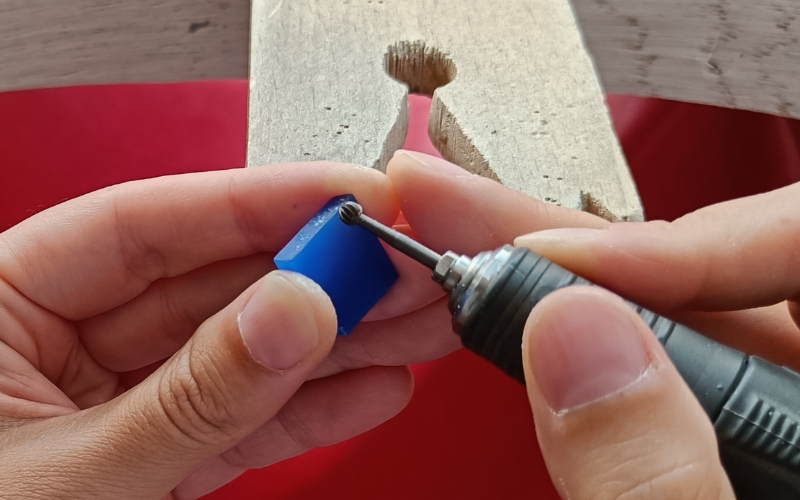
You want to brace your hand that is holding the wax against the peg AND the hand that is holding the drill as well. With both hands supported by the peg you’ve created a steady connection for burring.
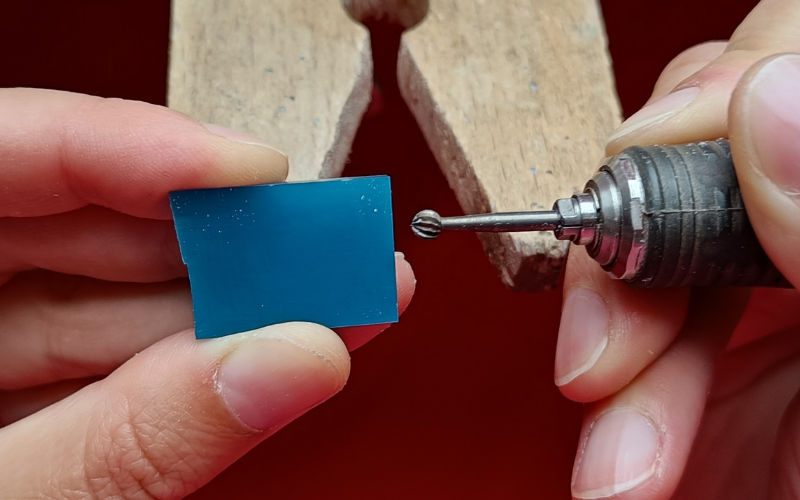
To make the connection even more stable, connect your hands as well. Now your hands are supporting each other on top of the support you already get from the peg.
The more everything is supported, the easier burring becomes. You also greatly reduce your chances of mistakes and mishaps this way.
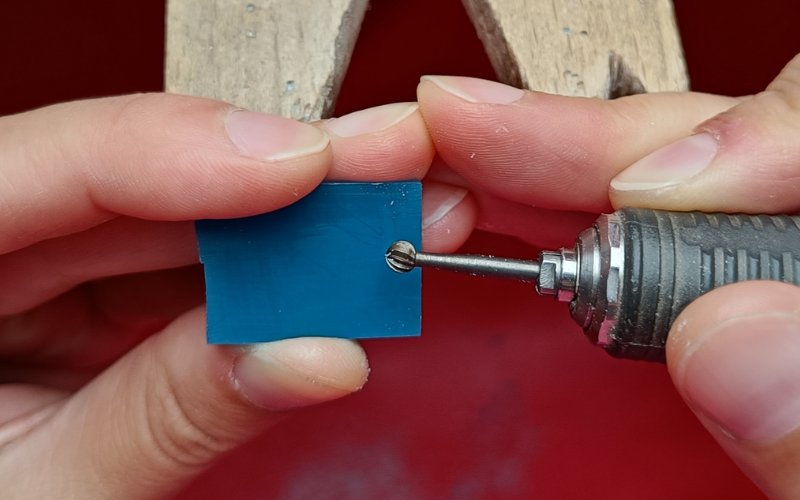
Burr where you can see
You always want to burr a place where you have the best visibility of what you’re doing. The way you hold your wax determines the place where you burr.
When I hold the wax like this I burr here.
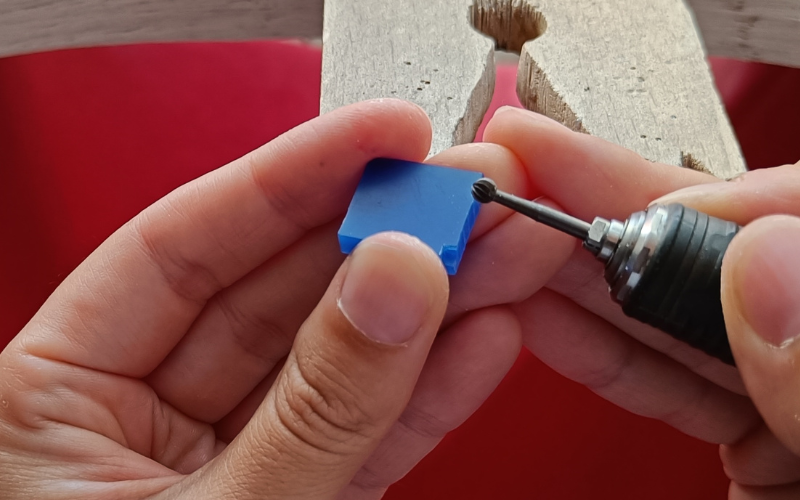
But when I hold it like this I burr here.
You burr here
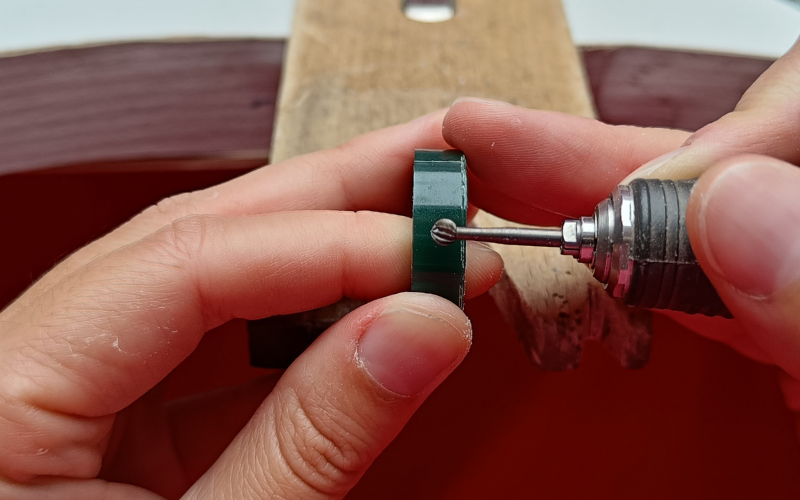
And NEVER here.
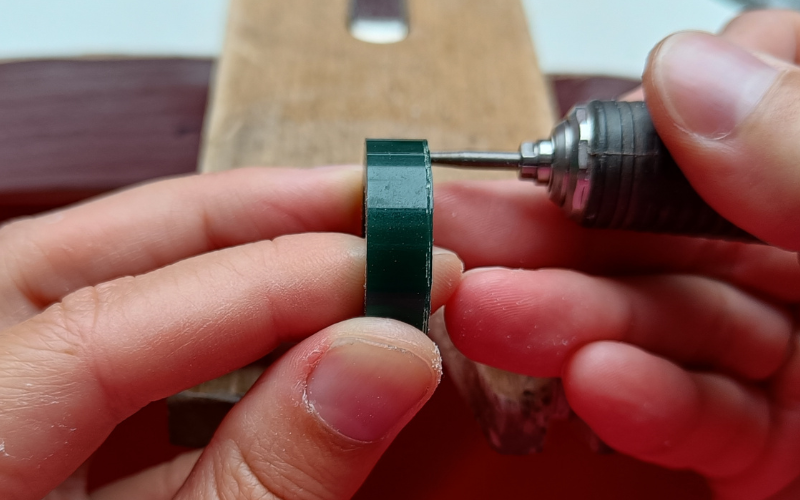
You move your wax when you need to burr a different section, not the burr. You make the same movements with the burr in the same place. And you change the part of the wax you’re burring.
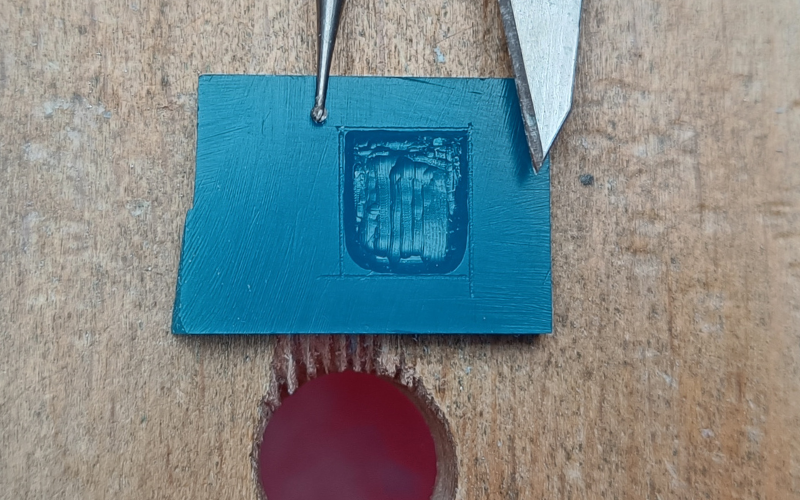
No corners
This might be obvious but don’t burr corners. A burr is round and corners are not.

Even your smallest burr will create a rounded corner.
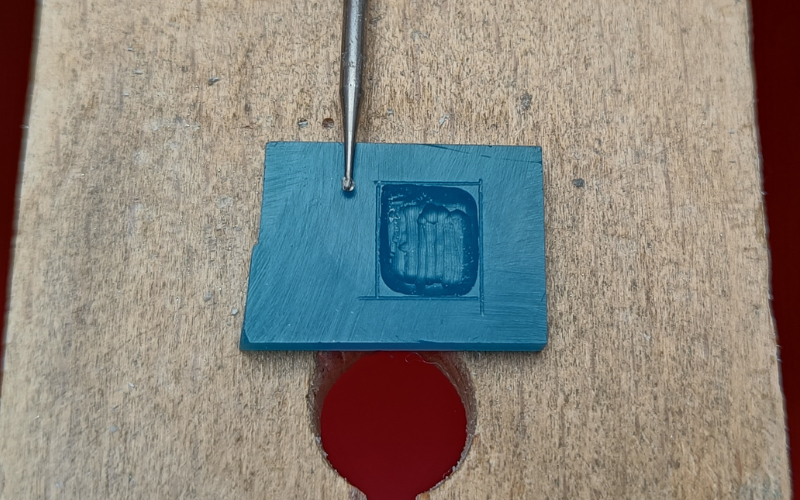
Burr as close to the corner as you can. And make the actual corner with a stanley knife or carving tool. Much sharper looking this way!
Practice first!
Wax is so much softer than metal that it’s easy to overburr. So slow down. You have more control over the burr when you go slow. It also reduces the chances of overburring or the burr getting caught. Definitely practice on some scrap pieces first to feel the difference and see how it behaves.
And if needed, you can always spin a burr in your fingers to remove wax! Wax is soft enough for you to burr manually.
Comment below and let me know if these tips were helpful!