Make an animal carving
You have carving experience and want to improve. Learning to carve an animal is a perfect way to expand your skills. Practice your 3D thinking and visualization and carve away!
Well, what are some of the skills you learn in this class?
Start simple
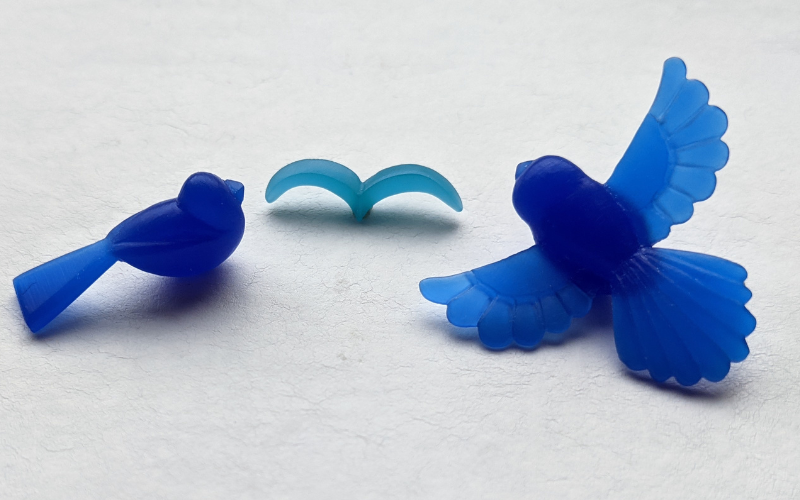
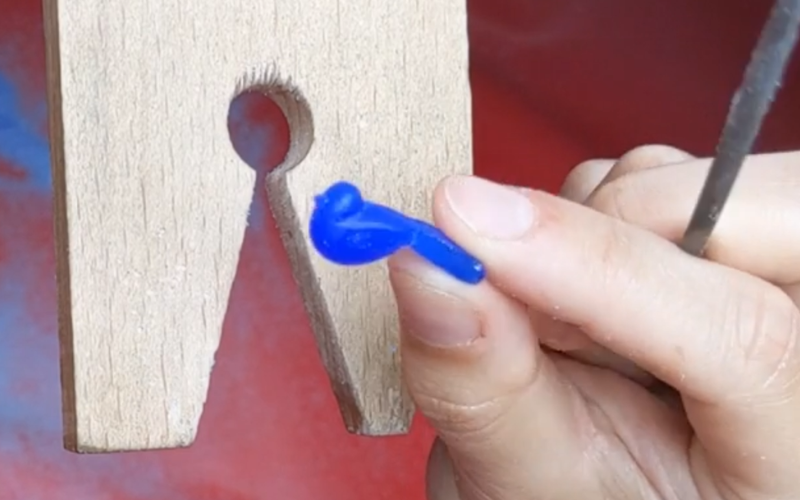
Do you recognize the animal in this photo?
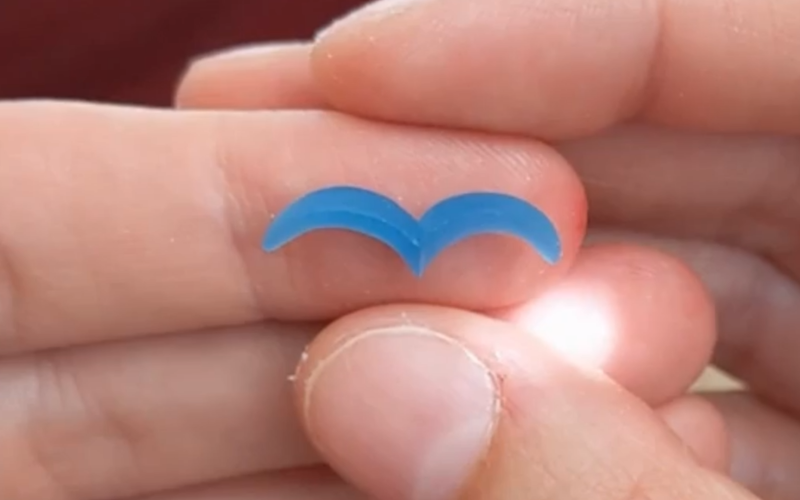
Of course you do. I’ll go out on a limb and say you used to draw a flying bird just like this when you were a kid!
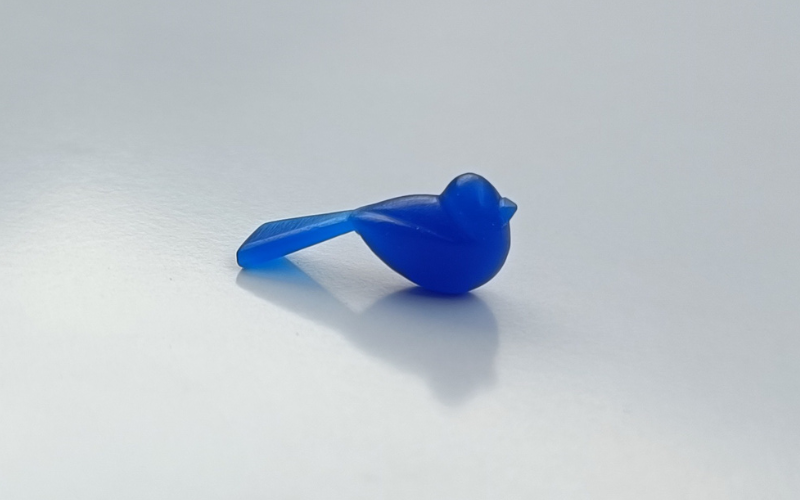
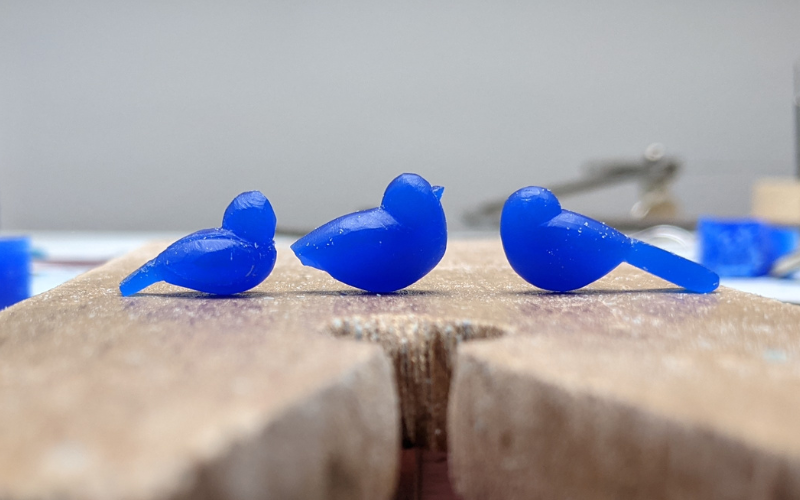
Carving a flying M-shaped bird is probably not what you had in mind for an animal carving. But you have to start somewhere! When you learn to carve an animal (or anything really), simple is the best place to start.
What is the most recognizable way you can carve your animal without adding any details? Make a flamingo standing on one leg with the other one crossed and everybody will know it’s a flamingo. Make a flamingo standing on both legs and suddenly it can be confused with an ostrich.
It’s not super exciting, but simplify your animal as much as you can for your first try. When your carving confidence goes up, you can add more details and more complex shapes!
Generic or specific?
Continuing on from that: are you making a generic or a specific animal? Dog or chihuahua? Bird or parrot? Fish or eel?
A generic animal gives you a lot of artistic freedom. You can make it completely your own. Exaggerate the body parts you like, add the details you want, and leave the details you don’t like out of it. Just stay recognizable! Nobody can tell you what to do. It’s your interpretation of the animal.
When you make a specific animal, you have to go all in on adding as much detail to make it specific. The details are what's going to make the difference between ‘this is a chihuahua’ and ‘this is a bad carving of a chihuahua’.
Shape your design
When you make a 3D animal, you can’t just print a picture of the animal, pierce it out, and be done with it. Your animal looks different from the side, front, back, top and bottom. You have to shape your animal accordingly!
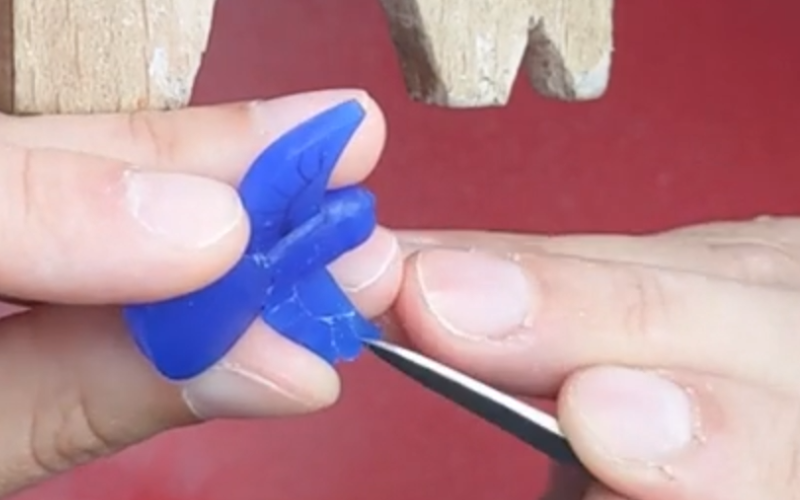
Visualizing what your piece will look like from every angle is a big part of the job. It’s how you know where to remove wax from and how much. How to shape the wax that remains. Use all your files, burrs, and carving tools to make that vision come to life.
You can learn all about shaping and visualization here.
Look at your work
Sometimes you’ve shaped your animal exactly as you visualized it. And the result is not like you expected. Not all is lost! You just have to make some changes to your carving to improve it.
Take your time and look at your piece from every angle. The part that you have to change will jump out at you. Sometimes it happens immediately. Other times it’s best to leave your piece alone for a few days and try again. When you find the part that is not quite right you change it. Until your piece is perfect.
And sometimes the realization is that you have to start over. Just accept it and make a second piece. It’s definitely going to be better!
This is a very personal thing, only you can know when your animal is done. But I do talk you through my thinking and decision process for making changes to my original plan in the class.
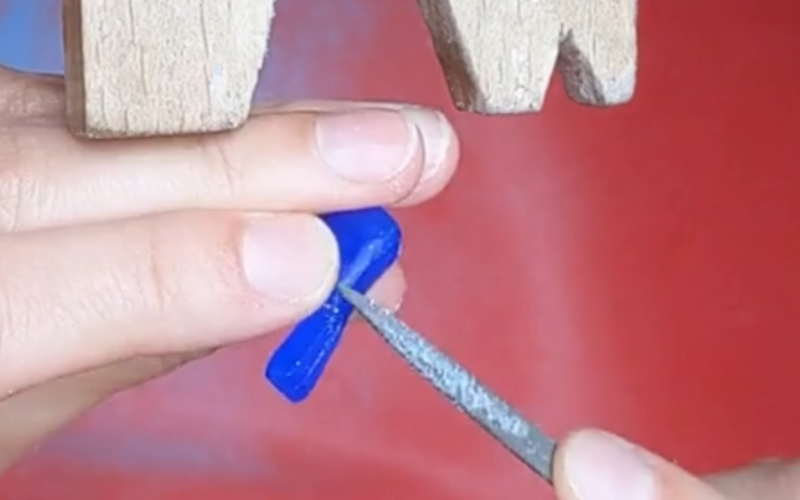
Hold without breaking
When you carve in 3D, you work on your piece from every direction. The more wax you remove, the more difficult it becomes to hold your piece securely without breaking it.
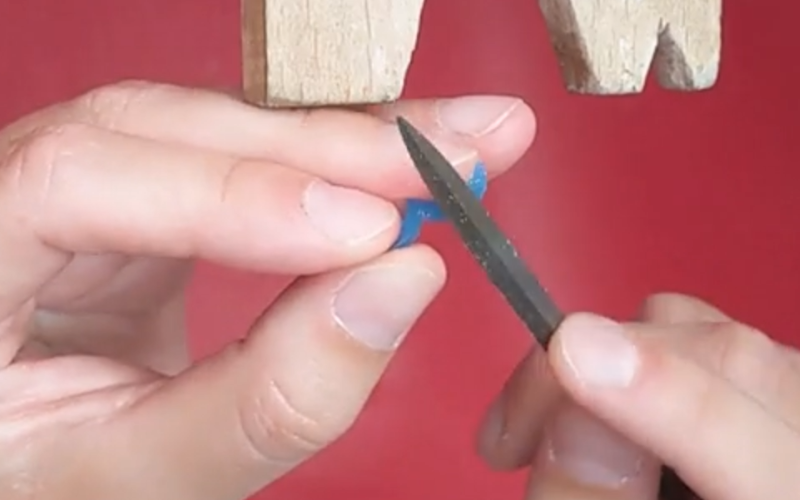
The part of the carving you are working on is always the most delicate. Whatever tool you are using to remove wax, puts pressure on the wax that stays. And if you’re not holding your piece properly, that pressure breaks the wax.
Now is a great time to learn all about how to hold your wax securely while working on it.
Having said that, wax is very breakable. No matter how well you hold your wax and protect it, it can always just break. Even when you do exactly like I show you, there are no guarantees. Sorry!
Patience
Making an animal carving is not a quick project. Considering every angle and shaping accordingly takes time. And as soon as you commit to adding details you can’t stop halfway. There are no shortcuts here.
Take your time and keep going! It’s worth it!
In Short
You learn how to really look at your work and make adjustments based on what you see!
Feel inspired to learn all this? You can buy the animal carving class now!