Get started with a wax heating pen
Which wax pen?
There are so many different wax heating pen systems out there! Which one to choose?
Starter: if you're new to wax carving start with a cheap wax pen. No need to spend a few Є100 on a wax pen only to find out you don't like wax carving! The max wax pen is a great wax heating pen to start with. It’s affordable, sold at most tool suppliers, and it gets the job done.
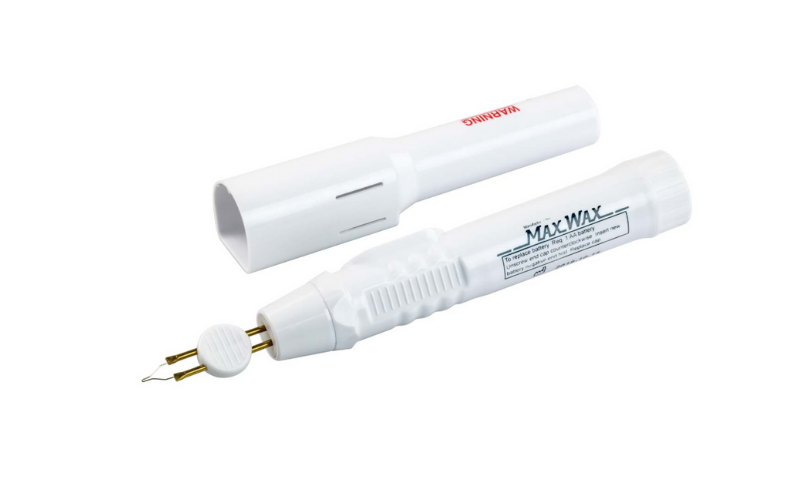
I’m sure most of us started with this wax pen!
Improver: when you're ready for an upgrade, look for one with adjustable heat settings and interchangeable pen tips. With both of these, you can become much more precise in your work.
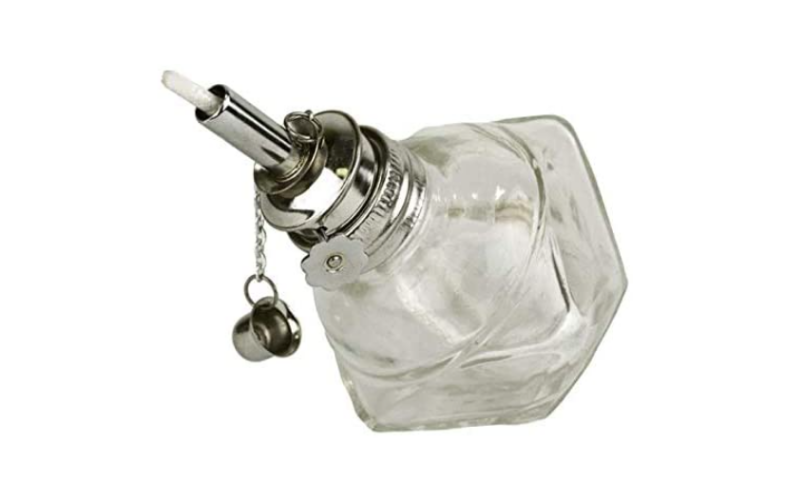
Alternative: you can also use an alcohol lamp with carving tools. Simply heat your carving tool in the flame and when it’s warm use it to carve your wax.
Shop around! There are many different systems with many different price tags available. The systems are known under different names as well: wax modeling machine, electric wax carver, wax heating pen. So look around and you can find one to your liking.
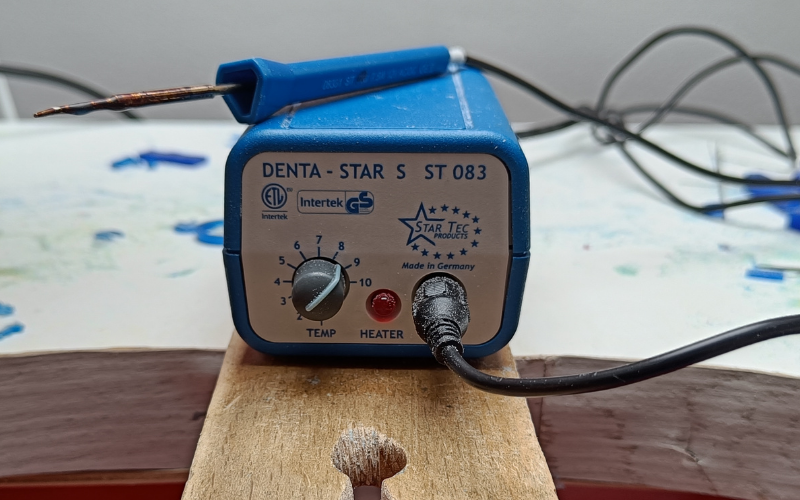
And if you want to know, this is the one I have.
I’ve had it for 1.5 years and I love it!
And this is what I used before that.
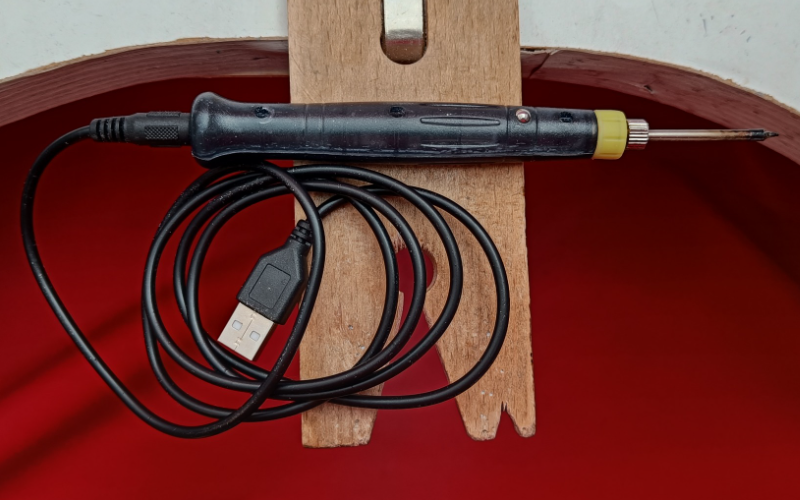
It's a usb powered soldering iron. It worked great for me until I was ready for more precision.
Practice on scraps
What heat setting should I use?
What happens if I leave the pen in one place for a long time?
How do I get a perfectly round granule and not a blob?
Why do I get these thin strings?
Why is the wax not transferring away from the pen?
I can't stress this point enough. Practice with scrap pieces of wax first!!
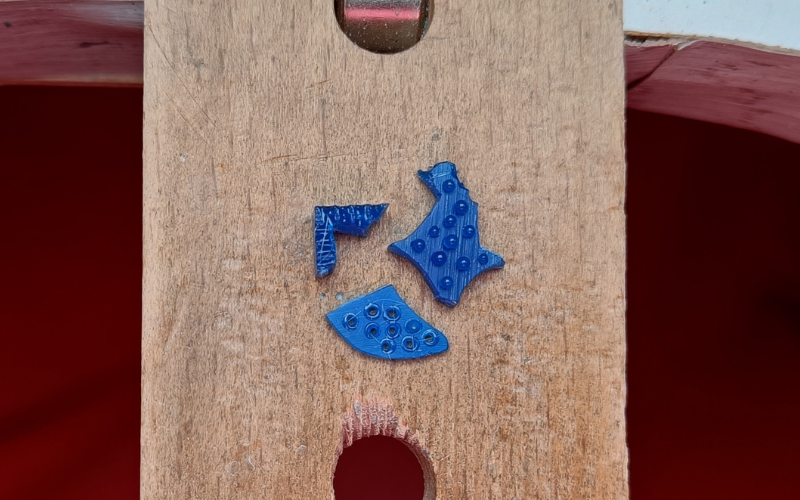
It takes an extra 5 minutes, but now you know what you’re doing on your real piece without ruining it!
Change the heat settings
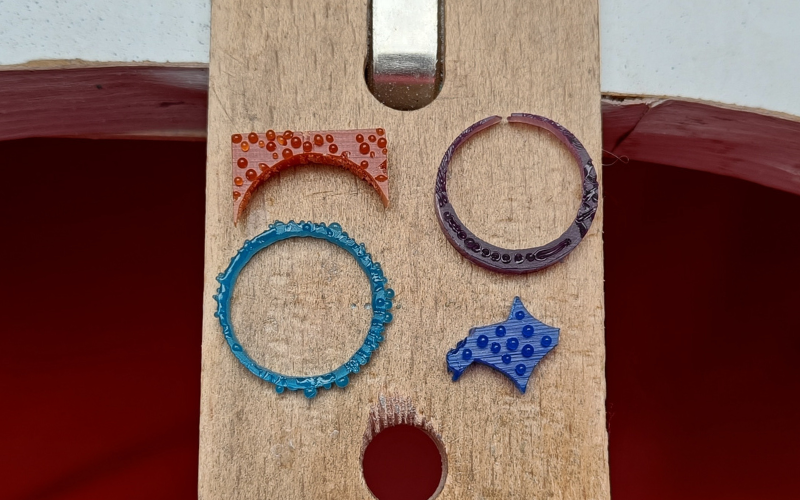
Stringy?
Wax travels up?
Wax doesn’t want to move from heat source?
While you’re practicing on your scraps, experiment with the heat settings. Even when everything is working perfectly, set the temperature higher or lower and see what happens.
The point of a wax heating pen is to melt wax, but changing the temperature makes a big difference in how the wax melts.
Temperature too low? The wax melts but as soon as you remove the wax pen it starts to solidify again and you are left with all these thin strings of wax. Or it starts to solidify already before you finish shaping what you’re doing.
Temperature too high? The wax melts, but it travels up your wax pen making it difficult to transfer. Or the wax starts smoking and burning while you’re heating it. Or it melts what you want to melt and everything around it that you don’t want to melt as well because it melts too quickly.
A little bit too high or maybe a little bit too low? Wax melts perfectly controlled but it doesn’t want to transfer. Or maybe it transfers too quickly and just falls of the pen?
It takes a bit of practice and experimentation to find the perfect wax temperature. And different things can require different temperatures! One temperature can be perfect for granulation, but you need a different temperature for that other texture.
Every wax melts and reacts differently
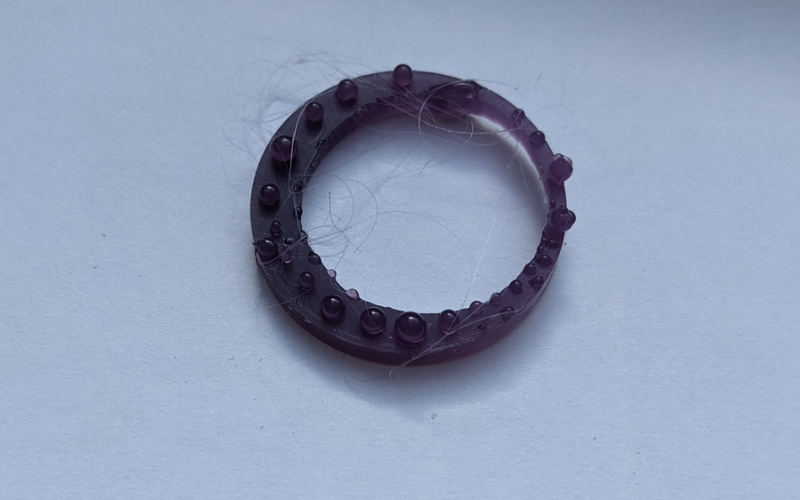
You’ve experimented on your scraps, tried different temperatures to find out what works best. You know what you’re doing. Then why is this purple wax absolutely not behaving like it should?
Bad news. All the wax colors behave a liiiittle differently when heated. Turquoise wax can’t get away from a wax pen fast enough, whereas purple wax doesn’t want to leave a wax pen.
When you use a different wax color practice on some scrap again to see if everything works the same or if you need to make some adjustments.
And that’s just the hard waxes. Soft waxes react completely differently to being heated!
For starters, you can use a much lower temperature for melting. So practice and see what happens!
Add wax to repair and attach together
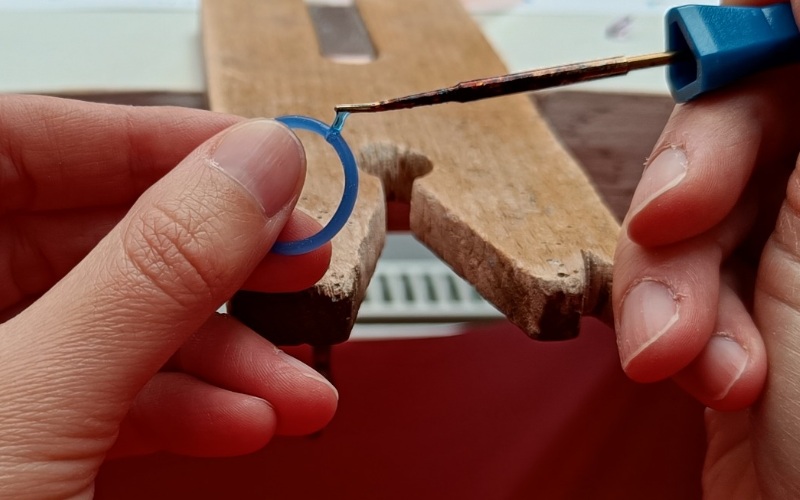
When you want to fix a break, you want to add extra wax on the joint instead of melting the 2 parts together. Think of it as soldering. You add solder on a joint to solder 2 metal pieces together, you don’t try to melt them together.
When you melt a break together you make the break thinner.
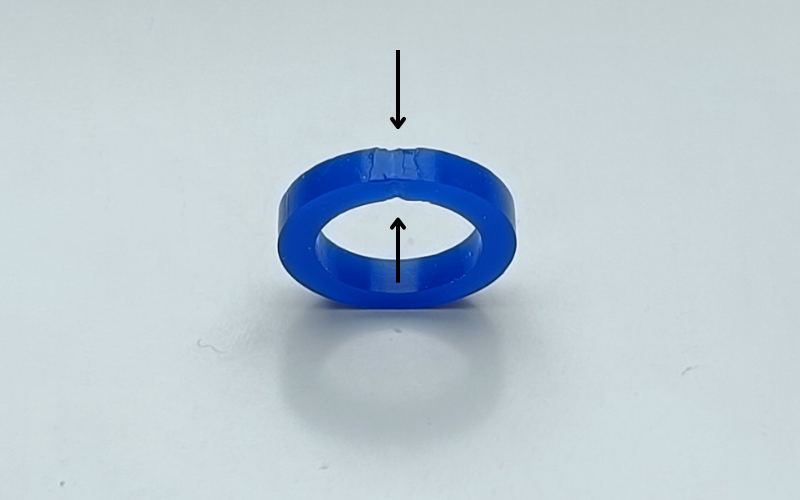
If you’re going to do a lot of texturing and can disguise it that way you can do it. But if you’re going for a clean look it’s going to be very noticeable.
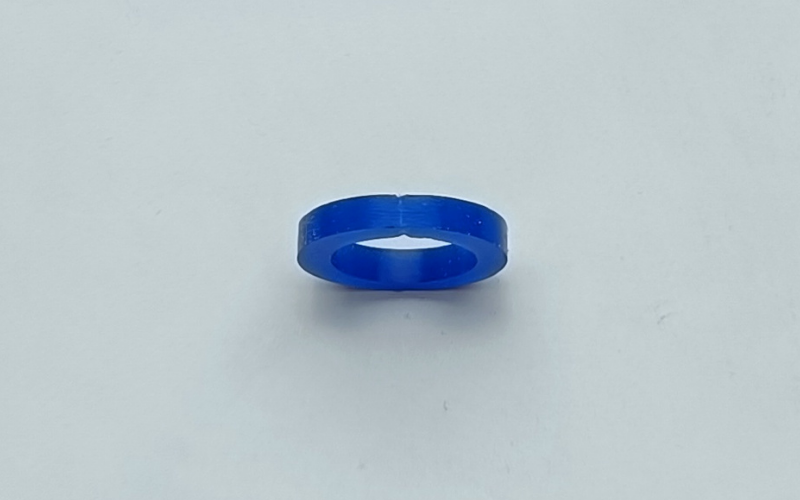
Or you have to do a lot of filing to make it all the same surface again. And that can make the entire ring thinner than you want.
When you add wax to the break you obviously make the break thicker.
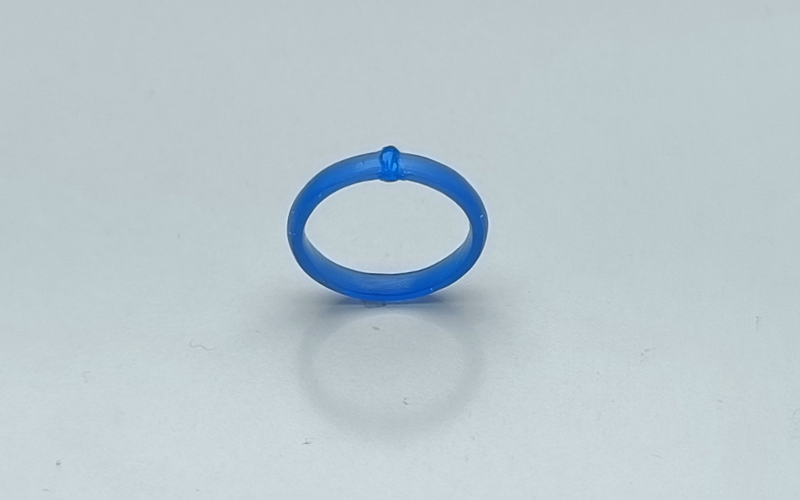
You can remove most of the excess wax already and remove the last bit after casting in metal.
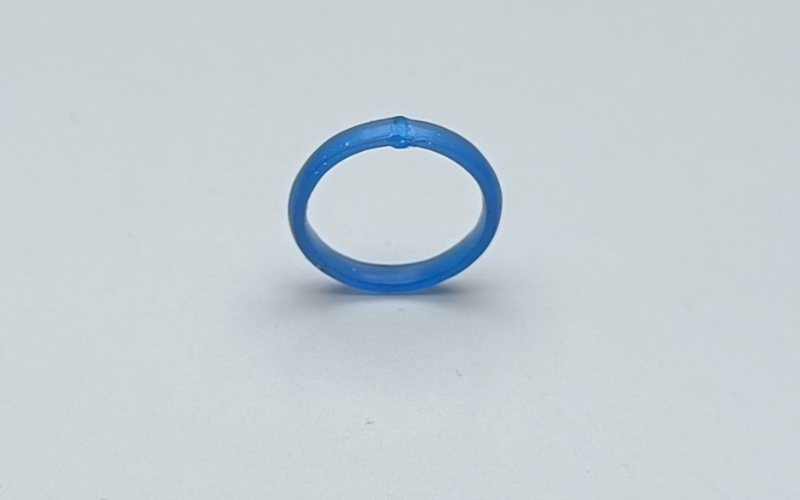
This way the break is invisible in your finished piece, and you don't have to sacrifice the width of the band!
The same goes for attaching multiple pieces together. You are better off adding wax than melting the pieces together. Unless of course that’s the texture you’re going for!
Comment below and let me know if these tips were helpful!