Make a solitaire ring and fitted bands to go with it
You have carving experience and want to improve. Learning to carve a solitaire ring is a perfect way to expand your skills. And learning how to carve fitted bands to go with that solitaire makes it an even better carving experience!
So what are some of the skills you learn in this class?
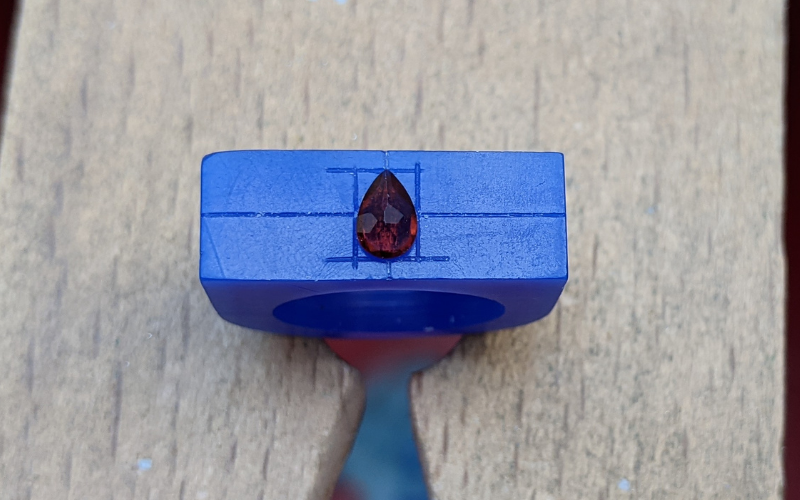
Measuring and calculating
There’s always lots of measuring and calculating involved when you make jewellery. Add stones to the mix and your calculations get doubled at least! What are some of the calculations you need?
Enough depth for stone to drop in the setting. Enough width on the ring for the setting wall. Enough width on the fitted ring to actually create a fitted shape. Etc etc etc.
You’re always going to need calculations and measurements, so learn them now.
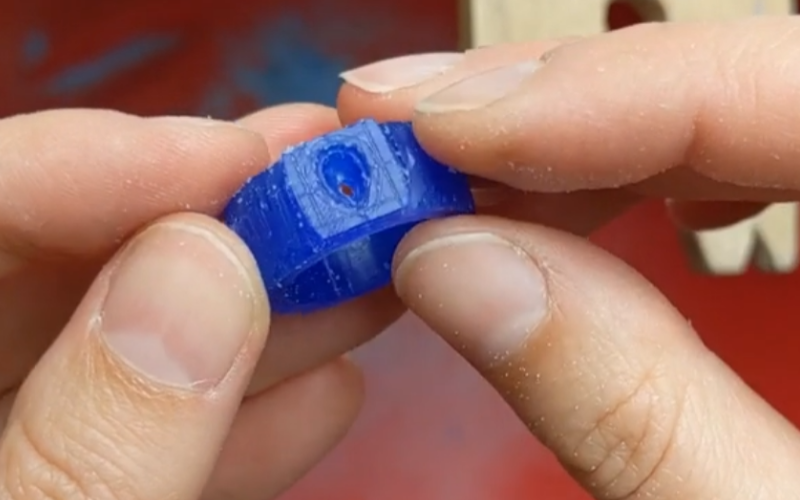
Create a setting
Carving a setting on a ring band is the same as carving a setting from a block of wax. It’s just waaay more awkward to hold, and the ring band is always in the way! Fun right?
What if you don’t know how to carve a setting from a block of wax? No problem, you learn everything in this class: calculating the right thickness and width of the wax, creating the inside shape, carving a seat and shaping the outside of the setting.
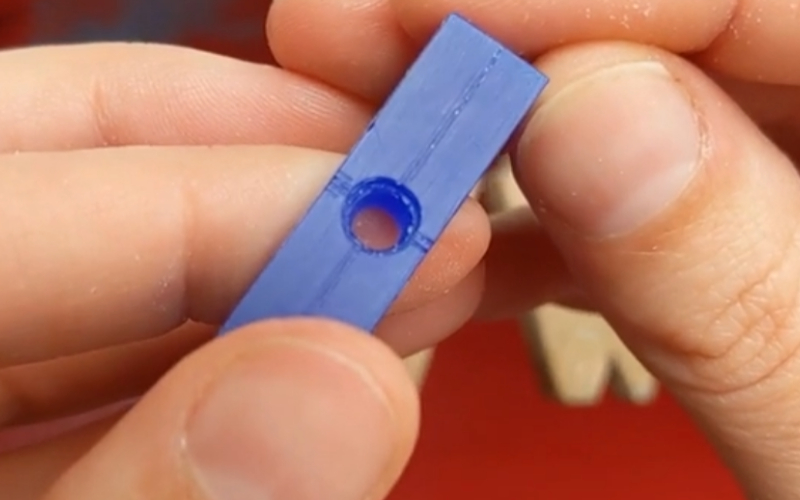
It might sound like a lot but when you go through the steps one at a time, it’s perfectly manageable.
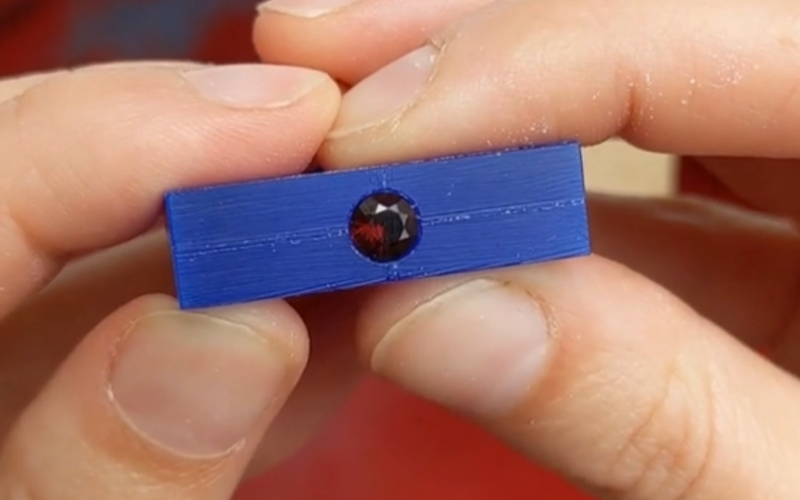
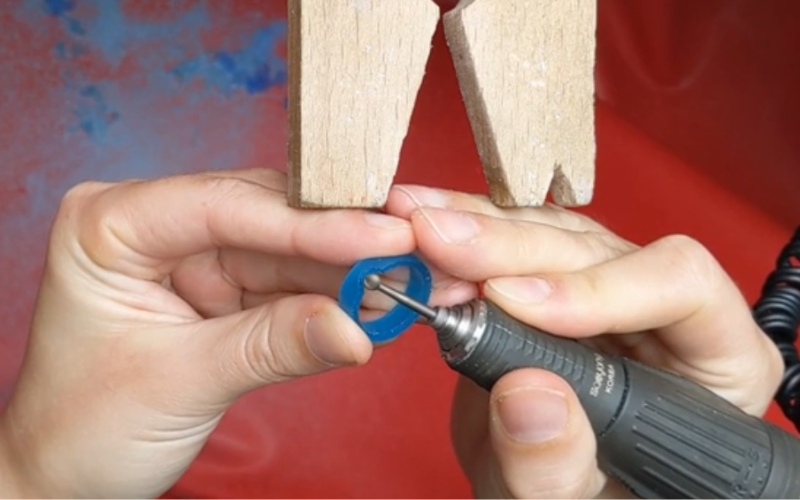
Shape the ring
Once the stone is seated the rest of the ring needs to be shaped. This is pretty similar to the shaping involved for any other ring as well. Except now the setting is always in the way!
Everything you do is going to take longer than usual. You need to measure way more often. And most importantly, you have to be careful not to hit anything you don’t want to.
The main thing at this stage is that you’re always aware of what your tool is doing. And not just at the top where you’re looking at it closely! You especially need to know what it’s doing at the back where you’re not looking!
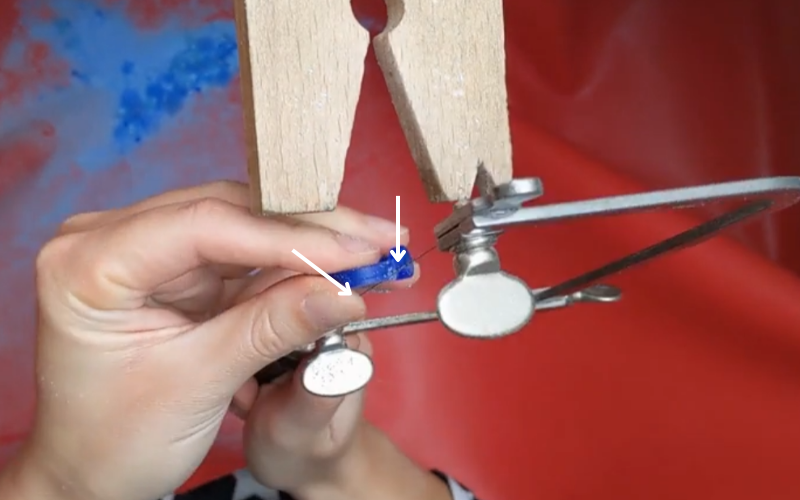
A saw blade is long, so is a file. You might be working on a very small area and focussing completely on that, but your saw or file doesn’t know that! If you don’t angle the tool you are using enough you end up piercing on the opposite side of what you’re working on as well!
Double check the angle of your tool before you start and keep checking it while you’re working. Or you can end up with some surprise damage to your ring.
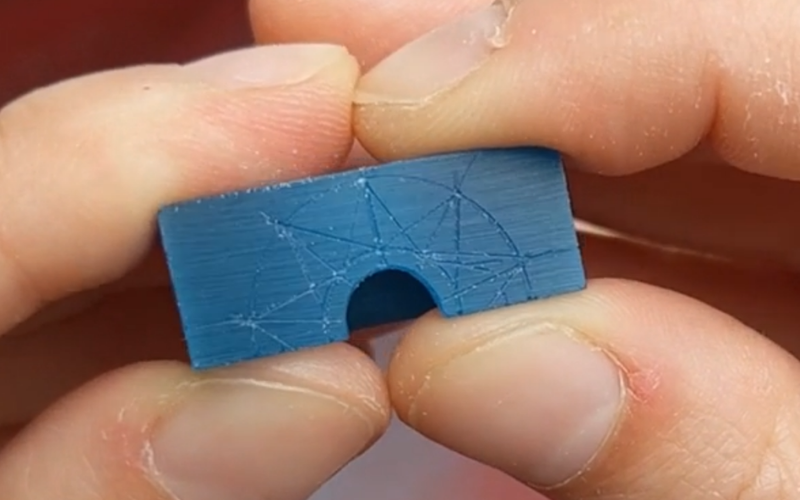
Fitted band
It’s so satisfying when 2 pieces of jewellery fit together perfectly. Getting them that way takes some time though. It’s easiest to make one ring completely first (the solitaire in this case) and make the other ring to fit around it. Working on both rings at the same time and trying to get them to fit is too difficult.
Getting a general fit is easy enough. But for a perfect fit you have to take it slow. That’s where a pen comes in! An inky pen is a great help to get the fit juuust right.
You can learn how to use a pen to make a perfect fit in this class!
Wishbone
And what if you want a less perfectly fitted band? One that could fit around multiple different styles of solitaire rings?
Enter the wishbone ring.
A wishbone is still a pretty classic fitted ring, but its shape makes it easily fit around different kinds of rings.
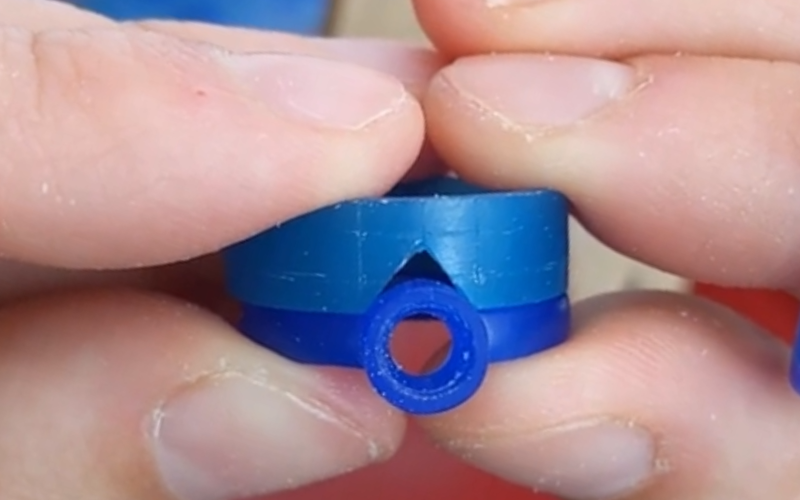
You can make the wishbone exactly to your liking. Long, short, skinny, wide, extremely pointed, gently rounded. Whatever shape you like best!
You learn how to make a wishbone, but you can adapt the measurements to be exactly to your liking!
Fun Fun Fun
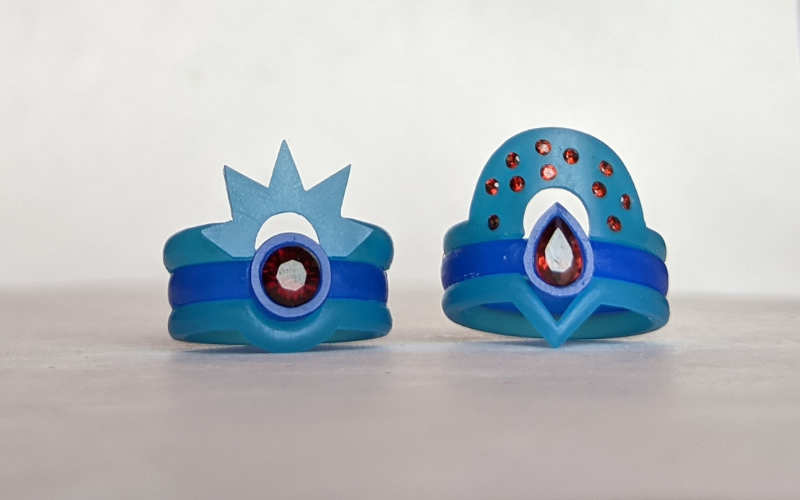
And what if you don’t want a classic style fitted band? What if you want something big and elaborate?
Sure! Anything is possible. A fitted band can look however you like. As long as there is the cutout to fit around a solitaire you’re fine.
The best part of these big rings is that they look perfectly good on their own as well!
Now the big question: what kind of fitted band would you like to make?
In short
You learn how to make a perfect solitaire ring and fitted bands to go with it ranging from perfect to fun!
Feel inspired to learn all this? You can buy the solitaire ring and fitted bands class now!