Make a signet ring
You have carving experience and want to improve. Learning to carve a signet ring is a perfect way to expand your skills. You learn all about precision. But also how to let go and have fun with your signet shape.
So, what are some of the skills you learn in this class?
Accuracy
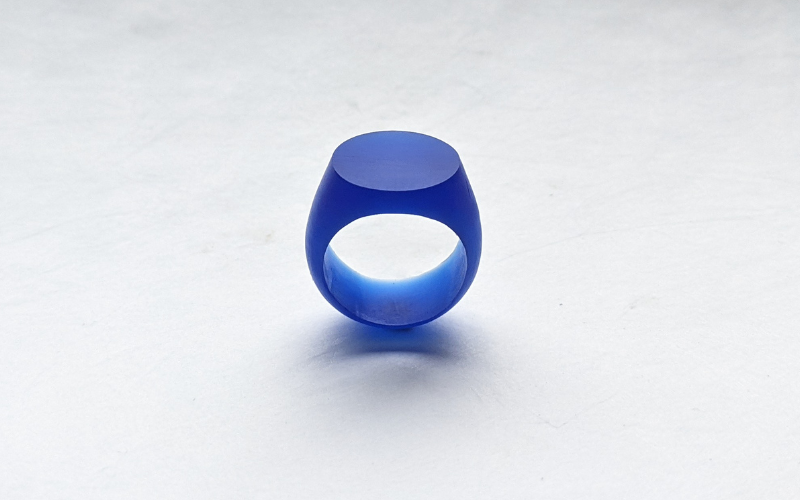
The beauty of a signet ring is in its perfectly flat top. It doesn’t matter how you plan to finish your ring: engrave it, set a stone, leave it as is, or something else. Even if you’re going to texture it so heavily that it doesn’t remain flat, you want to start with the top flat and at a 90° angle to the side of the ring.
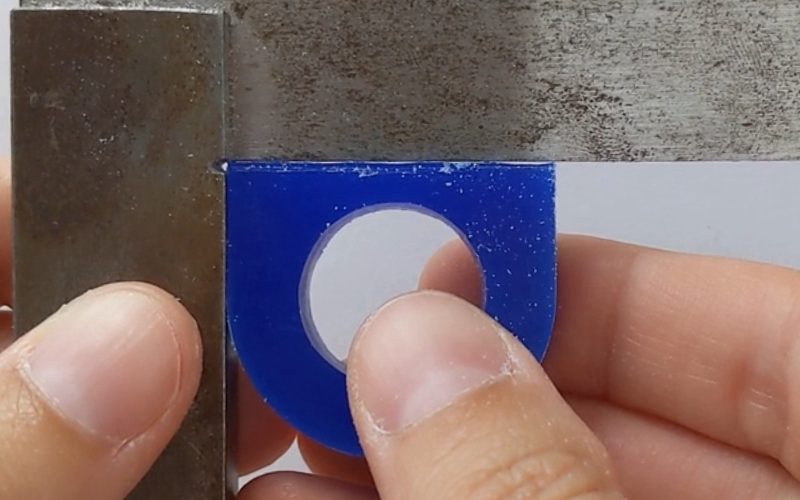
Wondering how you manage to do that? You can learn it in this class! All you need is a set square, a file, and some patience.
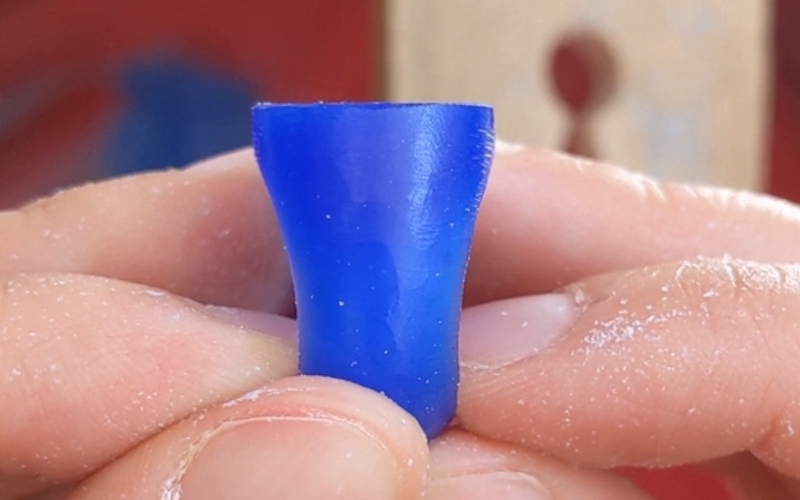
Taper
Big signet rings look great, but they can be heavy and uncomfortable to wear. A good way to make them easier to wear is by tapering the ring. You keep all the volume at the top of the ring. But by gradually making the ring thinner at the back, it becomes lighter, more comfortable, easier to put on and take off. It makes the ring more wearable!
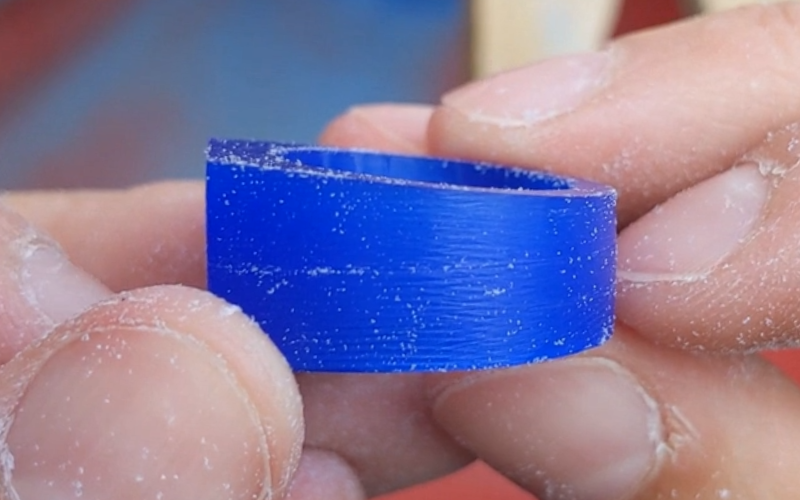
And tapers aren’t just for signet rings, it’s a great technique to know and use for all big rings! Learn how to file a taper now and use it on all your big rings going forward.
Follow the shape
Don’t like such a precise and flat taper? Prefer curves over flat surfaces? Of course that’s possible as well! After you taper the ring you can curve the surface.
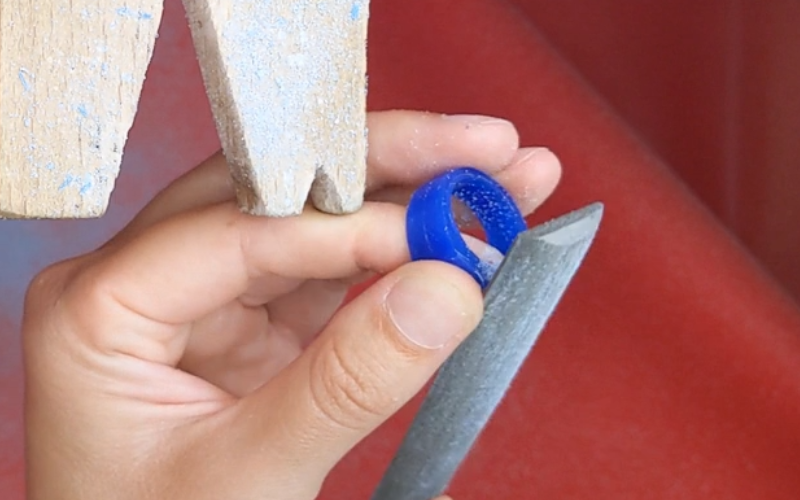
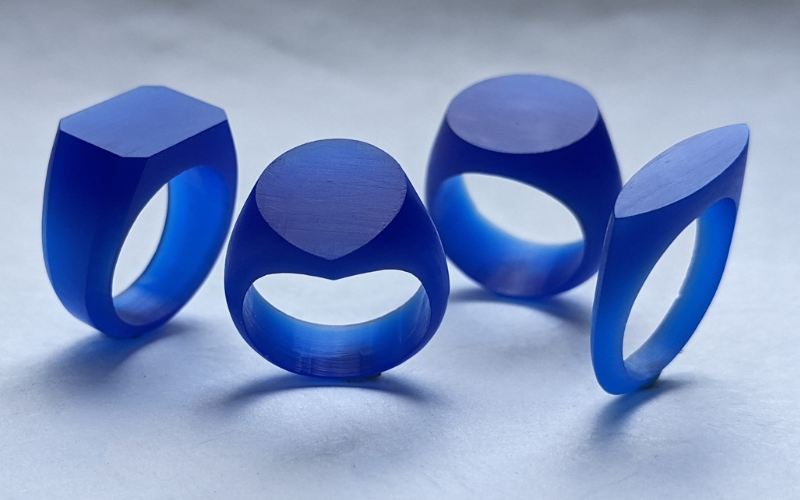
Really, you can shape the ring shank any way you like. But I do believe that the shape of the signet tells you how to shape the shank.
A rounded shape looks nice with a curved shank.
An angular shape looks good with an angular shank

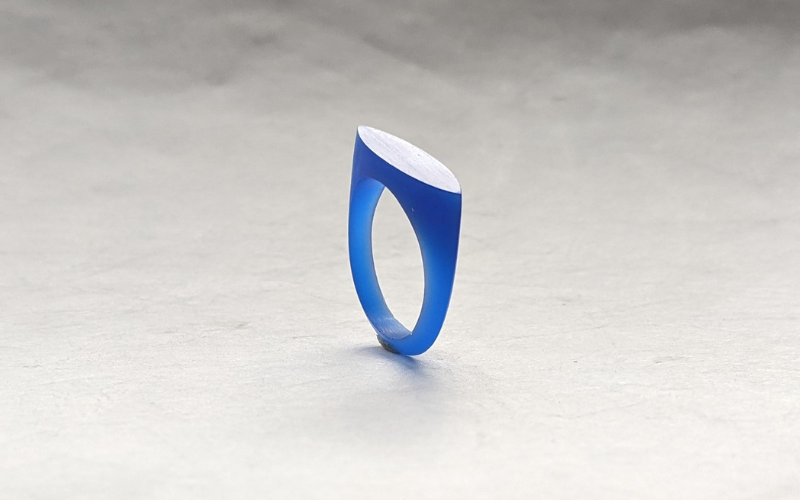
And a marquise shape looks perfect with a knife edge!
You can learn all these ring shapes and finishes here.
Small and fun
I didn’t always love signet rings. It wasn’t until I saw someone carve the tiniest heart shaped signet ring that I came around to them.
I realized signet rings don’t have to be big and attention grabbing. They can be small and cute!
Yes, make your signet ring smaller! Yes, try a different shape! Get as creative as you can, have fun and see what you end up with.

Of all the sample rings for this class, moon definitely ended up being my favourite!
Check the symmetry
There are so many angles to consider to make sure your ring ends up symmetrical.
In the beginning you can use a set square to check your 90° angles and you can mark as many centre lines with your dividers as you like. But once you start shaping your ring, it becomes harder to use tools to check how symmetrical your ring is.
You just have to trust your eyes.
Take your time to really look at your ring and see if it is symmetrical or not. The earlier you start doing this, the easier it is to correct any unevenness. And really look from all possible angles. Just because it’s symmetrical at the front doesn’t mean it’s also symmetrical at the sides!
In short
You learn how to make some classic signet rings and how to make some fun ones!
Feel inspired to learn all this? You can buy the signet ring class now!