Make a ring from separate parts
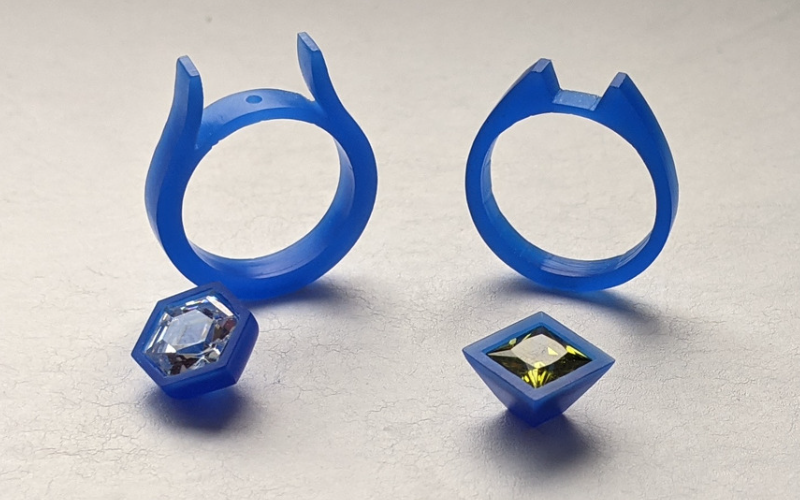
You have carving experience and want to improve. Learning to carve a ring from separate parts is a perfect way to expand your skills. You learn all about carving settings and rings, and how you fit them together perfectly so you only have to do minimal work in metal.
So, what are some of the skills you learn in this class?
Carve a setting
The first part you carve is the setting. Why? You need the measurements of the finished setting to decide on measurements for the ring. It’s just easier that way!
You choose your stone, you find a piece of wax that is the correct size (or if you don’t have any you make a piece of wax to the correct size), you mark your stone outline on the wax, and then you can carve the inside shape of the setting.
There are 2 ways to do this.
Ball burr: the most obvious way to create the inside shape is with ball burrs.
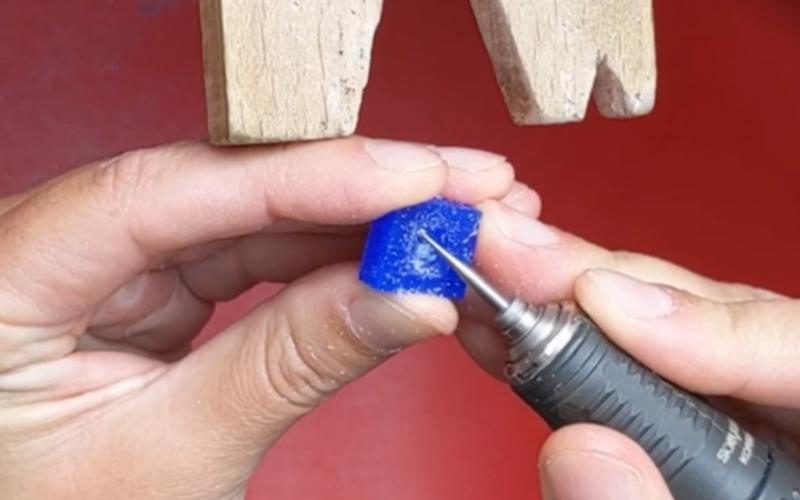
Go slowly and check often with your stone to see how the fit is going. Most of the time you need to go deeper before you go bigger, that’s why it’s important to keep checking! If you want the back of your setting to be closed, this is the way to go.
Saw: the less obvious way to create the inside shape is with your saw.
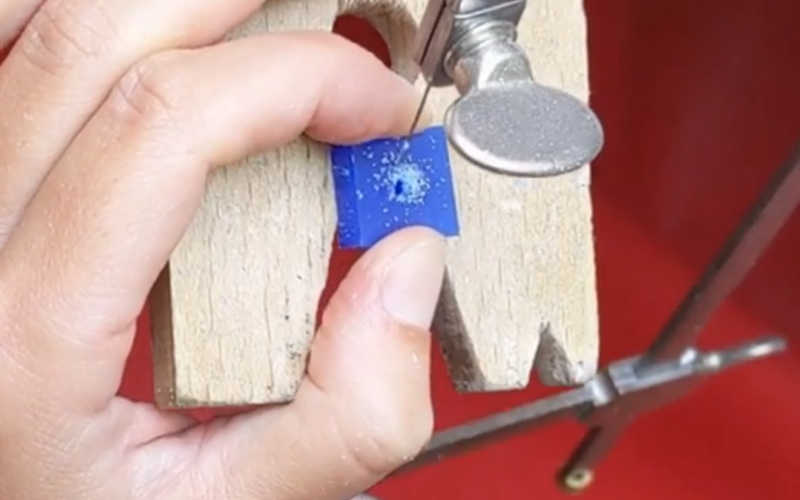
It’s easier to get the inside tapered by piercing. And after the initial practicing it’s very quick! You still have to check with your stone to see how the fit is going, and your setting automatically ends up with a daylight at the back.
When the inside is done and your stone fits perfectly, you can shape the outside of the setting. Mark your outline, pierce the excess wax away, and file up to your liking.

You can learn all the different steps of carving a setting in this class.
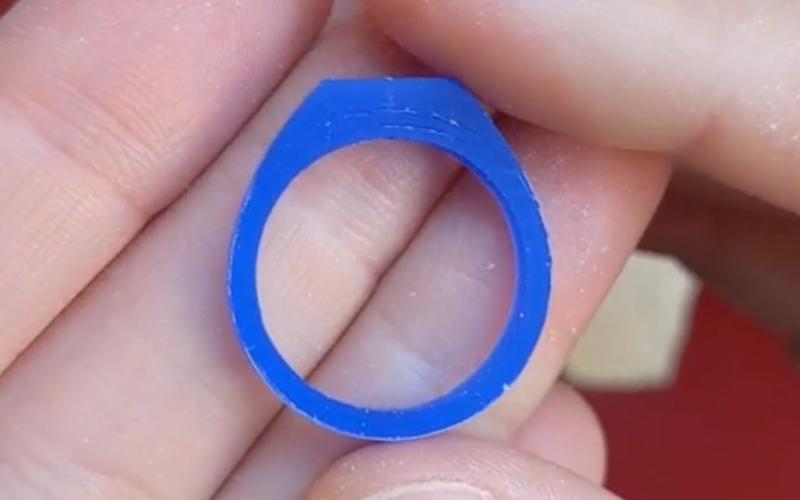
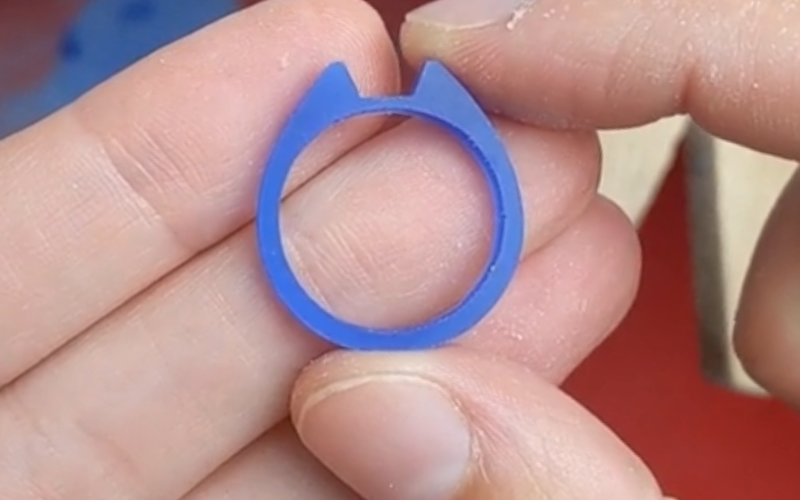
Carve a ring
With the setting done you can carve the ring.
You start by piercing your ring from a ring tube, filing parallel, and sizing the ring. With the ring blank ready, it’s time to decide how the setting and ring are going to be attached.
You can do your measuring and marking.
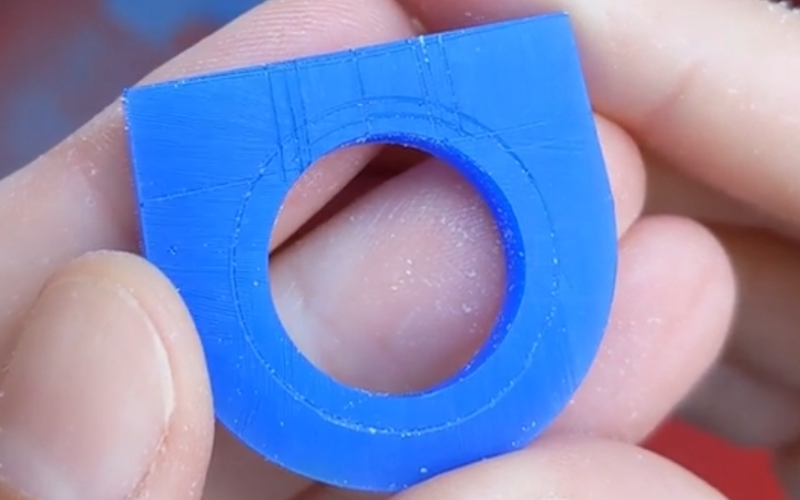
And then continue shaping the ring. You leave extra wax where the setting is going to drop in, but most of the shaping can be done at this point.
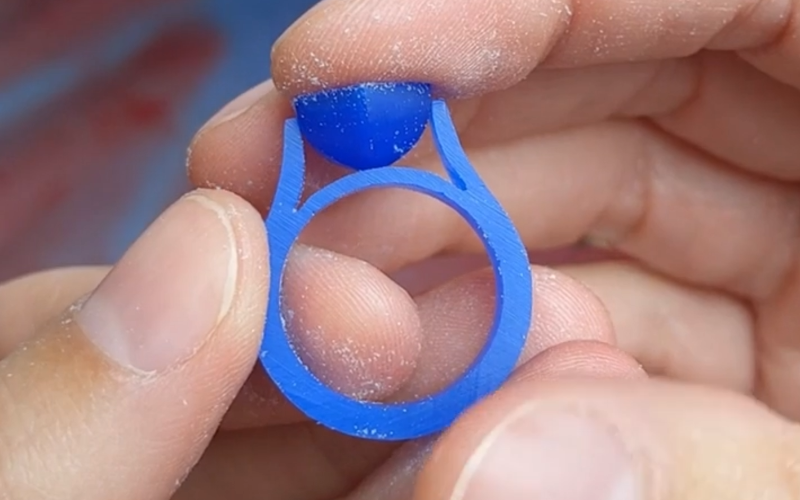
Drop the setting into the shank
The easy part is done, you have your setting and your ring made. Now comes the hard part: preparing the pieces to be put together. You won’t actually put the 2 pieces together in wax form, you cast them separately and solder them together in metal. But the more preparation work you do for this in wax, the easier and quicker casting clean up will be.
In theory it’s simple. Carve a space in the shank where the setting can fit. In practice you want to do this slowly and oh so carefully. If you overdo it, you pretty much have to start again.
To make sure you don’t overdo it you can use an inky pen. It shows you exactly where you can still remove more wax.

And when the setting fits perfectly in the opening your ring is ready for casting.
Or if it’s still a bit too bulky, you can finish shaping your ring.
You can learn both of these ring styles here.
Whyyyy?
Well, that was fun, but why do I want to make a ring in separate parts if I can also make it from one piece?
Mix your metals: if you make your ring from one piece, the entire ring is cast in the same metal. By making it from separate pieces you can make a mixed metal ring!
Easy clean up: if you’ve ever made a ring with a setting from one piece, you know how difficult and time consuming it is to carve the part where the 2 meet. When you make the 2 separately, it’s much easier to carve everything perfectly!
Versatility: you could make a mould of your setting before casting and cast multiples. That way you can make your ring AND use the other settings to make matching earrings and a pendant!
You can also make a mould of your ring of course. Next time you make a different setting that’s roughly the same size you already have a ring that only needs a few adjustments to fit perfectly!
In Short
You learn how to carve your components separately and how to fit them together perfectly.
Feel inspired to learn all this? You can buy the ring from separate parts class now!