Make flower shapes
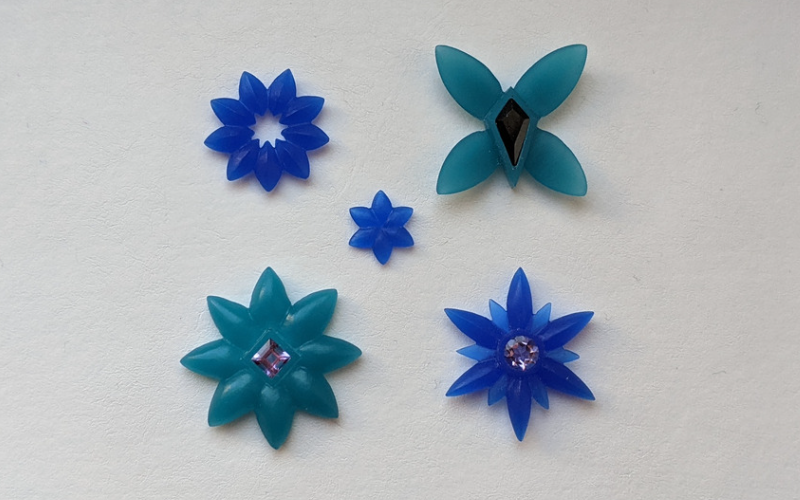
You have some carving experience and want to improve. Learning to carve flower shapes is a perfect way to expand your skills. You learn all about marking your own patterns and how to carve different flower petals.
So, what are some of the skills you learn in this class?
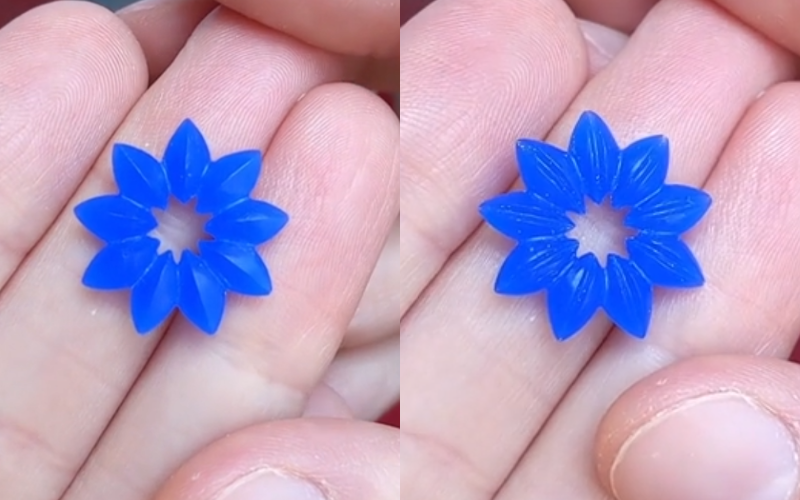
Mark with dividers
Sure you can go online and find an image of a flower you like. Print it, stick it on wax and pierce it out. But what’s the fun in that? It’s much more fun to design and draw your own flower shapes. And with a pair of dividers it’s not that difficult!
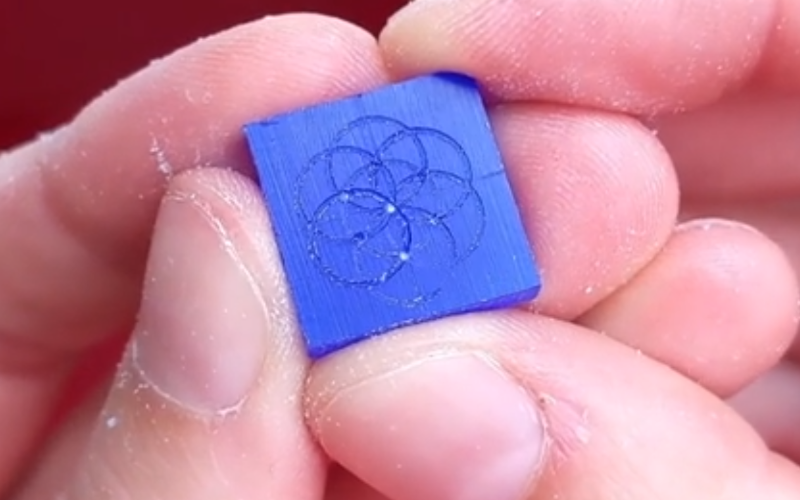
I recommend practicing on paper with a compass first. You can try any combination you can think of, draw it on paper and then choose the ones you like best to make in wax.
Because there are so many different ways to mark a flower shape with a compass/dividers!
Do you start from a centre point or centre lines? Do you keep your dividers at the same measurement the entire time or change it? Do you mark along one line only or change it up? Do you mark full circles or only partial circles?

Every change you make gives you a different outcome! So mark your flowers in as many different ways as you can think of. And only make the best ones.
You can learn all about marking flower shapes here.
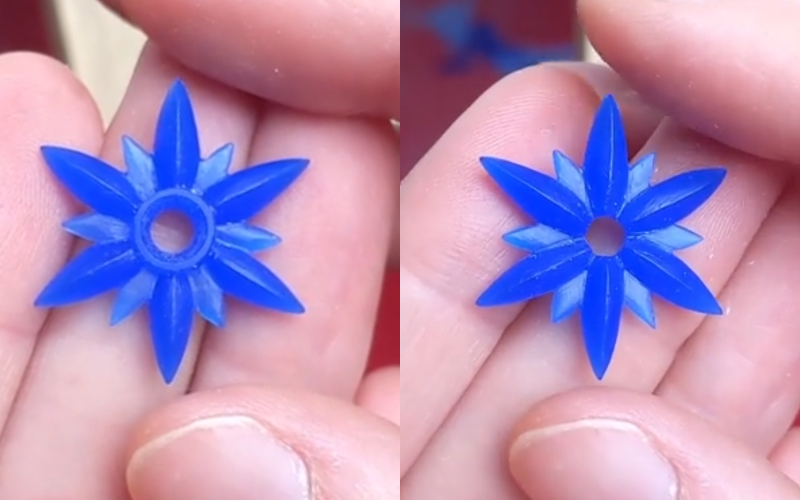
Shape the petals
You’ve marked your flower and pierced it. Now comes the fun part: shaping the petals.
But how?
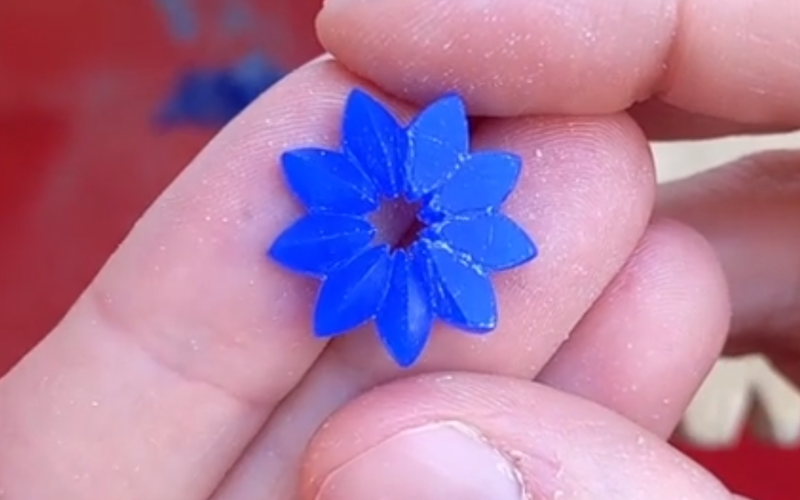
Are the petals concave, convex, flat, or maybe even pointed? Are they the same thickness all the way through, or do they taper towards the centre, maybe even taper towards the point? Are the petals all the same or do you want to have some variety?
So many choices! That’s why different petal shapes are shown in the class.
Remove weight
The petals are shaped and the flower is pretty much done. Unfortunately the overall piece is pretty heavy.
Not to worry! You can easily make your wax lighter by removing weight from the back.
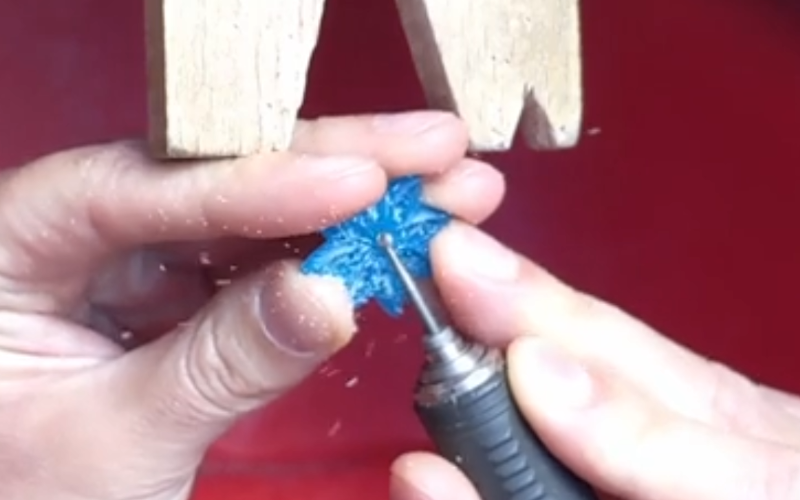
Mark a border all the way around and use a ball burr to slowly and carefully remove wax from the back of your piece. Check often how much wax you still can remove. You don’t want to accidentally burr a hole through your piece!
It won’t be visible from the front that your piece is hollow, but it’ll be lighter and easier to wear this way.
Design the back
Maybe you don’t want your piece to be hollow. Maybe you want the back of your piece to be shaped as well. When you spend as much time carving the back as the front, your piece will look great from every single angle. And isn’t that something we all want?
You can carve the back the same as the front. Or make slight changes to it to make the pendant reversible for example.
But the back doesn’t have to be the same as the front!
Think of your flower as a 3d piece and incorporate the back in your design process. The back of a piece is often overlooked, but it shouldn’t be! Show of those carving skills at the back, and impress everyone that sees it.
Learn how to carve a full 3d piece now.
Carve a setting
Of course every flower looks better with a gem centre!
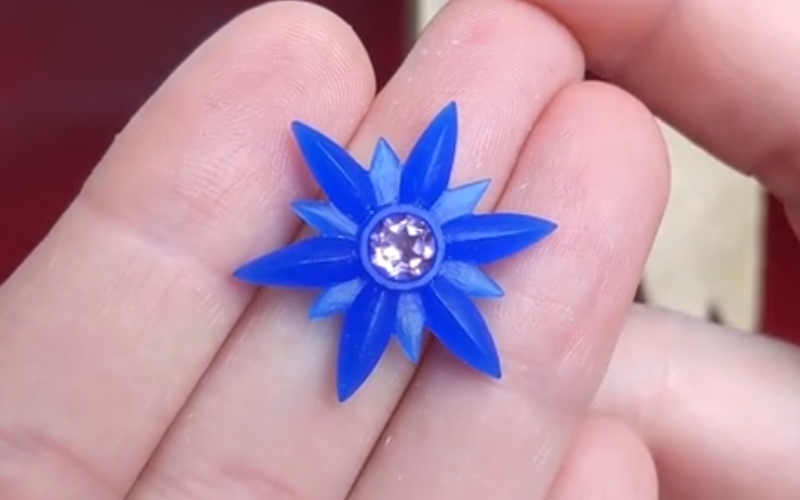
The carving of the flower shape itself is exactly the same with or without a gemstone. The first difference comes at the beginning when you mark the flower shape. You have to leave enough space for the stone AND the setting wall before the flower petals start.
The second difference is that you now also have to carve a setting!
Make the inside of the setting the correct shape and size, carve a seat for the stone and carve the setting wall. You can learn all of that in this class.
In short
You learn how to design your own flower shapes and how to make them look good from every angle.
Feel inspired to learn all this? You can buy the flowers class now!