Make a bangle
You have some carving experience and want to improve. Learning to carve a bangle is a perfect way to expand your skills. You learn all the basics of how to shape the bangle and how to make continuous patterns to go around it.
So, what are some of the skills you learn in this class?
Choose your bangle wax
There are 2 different kinds of bangle wax you can get.
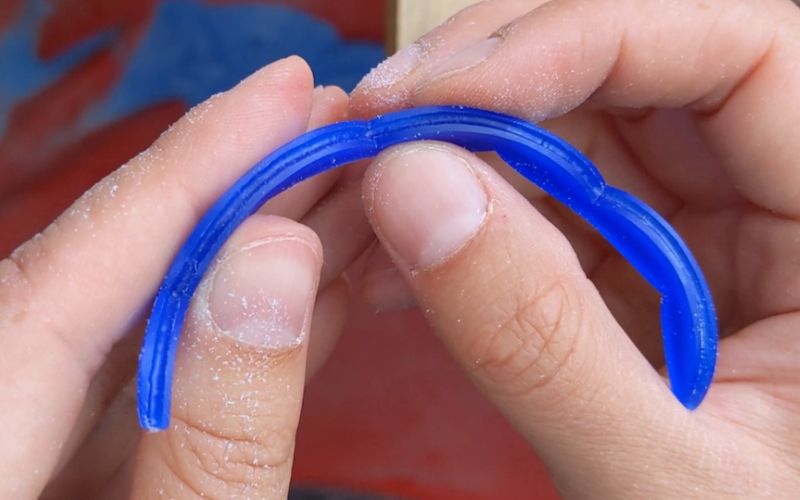
Half bangle: The wax is in the shape of half a bangle, with the space for the size already cut out.
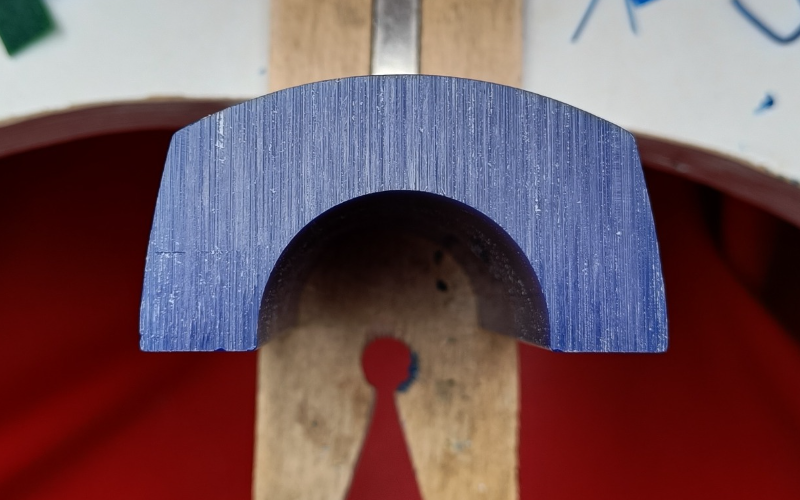
In order to make a bangle with this wax, you would need to cast 2 pieces. You can then solder it together into a solid bangle. OR you can add a hinge and closing so the bangle can be opened up. OR you can just have half a bangle and use a chain for the second side. Plenty of options with the half bangle wax!
You don’t have to make 2 separate pieces in wax if you don’t feel like it. Make one, make a mould from it and cast 2 pieces. Or cast 5 pieces and make all the different variations!
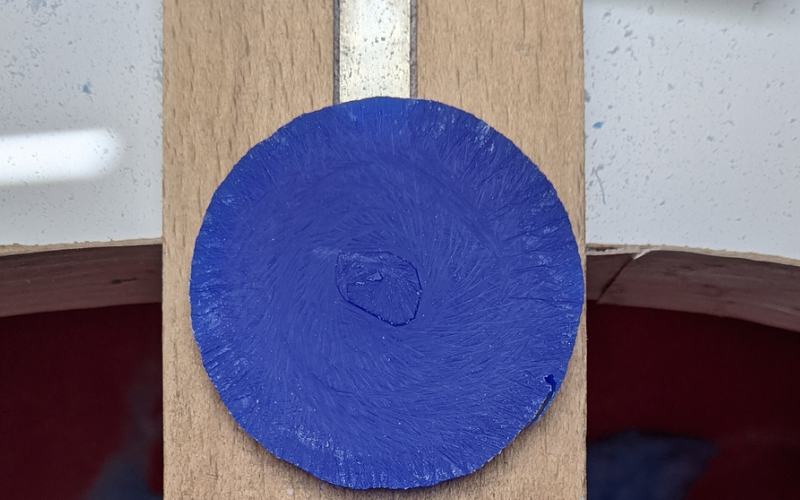
Solid: The solid bangle wax is a massive round or oval shaped wax bar. Piercing this wax is no joke! Prepare yourself for a good arm workout.
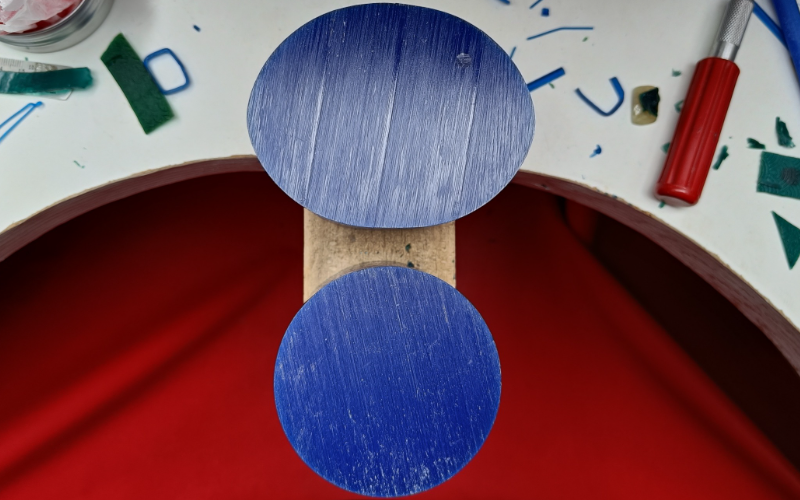
The solid wax is already in the shape of a bangle so it’s good for making full bangles. You could also remove a small section and turn the bangle into a cuff bracelet if that’s more to your liking!
Sizing
Sizing a bangle takes a bit more time and effort than sizing a ring.
When you know your bangle size you can use your dividers and mark it on the wax using the outside of the wax as your guide.

It’s easy to do for the round wax, a circle is a circle. But ovals come in many different forms.
If the outside oval shape of the wax is not to your liking, you can make a size template and use that to mark your size on the wax.

A size template is also good if you want to turn the half bangle wax (which has a round size opening) into an oval shape opening instead.
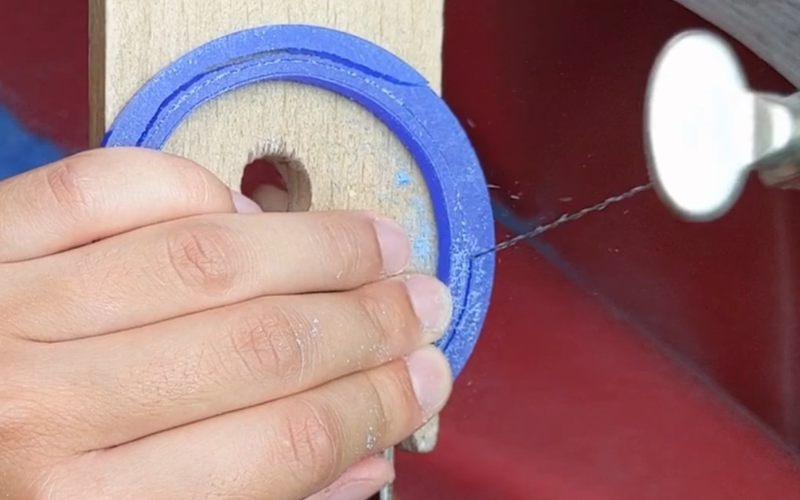
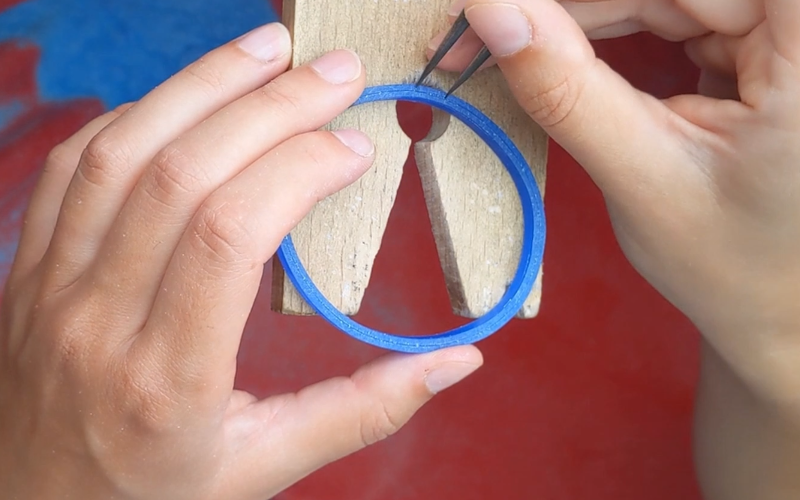
After you’ve marked the size on the wax, you need to pierce it out. Drill close to the line and pierce the inside away.
Now you have a large piece of wax you can use for all kinds of other projects!
The solid bangle wax might seem wasteful because you have to remove the center of it. But it’s only wasteful if you don’t reuse it!
Learn all about sizing bangles in this class.
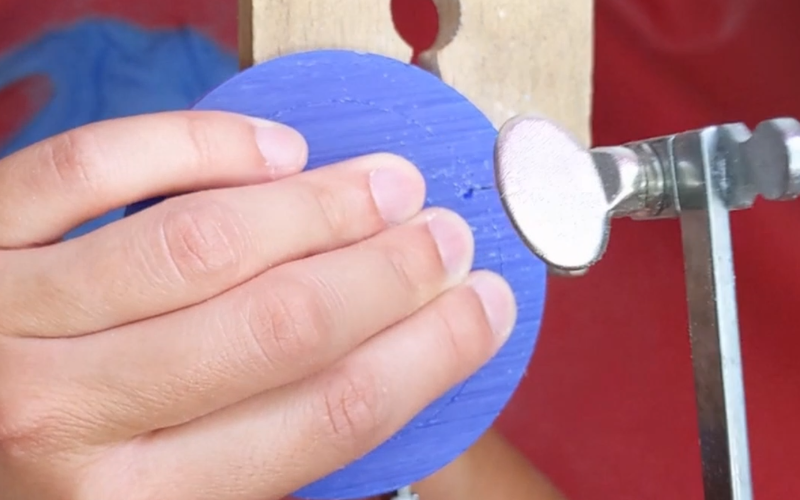
Shape the outside
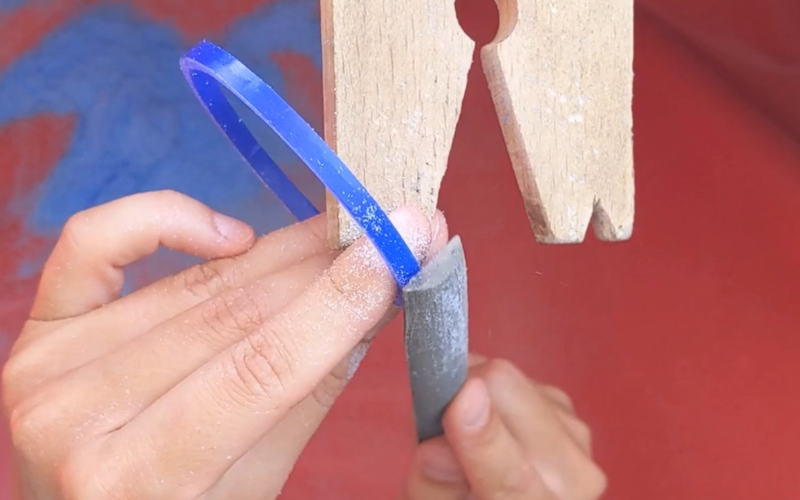
Once you have the correct bangle size, you can remove the excess wax from the outside and shape the bangle.
I always pierce the excess wax away first. It’s the easiest and fastest way to remove a lot of wax quickly. And by piercing you keep the wax intact so you can use it for something else.
With the excess removed, you can file the last bit flat and to the line.
Alternatively you can use a burr as well to speed up the process.
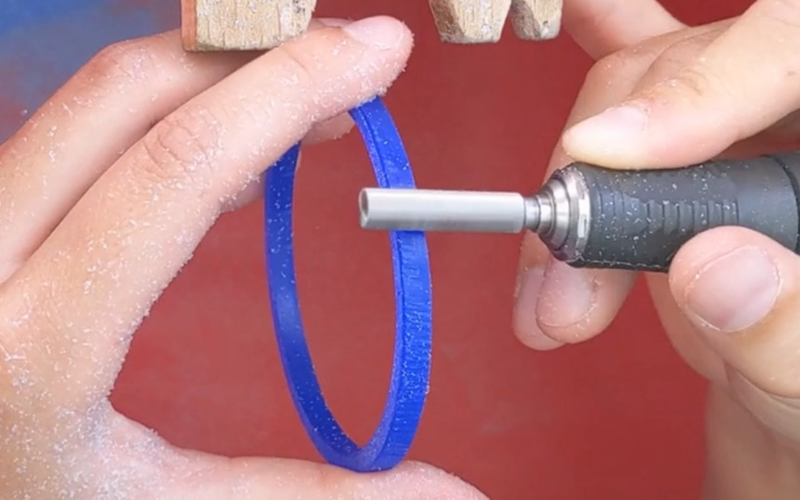
Only do this if you have a big enough wax burr for this. Bigger burrs remove wax more evenly than small burrs and an even finish is what you’re going for at this stage.
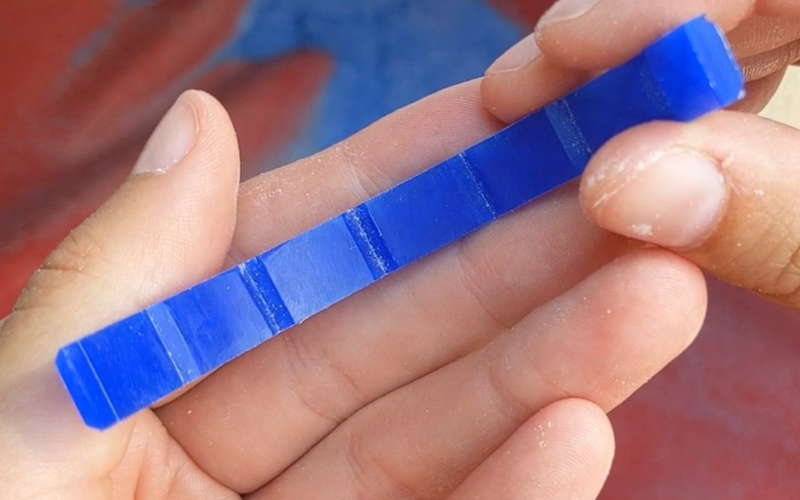
Equal distances
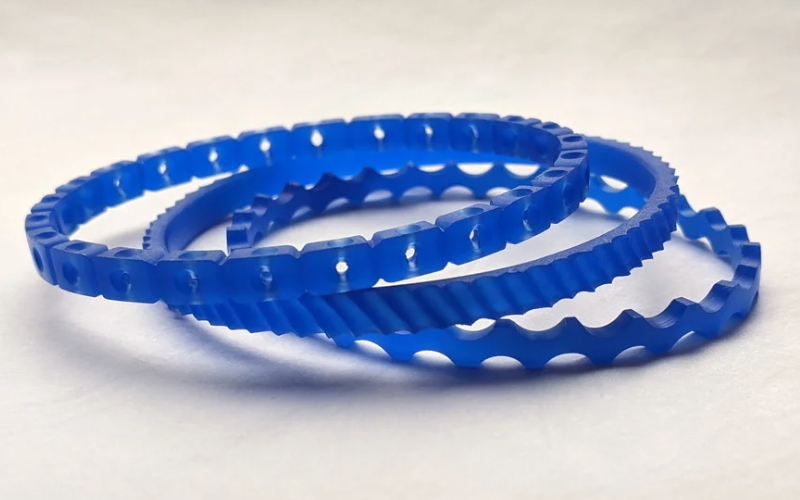
Now that you have your basic bangle shape, it’s time to finish it to your liking. There are so many options for texturing and patterning your wax. Some are quick, some are slow.
One of the slow ways is making a repeating pattern all the way around the bangle. In order to do this you first need to step out equal distances around the bangle. It can take a few tries to get the measurement exactly right to do this. But it’s worth it to file away the wrong markings and start again!
You can learn how to measure equal distances here.
Use the wax
You don’t make a bangle from wax because it’s going to be light. It’s going to weigh something. So have fun with it and use the wax to its fullest potential!
Of course the top surface of your bangle is what you see the most. But why not extend your pattern to the sides of your bangle as well?
And the inside?
You have all this wax surface available to you. Use it and have fun with it!
Patience
You don’t make a bangle from wax because it’s going to be quick. Just piercing a slice from a solid bangle bar takes a good 20 minutes! If there’s one thing you learn from making a bangle from wax, it’s patience.
You can try to rush and hurry yourself through the making process. But we all know that’s when mistakes happen.
Slow done, take your time, and enjoy the process!
In short
You learn how to carve the basic bangle shape and how to have fun with it by texturing and patterning it!
Feel inspired to learn all this? You can buy the bangle class now!